
Charles Proxy enables the user to view HTTP, HTTPS, and HTTP/2 and enabled TCP port traffic accessed from, to, or via the local computer. This guide will help to proxy HTTP traffic from your Apple TV to Charles Proxy.
💡
NOTE: This guide will erase the Apple TV. All the content and settings will be deleted.
1. Prerequisites
- Apple Configurator 2 to get the device ready to install the profile.
- Charles Proxy
- Connect Apple TV with mac using Xcode where you have installed Apple Configurator 2.
2. Supervise Apple TV
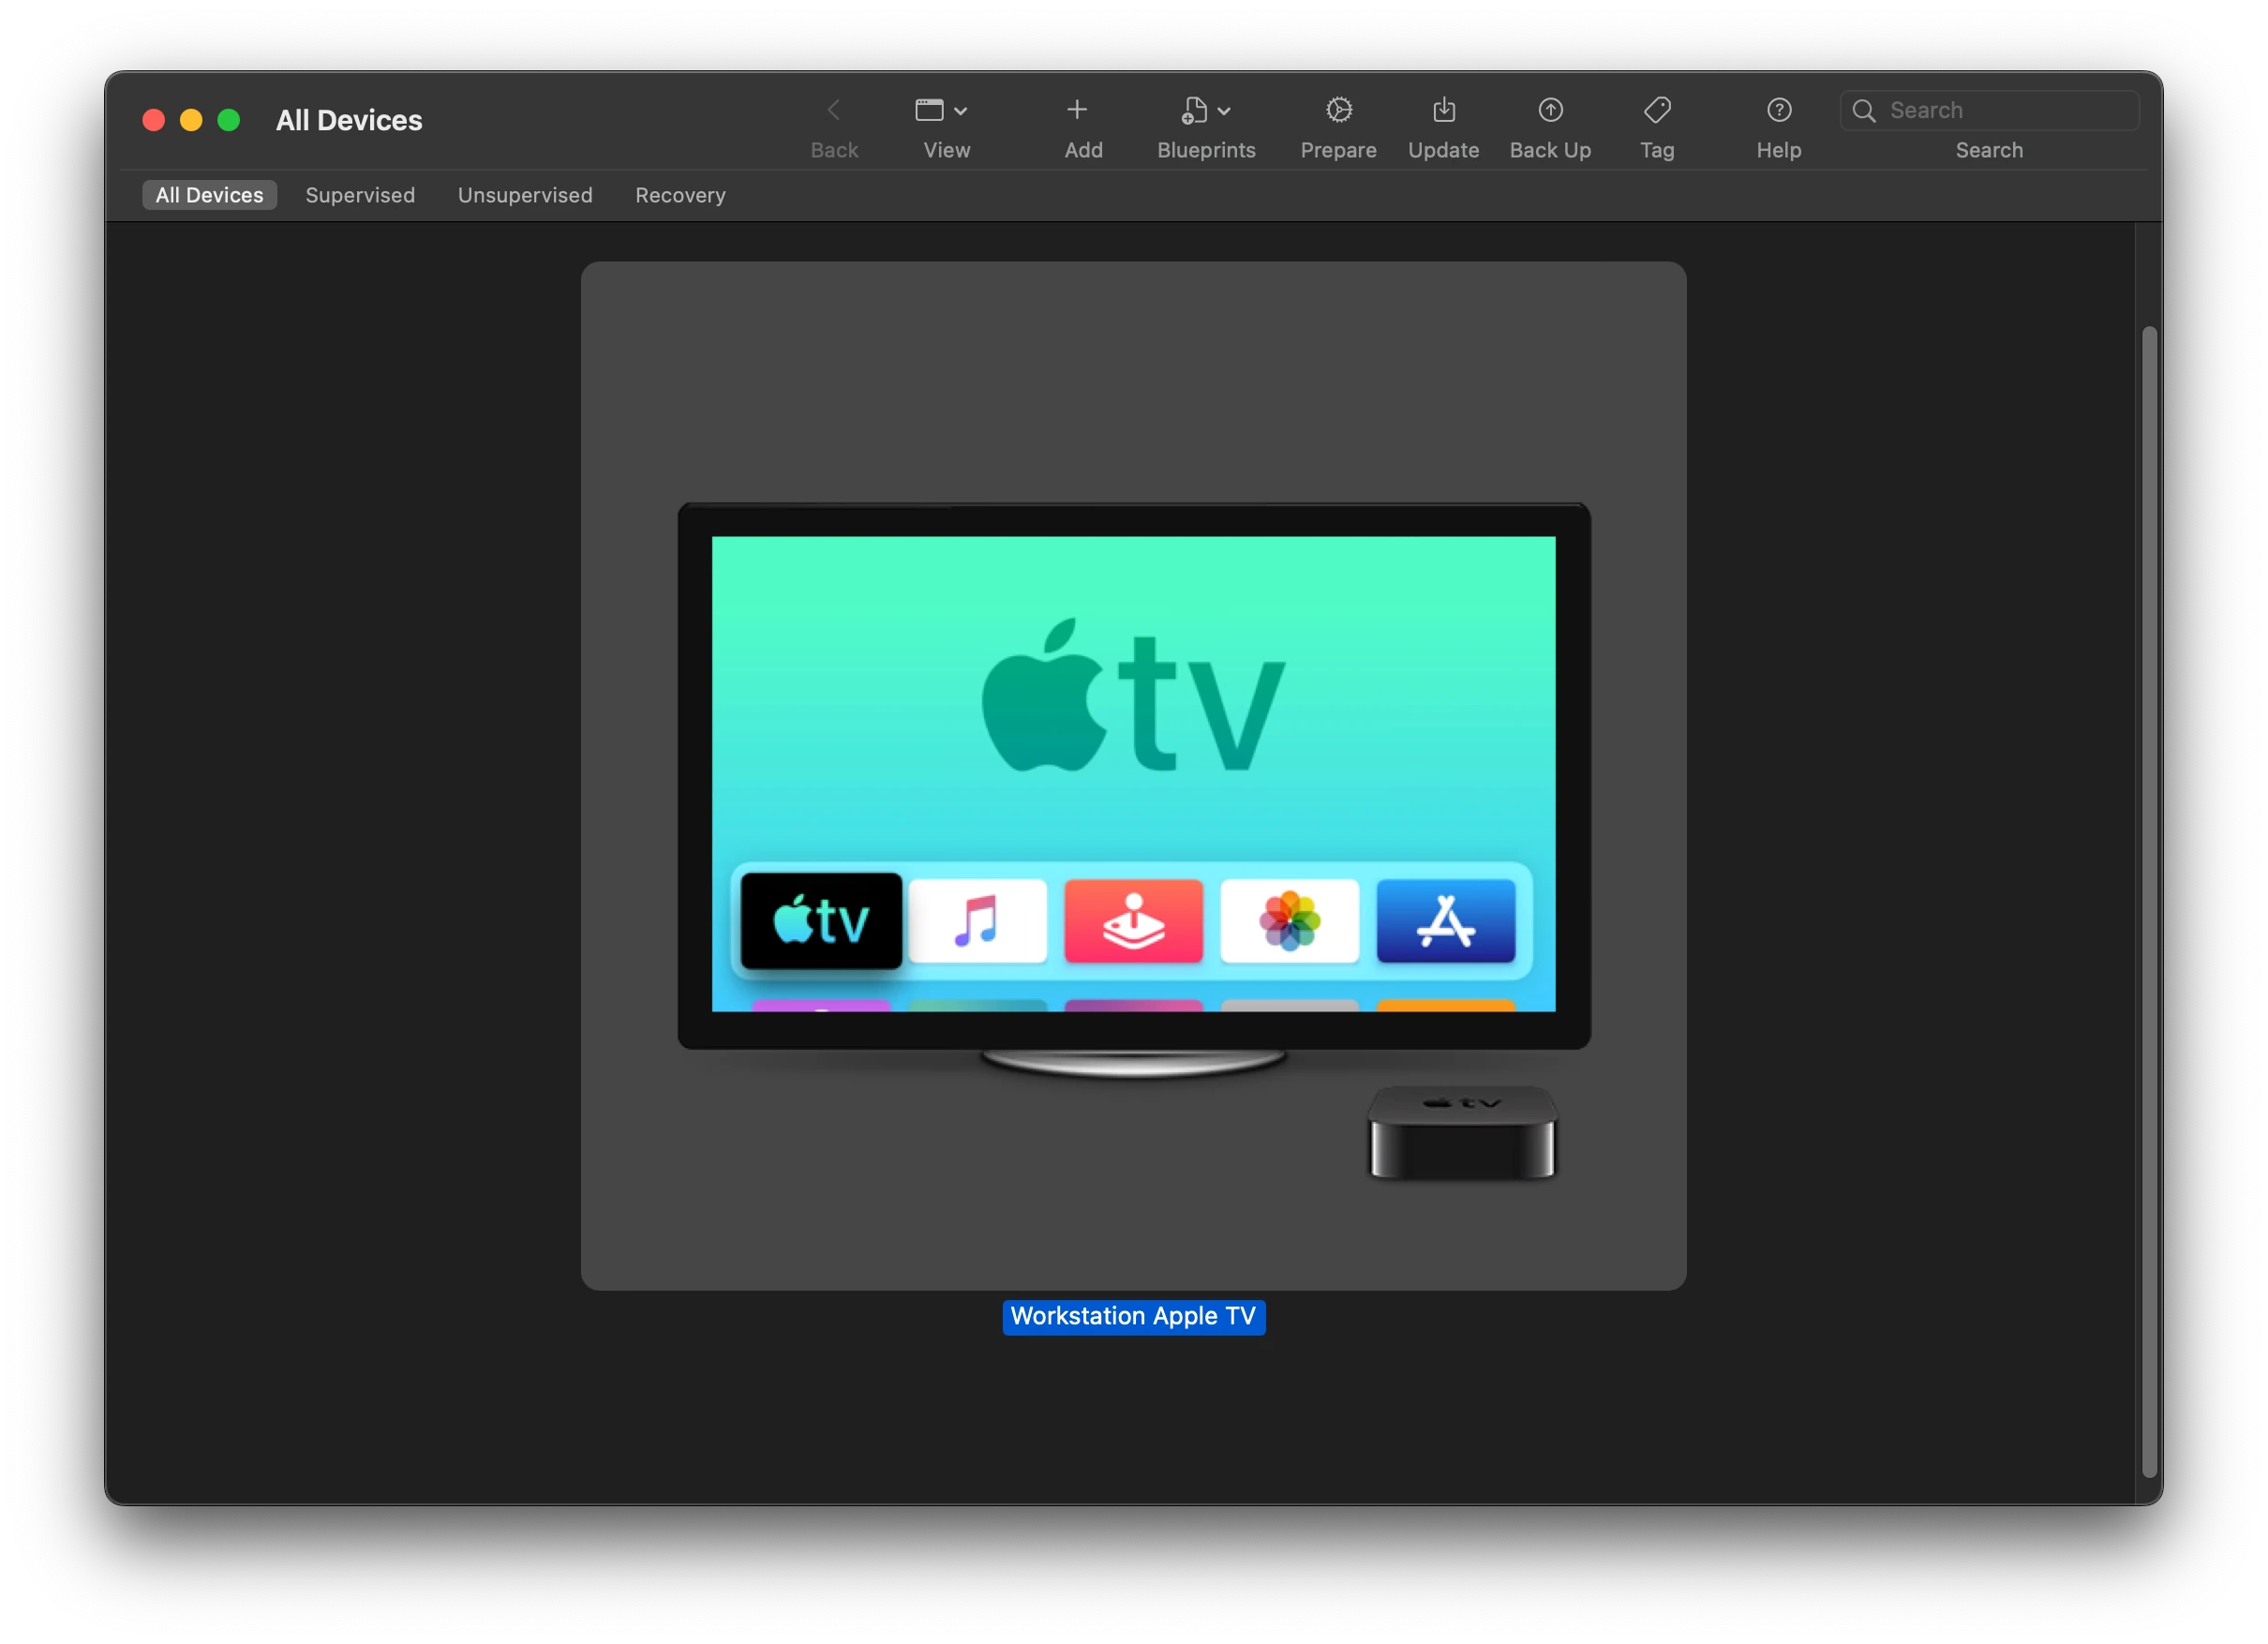
- Open Apple Configurator and select the Apple TV you want to setup with Charles Proxy.
-
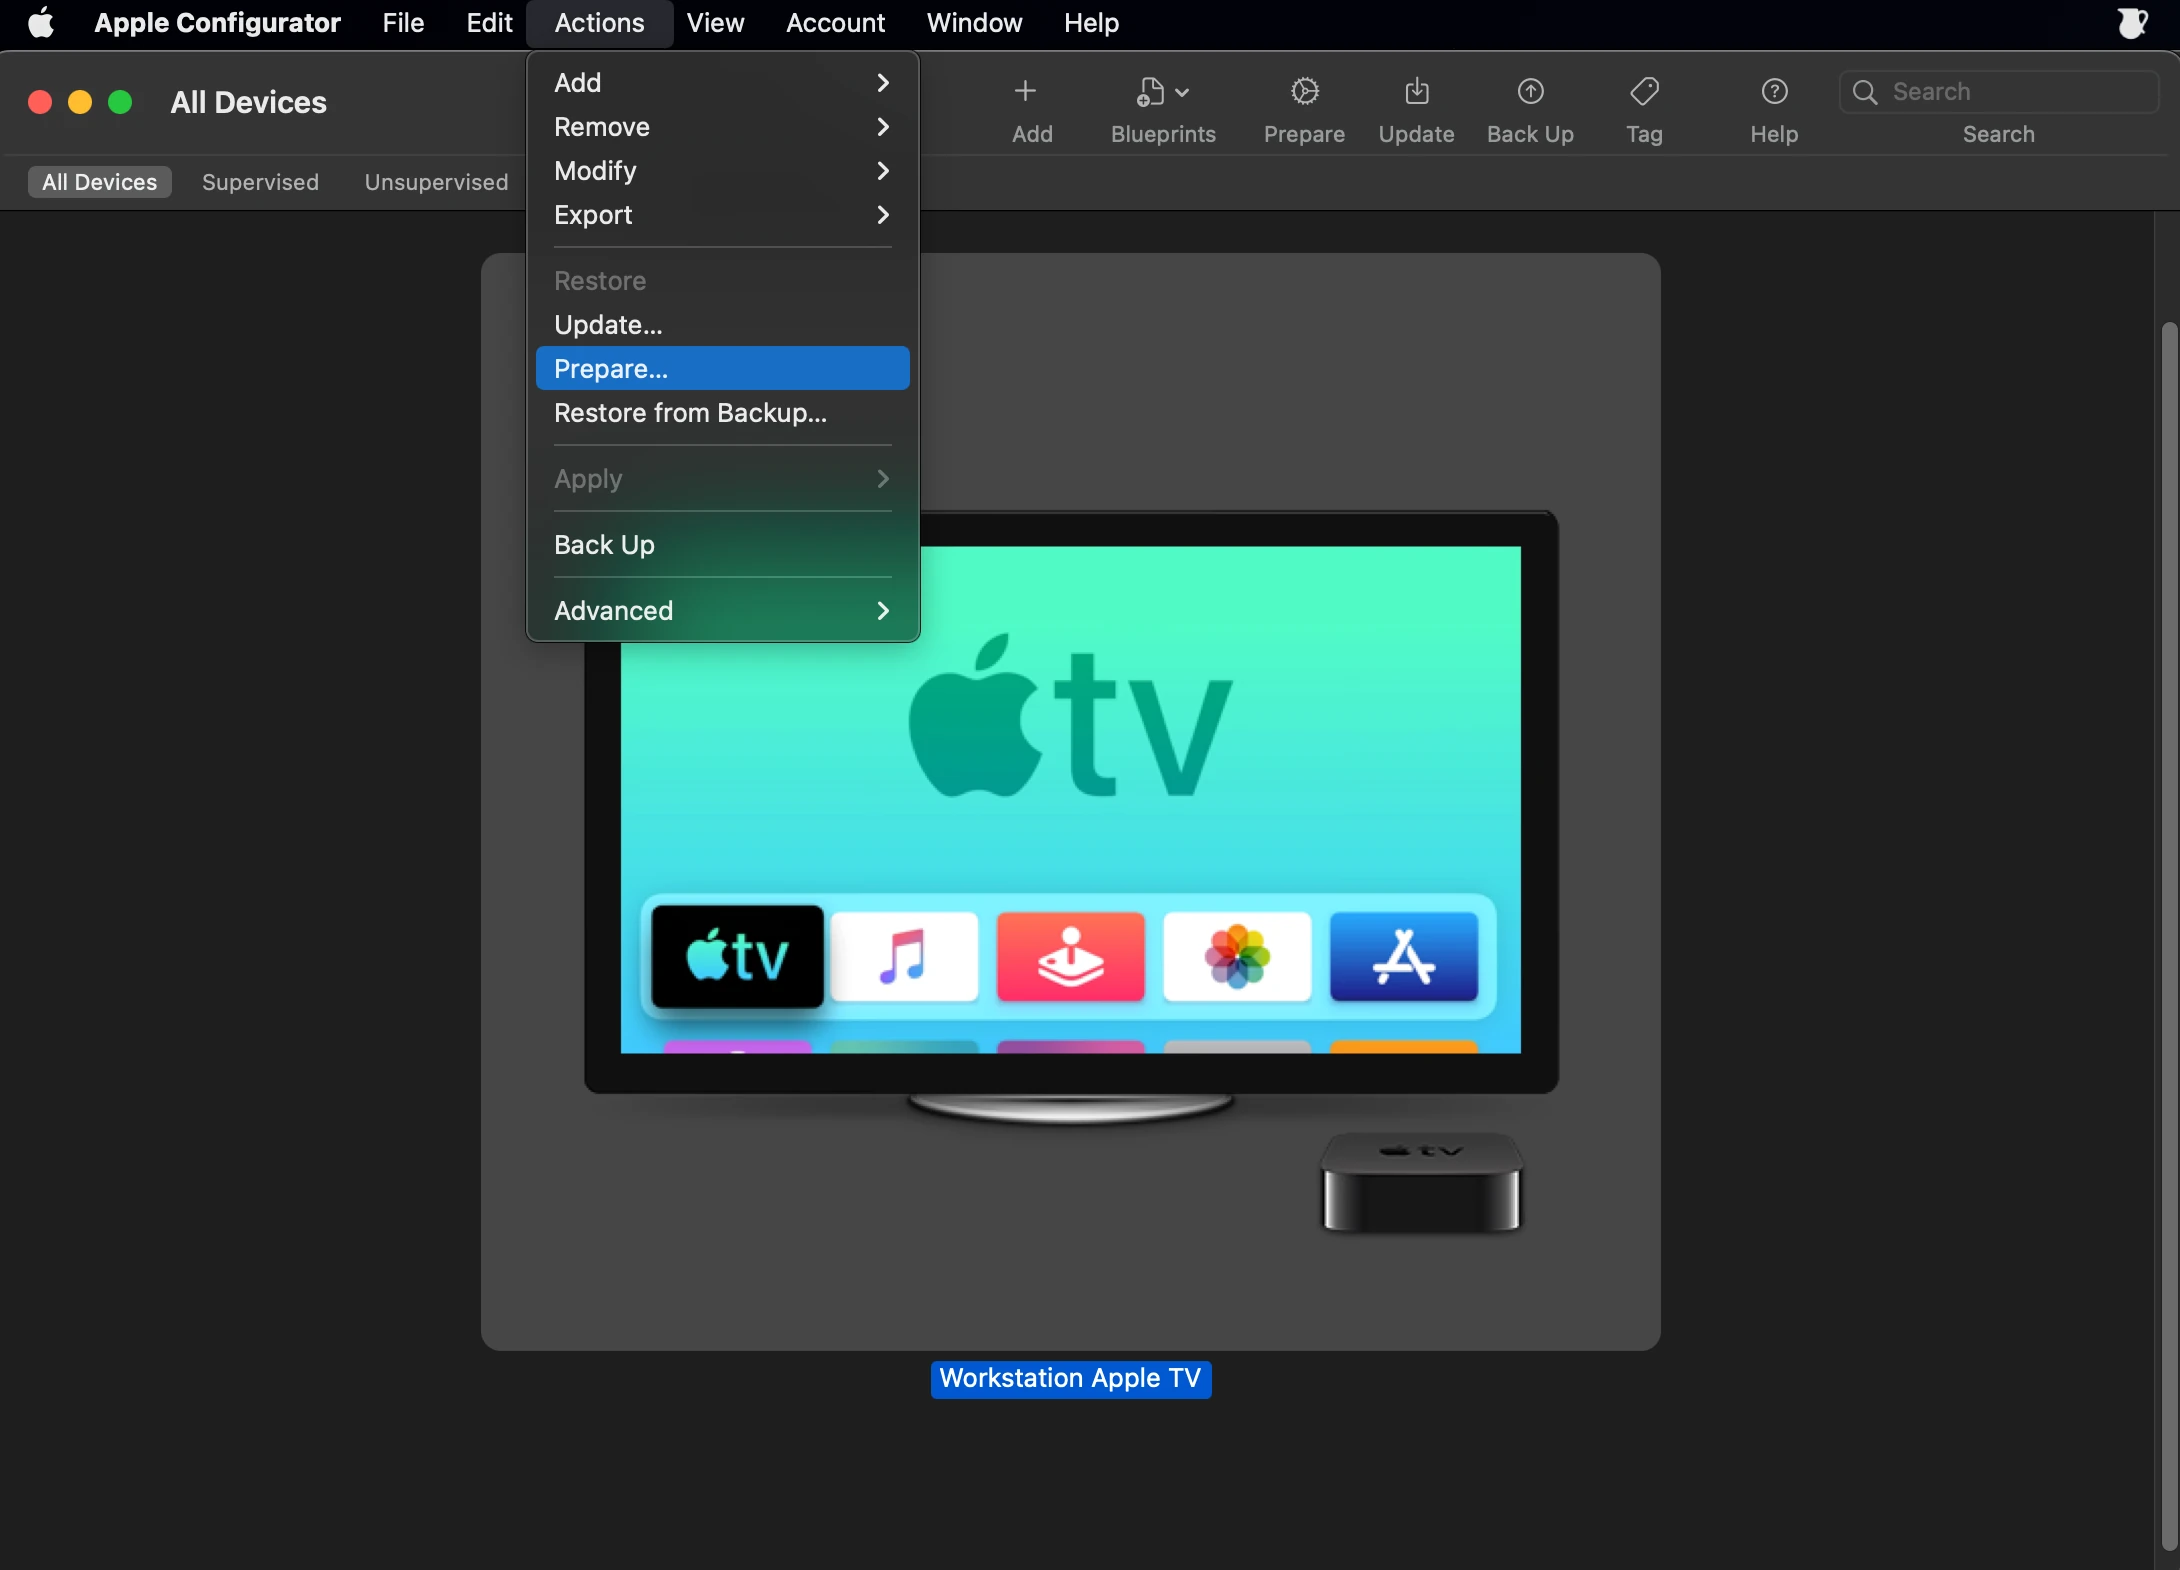
From the menu select "Action" > "Prepare"
- Select Prepare with: "Manual Configuration" and select the checkboxes for "Supervise devices" and "Allow devices to pair with other computers", and uncheck all others. Click the Next button.

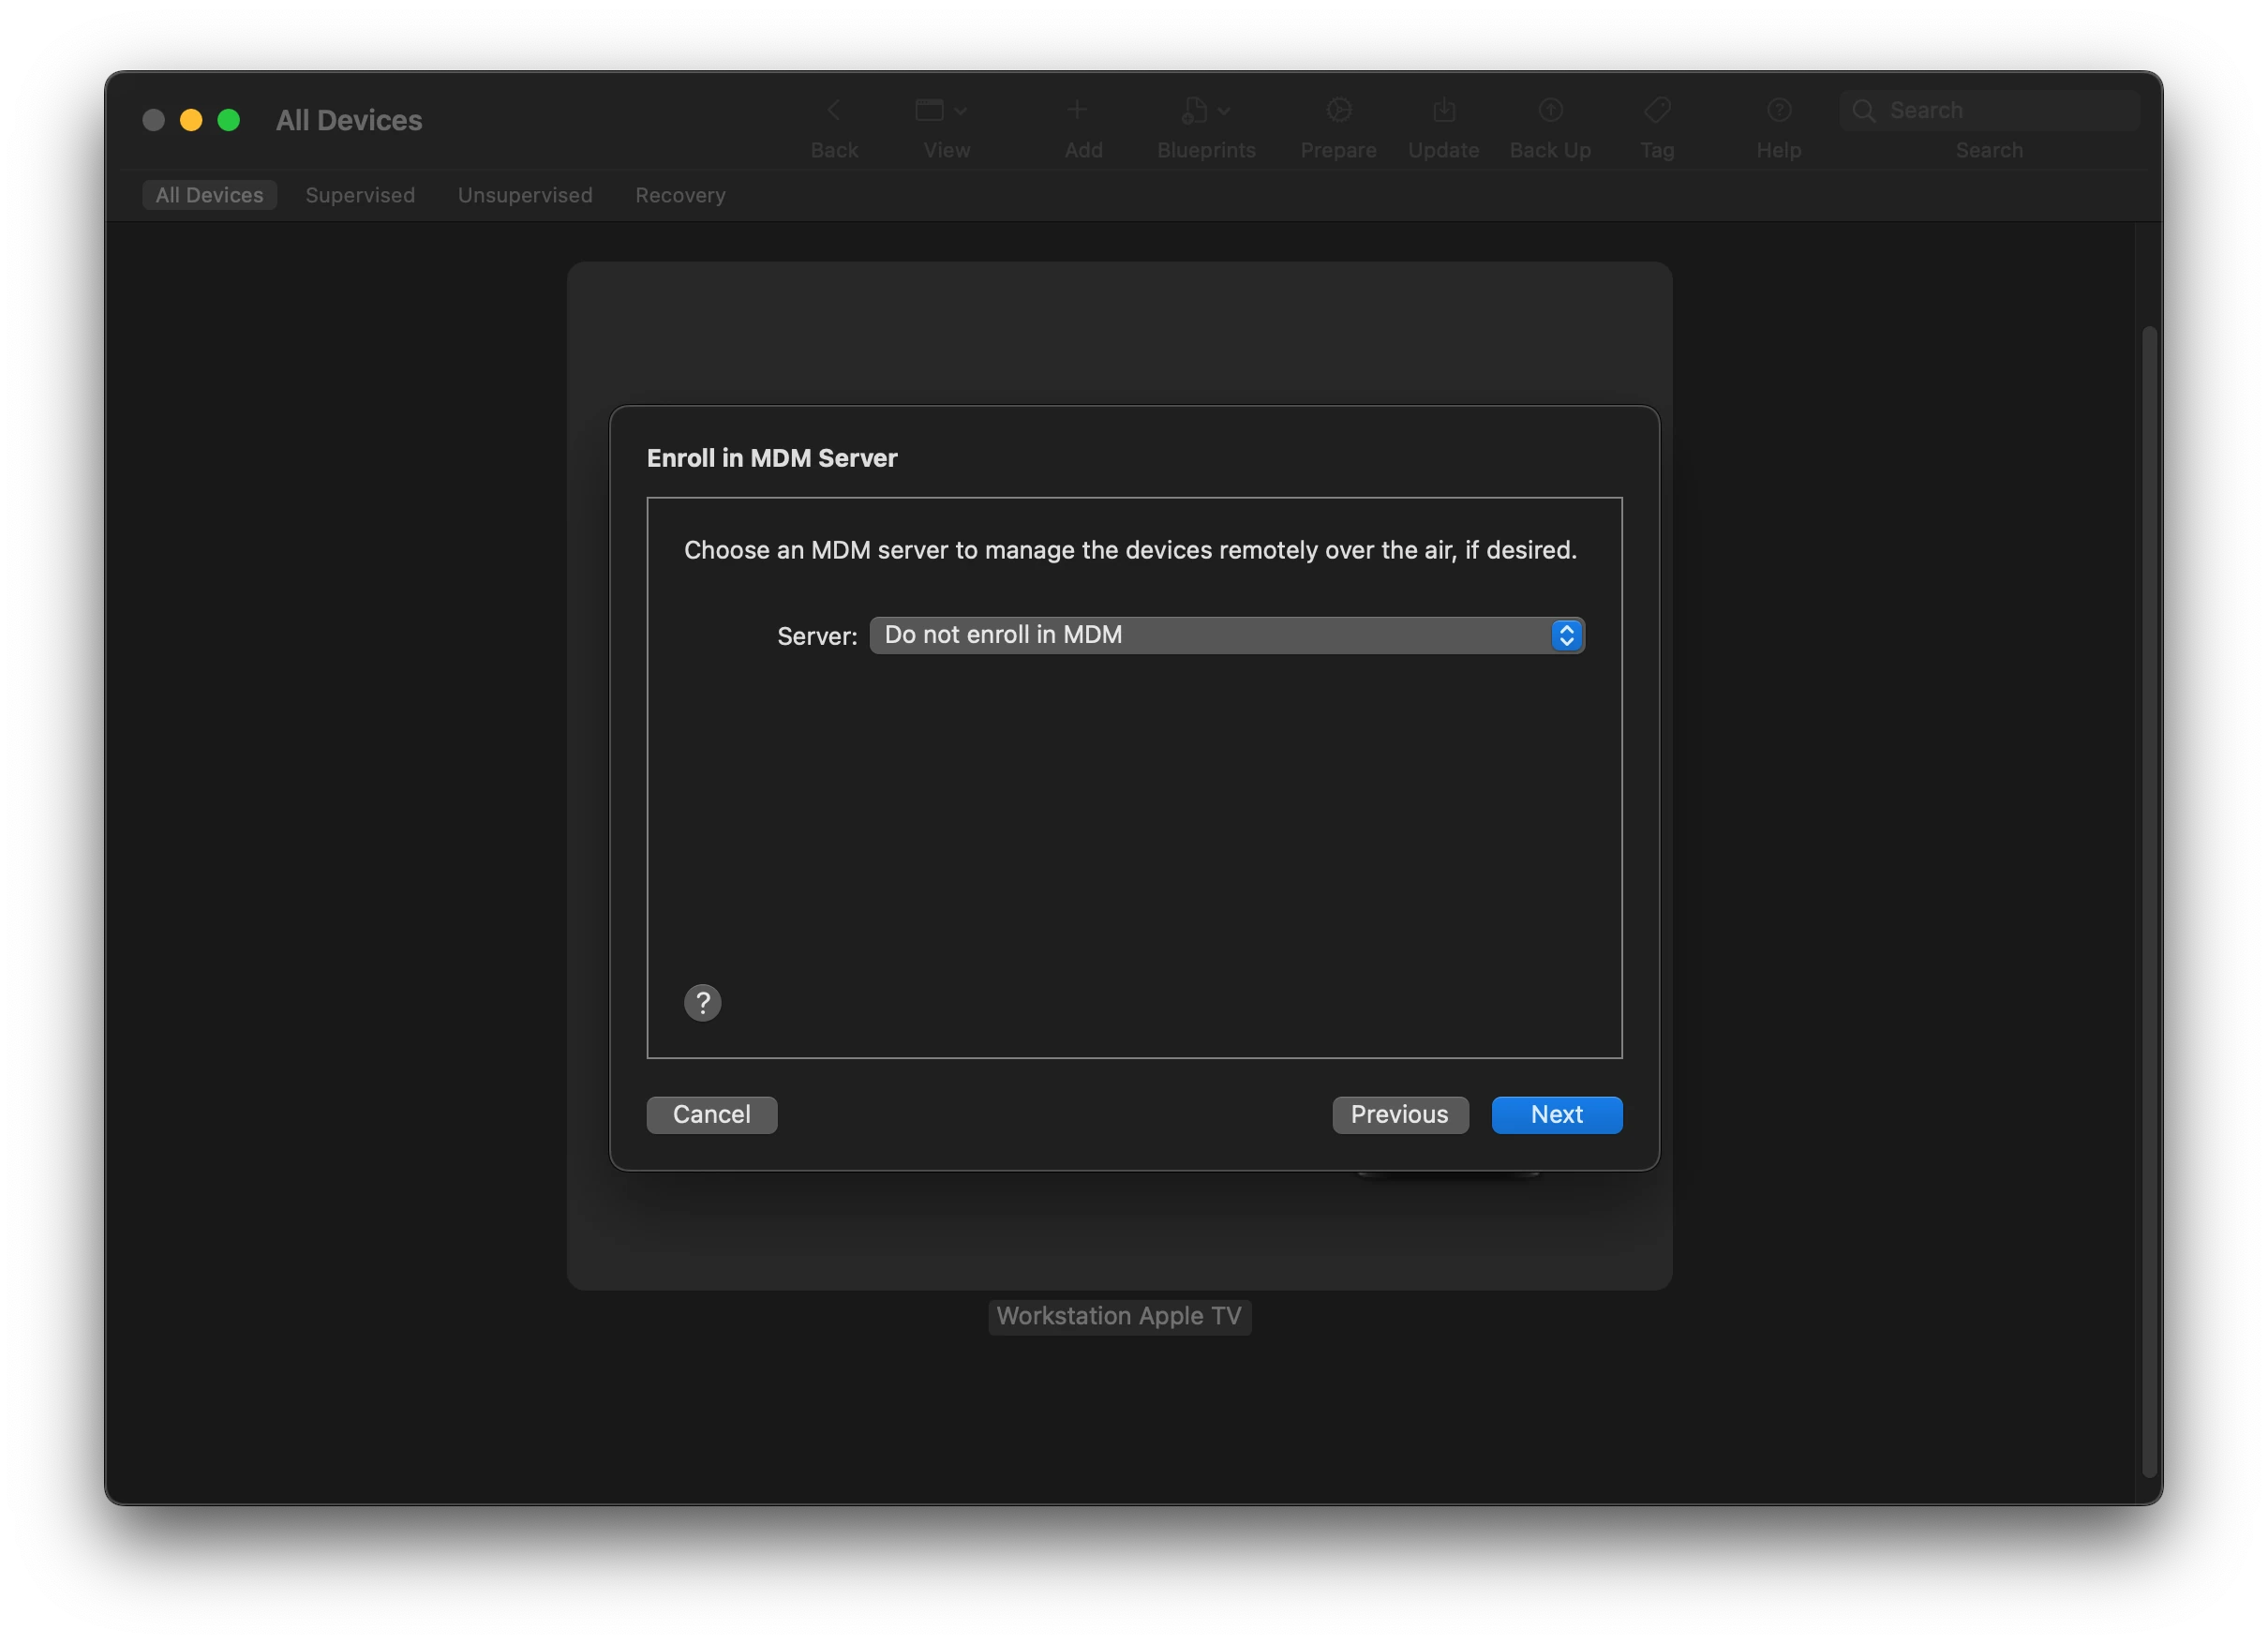
- In the next screen, select "Do not enroll in MDM" and click the Next button.
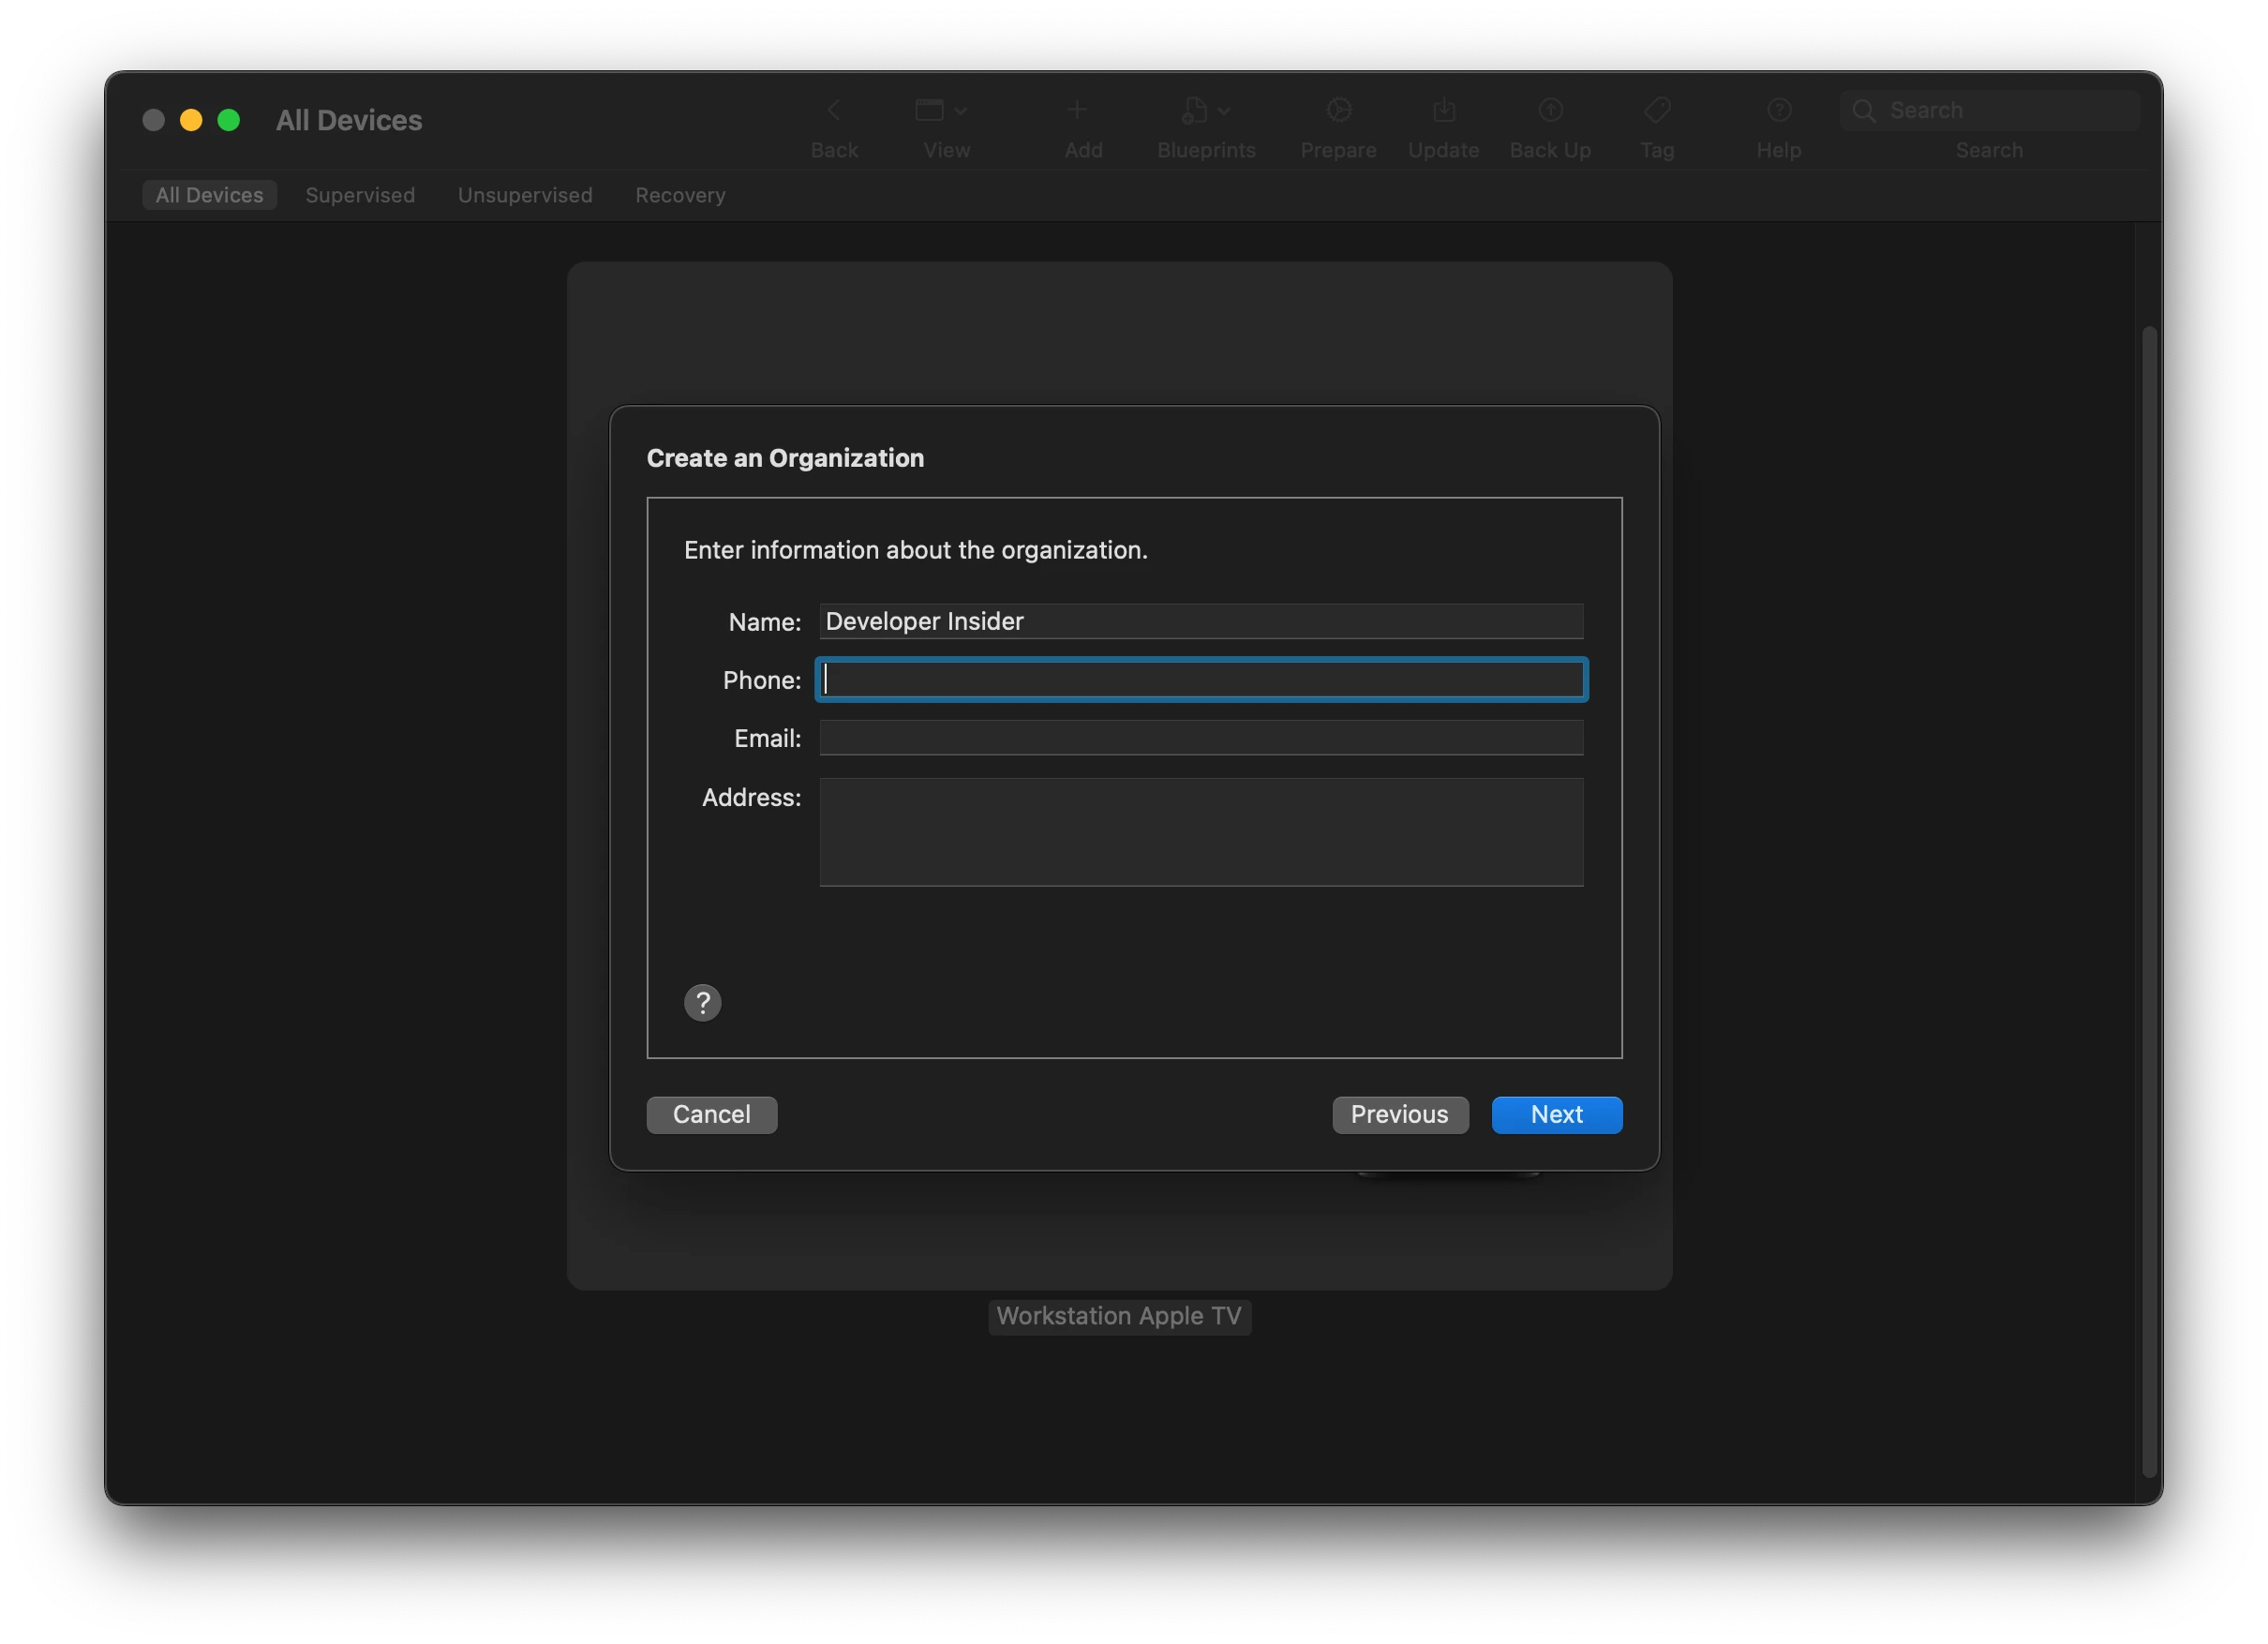
- Now enter your information on the Create an Organization, you will need your Apple ID for this step

- Enter organization information in this step. Only a name is required.
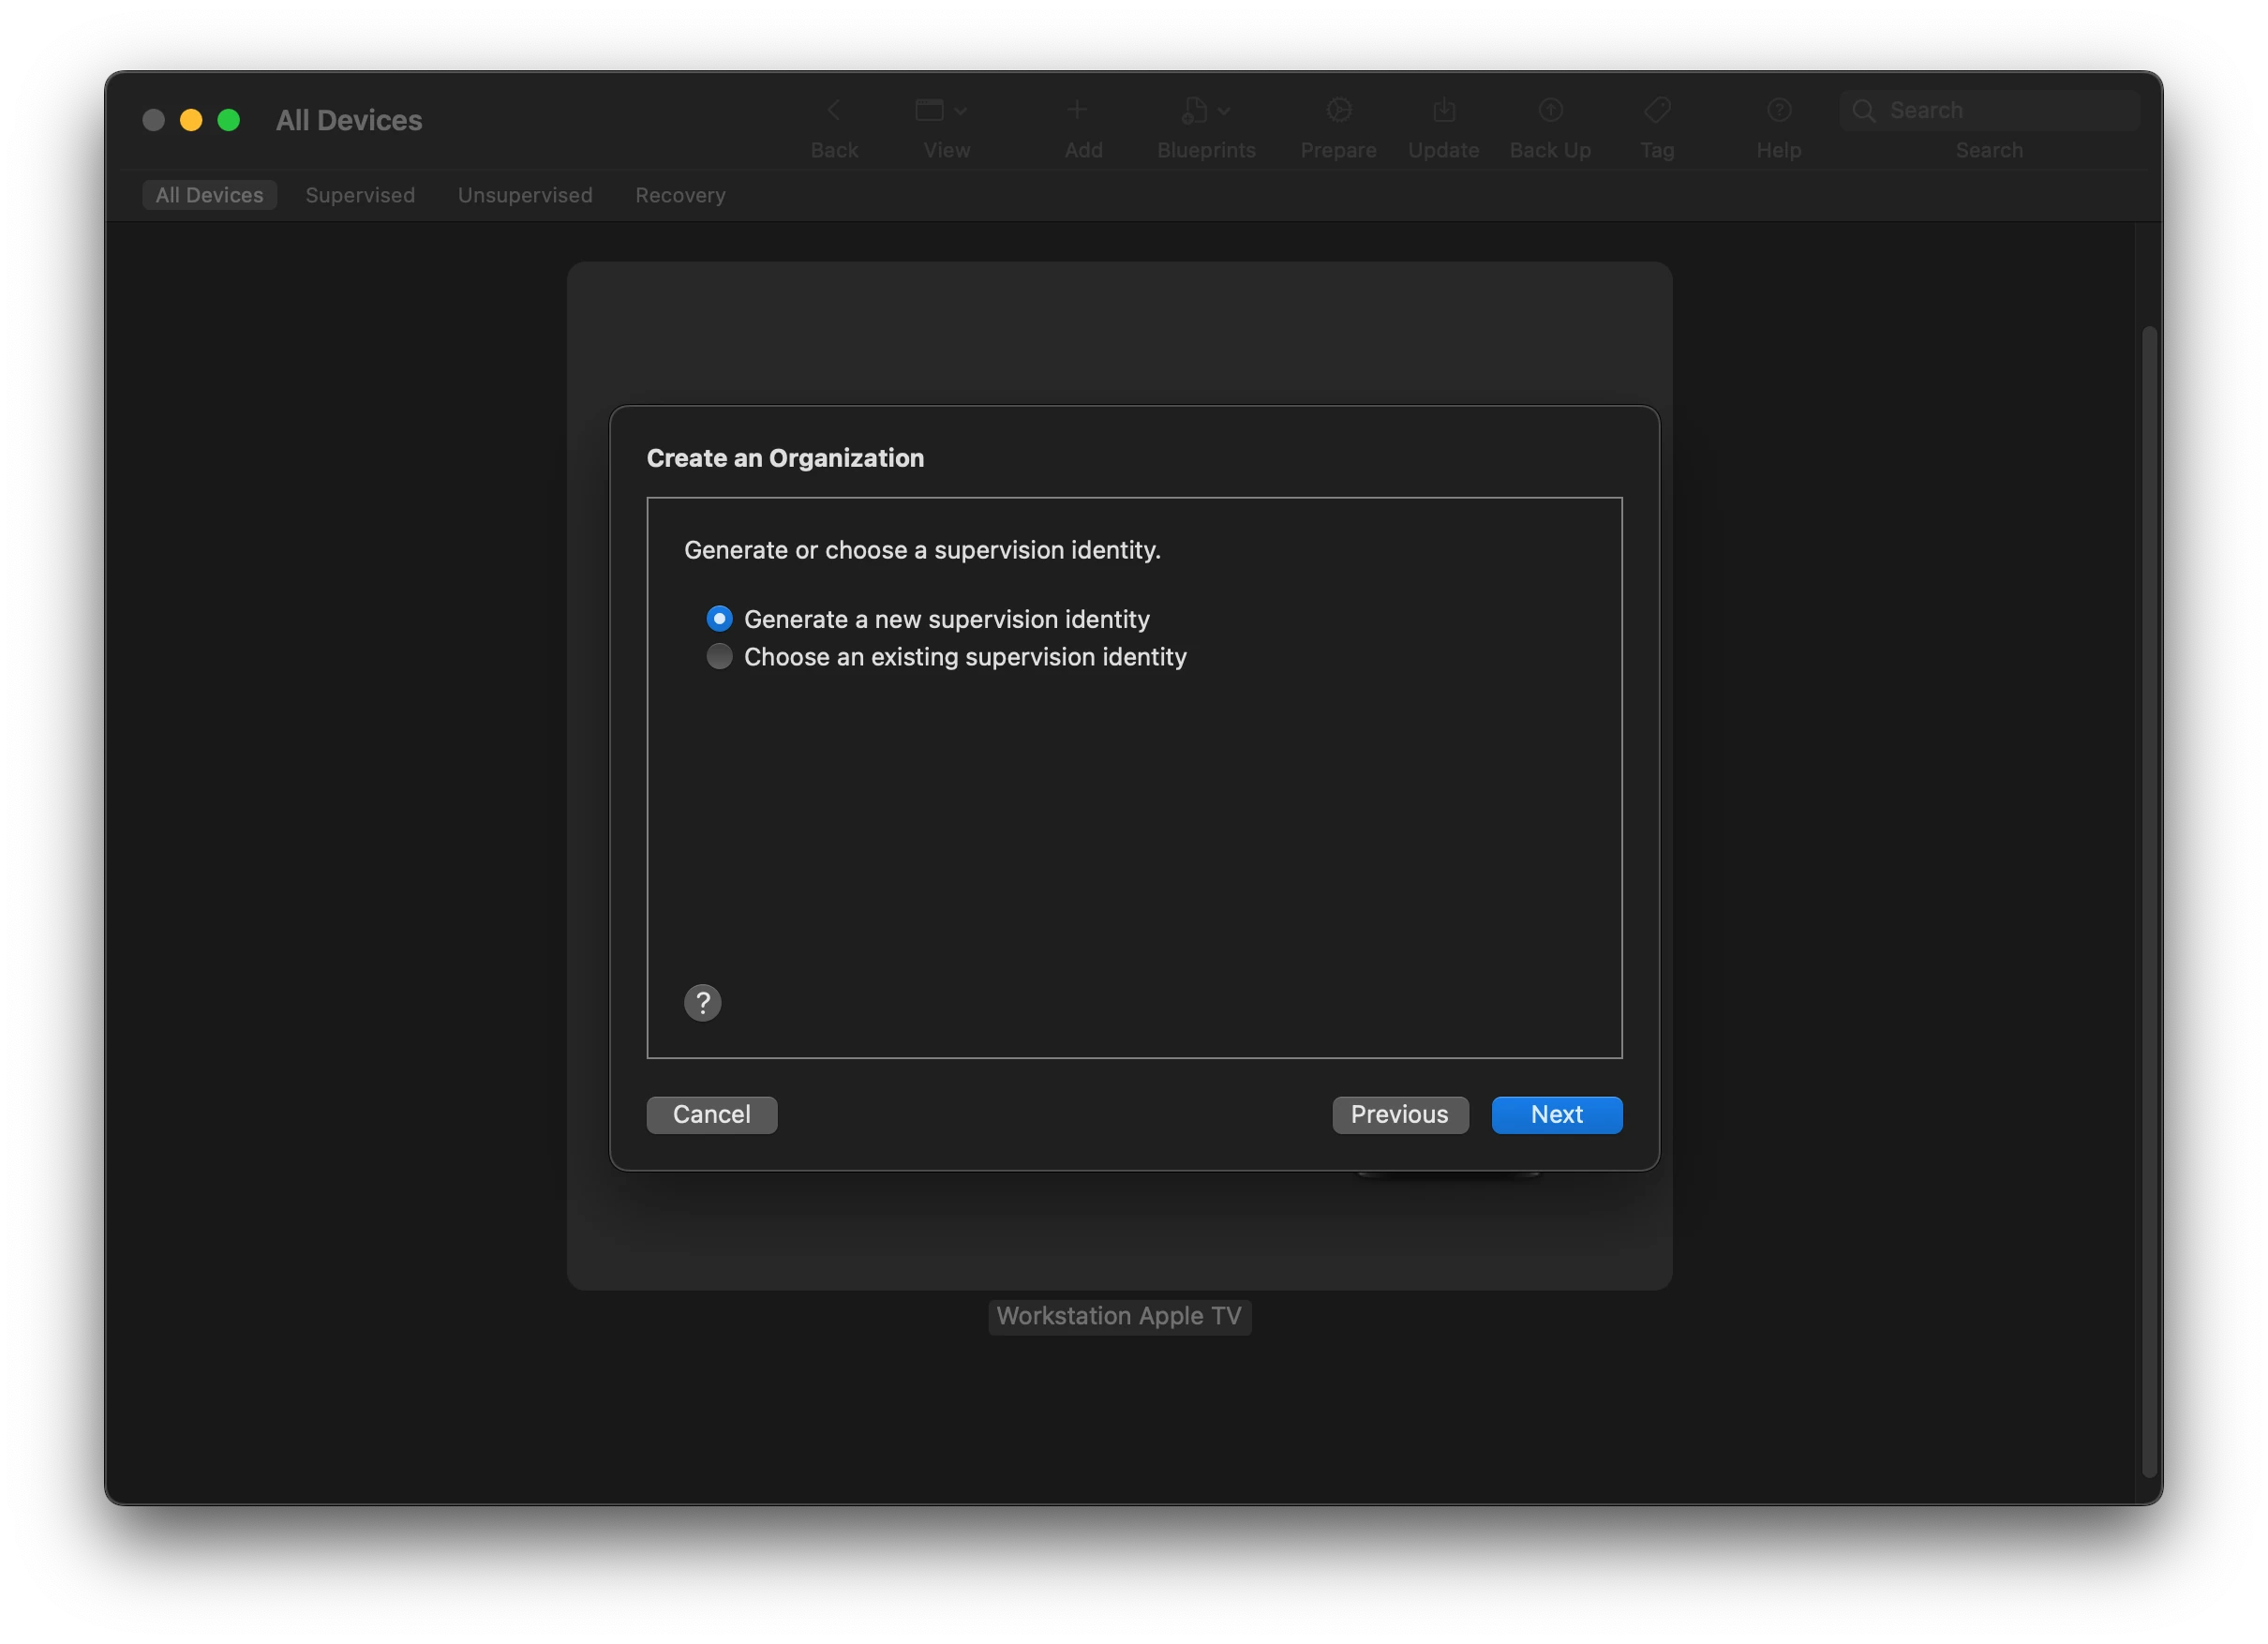
- Now select "Generate a new supervision identity" and click Next.
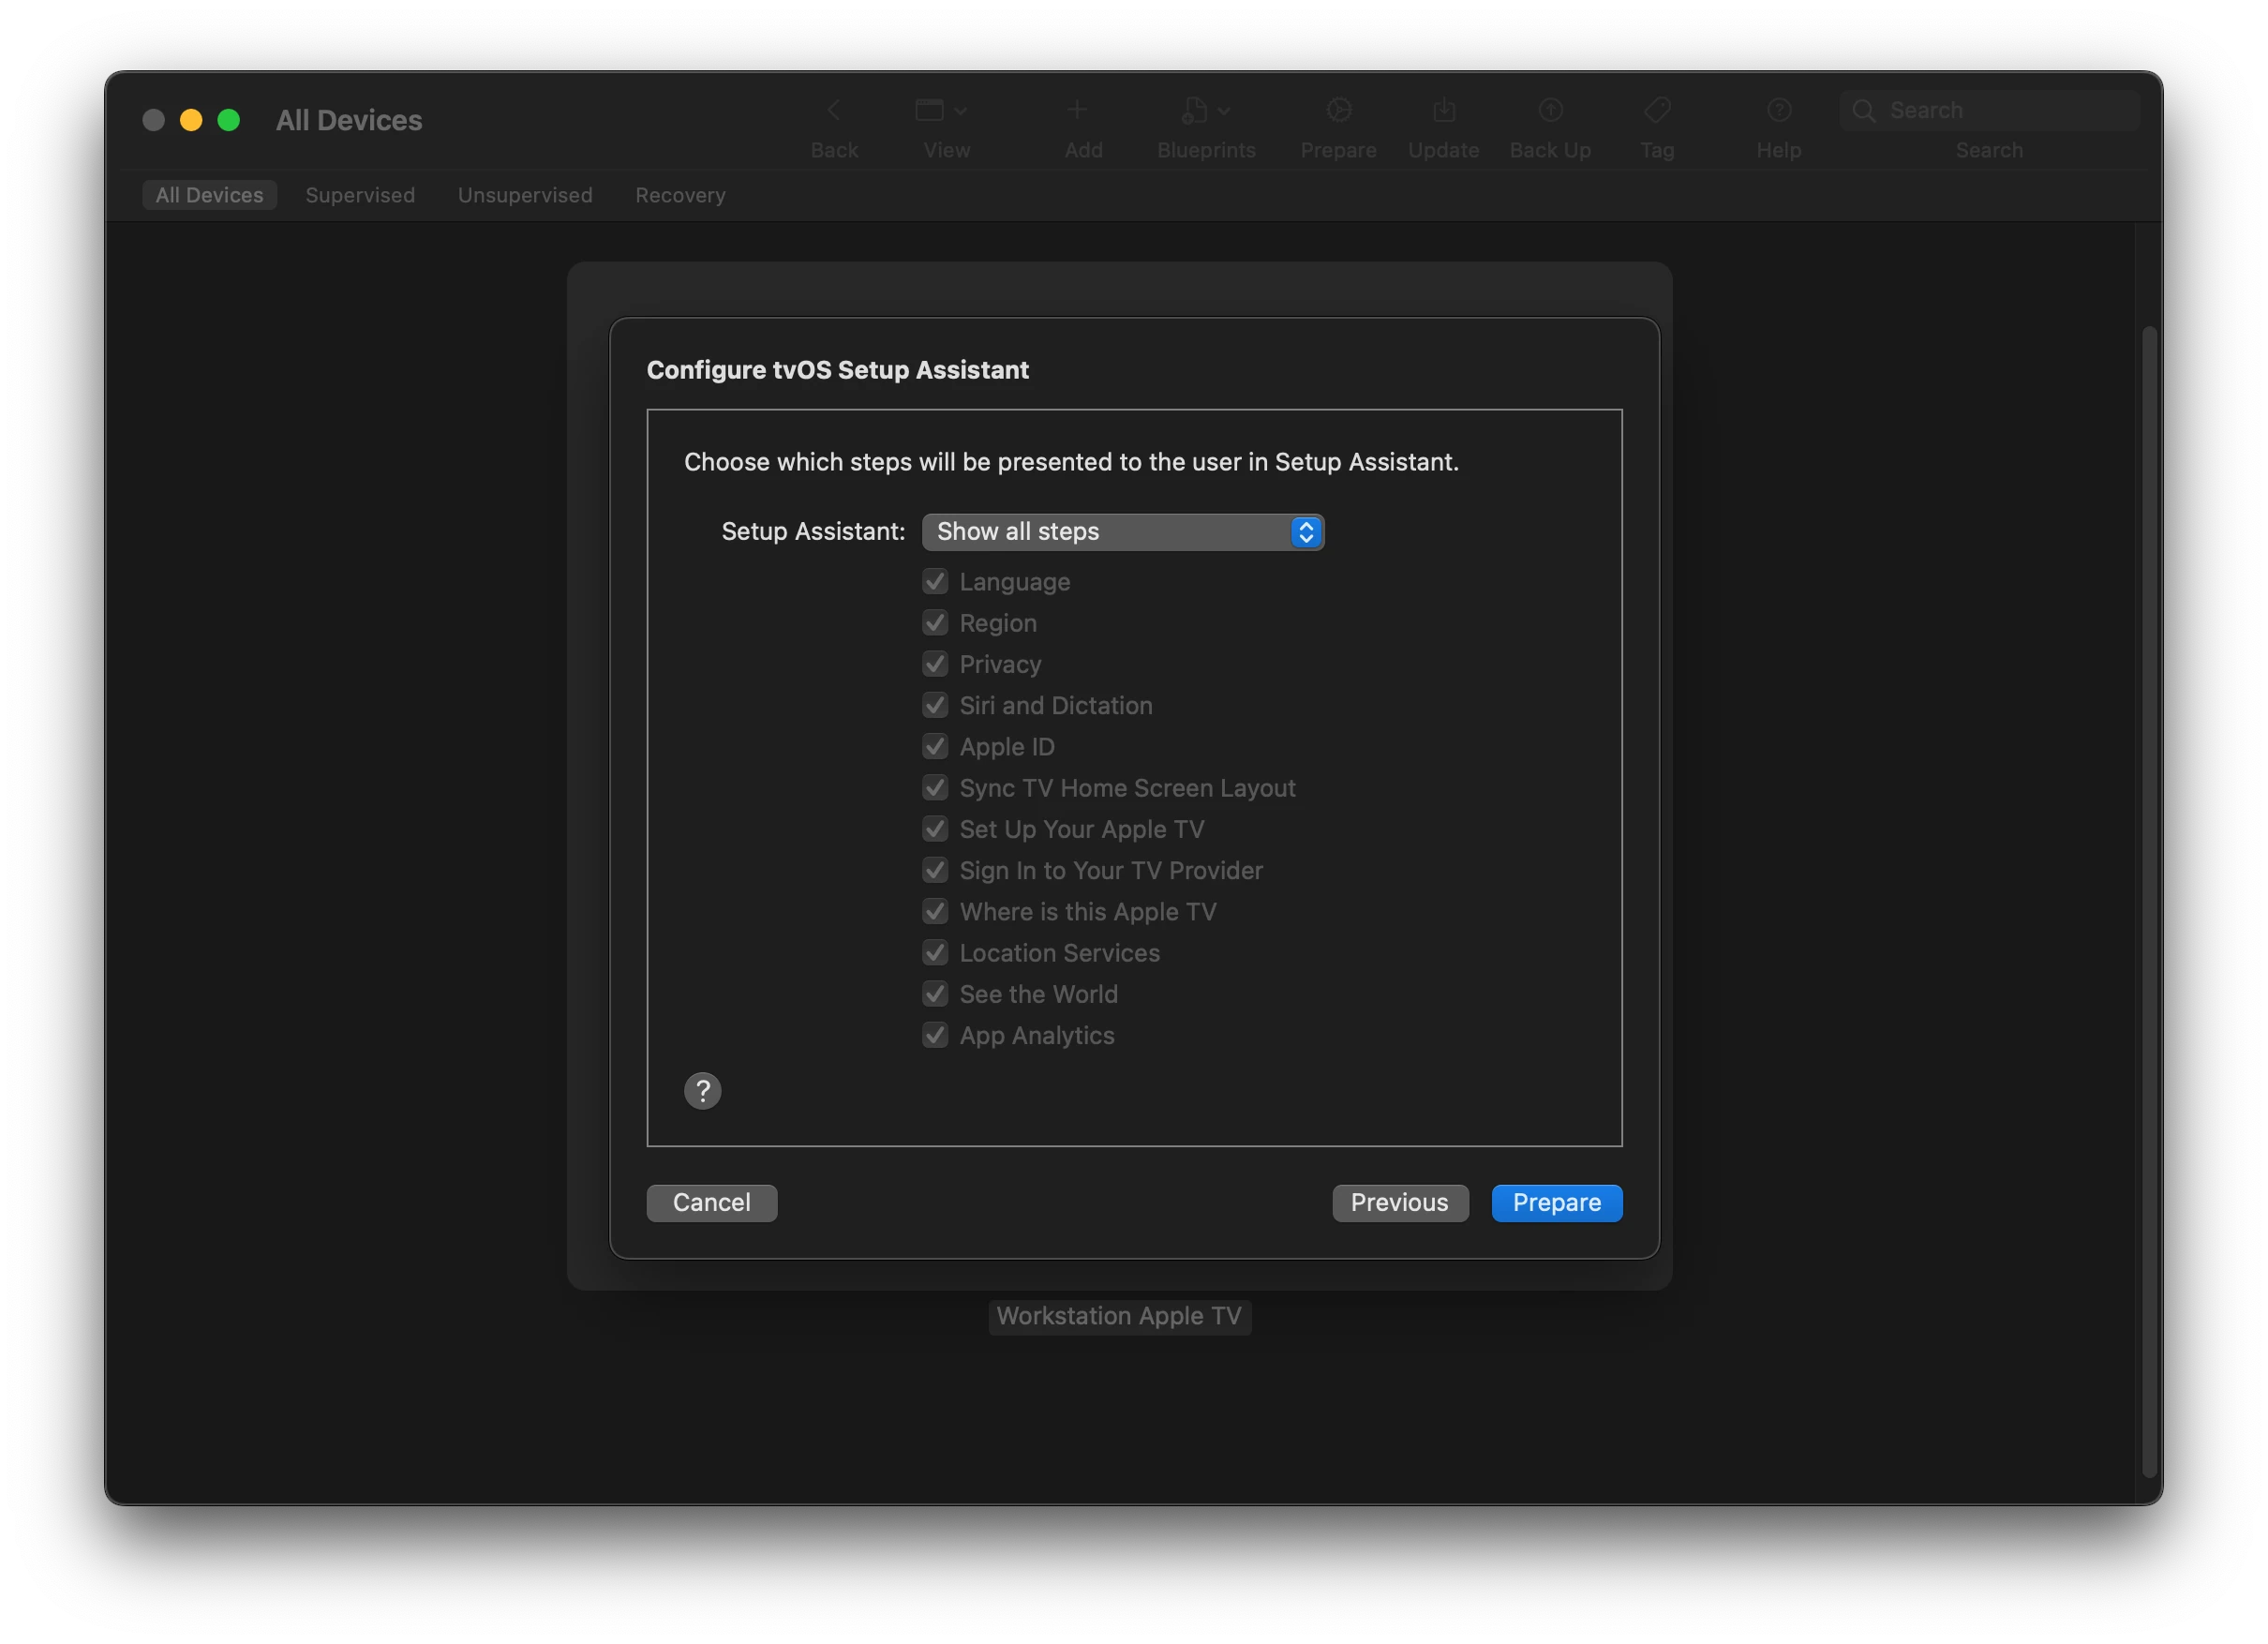
- Keep all steps selected in "Setup Assistant" and click Prepare.
-
After selecting Prepare you may be asked to enter your macOS local username/password to make changes. Enter your macOS username/password and select "Update Settings".
-
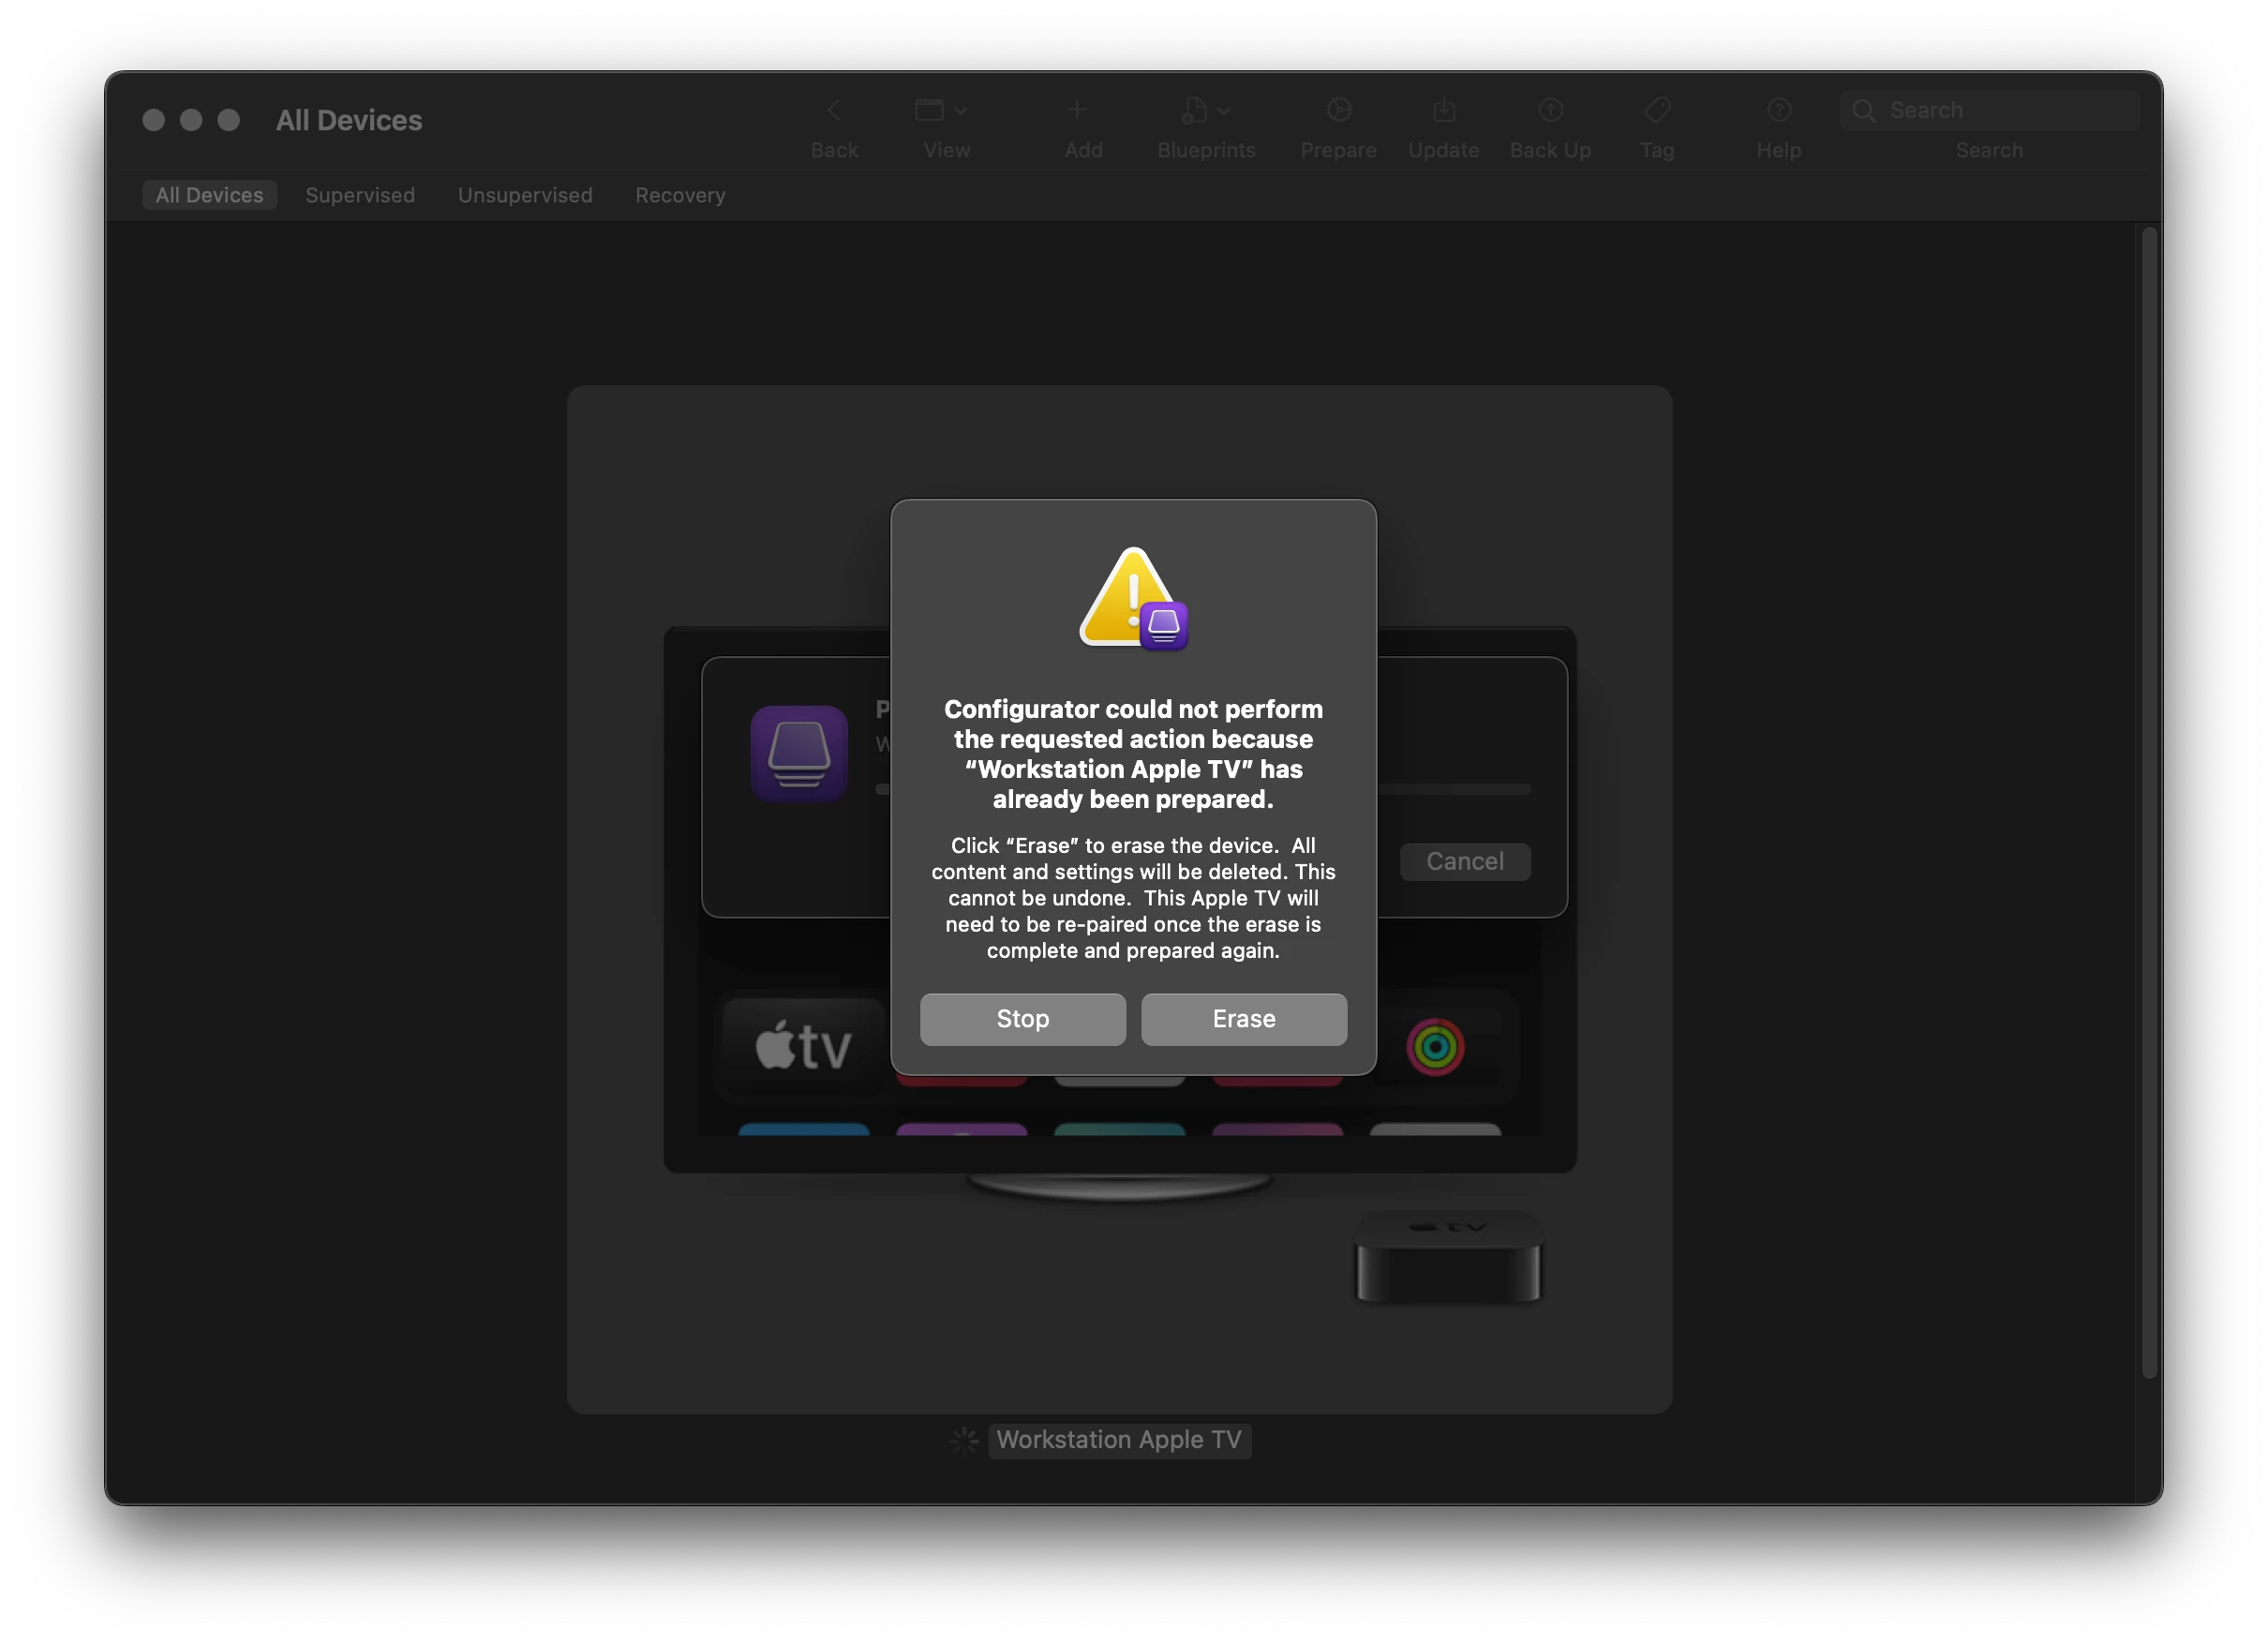
Now, you will see a popup informing you that the device will be erased. Click Erase to proceed.
- Now Apple Configurator will start preparing your device. Once it finishes check your Apple TV is shown in the "Supervised" tab and "All Devices" tab as well.
- You may need to re-paired the Apple TV if it is not visible in Apple Configurator.
3. Export and Trust Charles Root Certificate
- Now, we have to set export the Charles Root Certificate and make it trustable otherwise Apple Configurator 2 may say "This root certificate is not trusted".
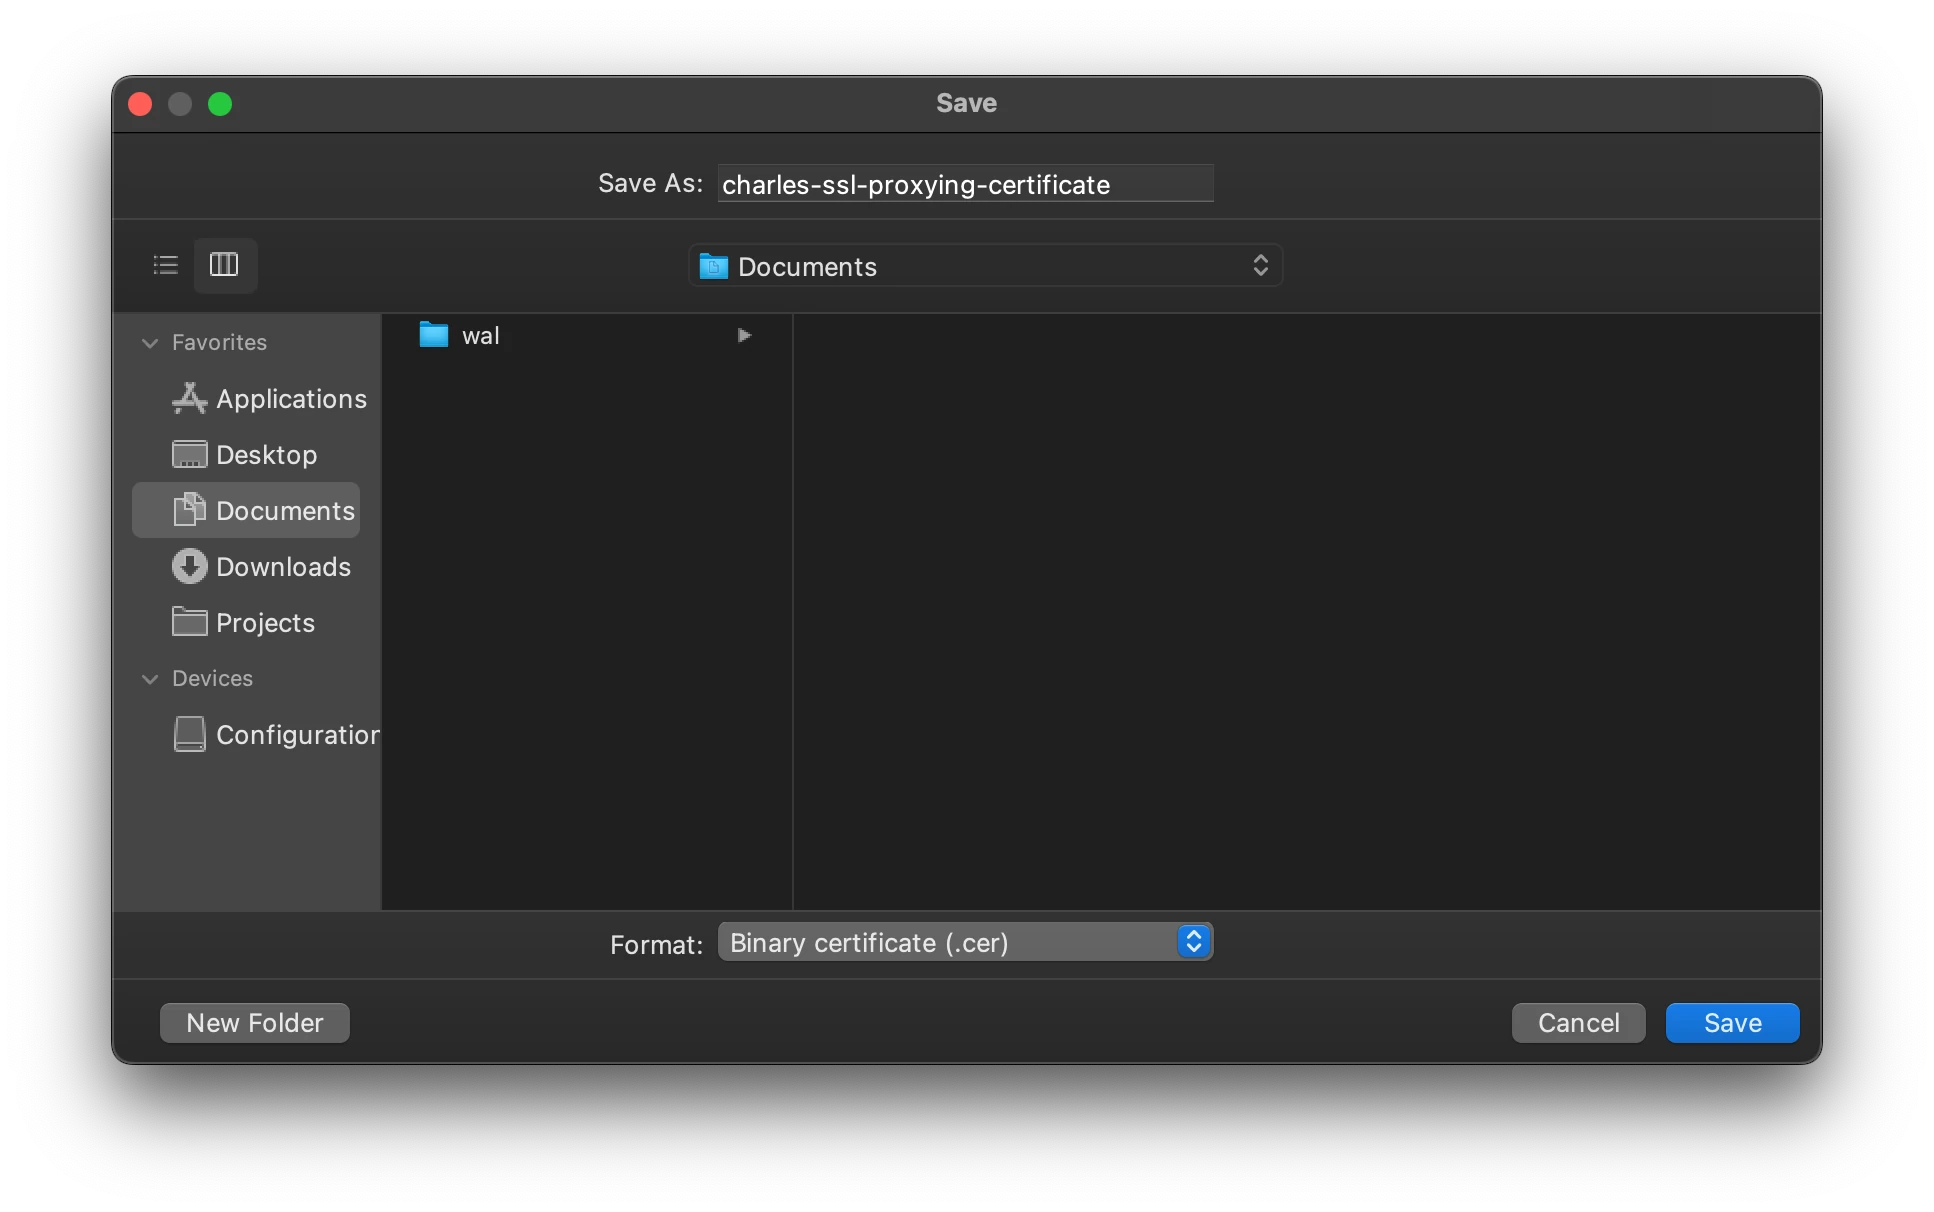
- Export the Charles Root Certificate as
.cer. In the Charles Proxy menu, select "Help" > "SSL Proxying" > "Save Charles Root Certificate..." - Make sure to save this certificate as
.cer.
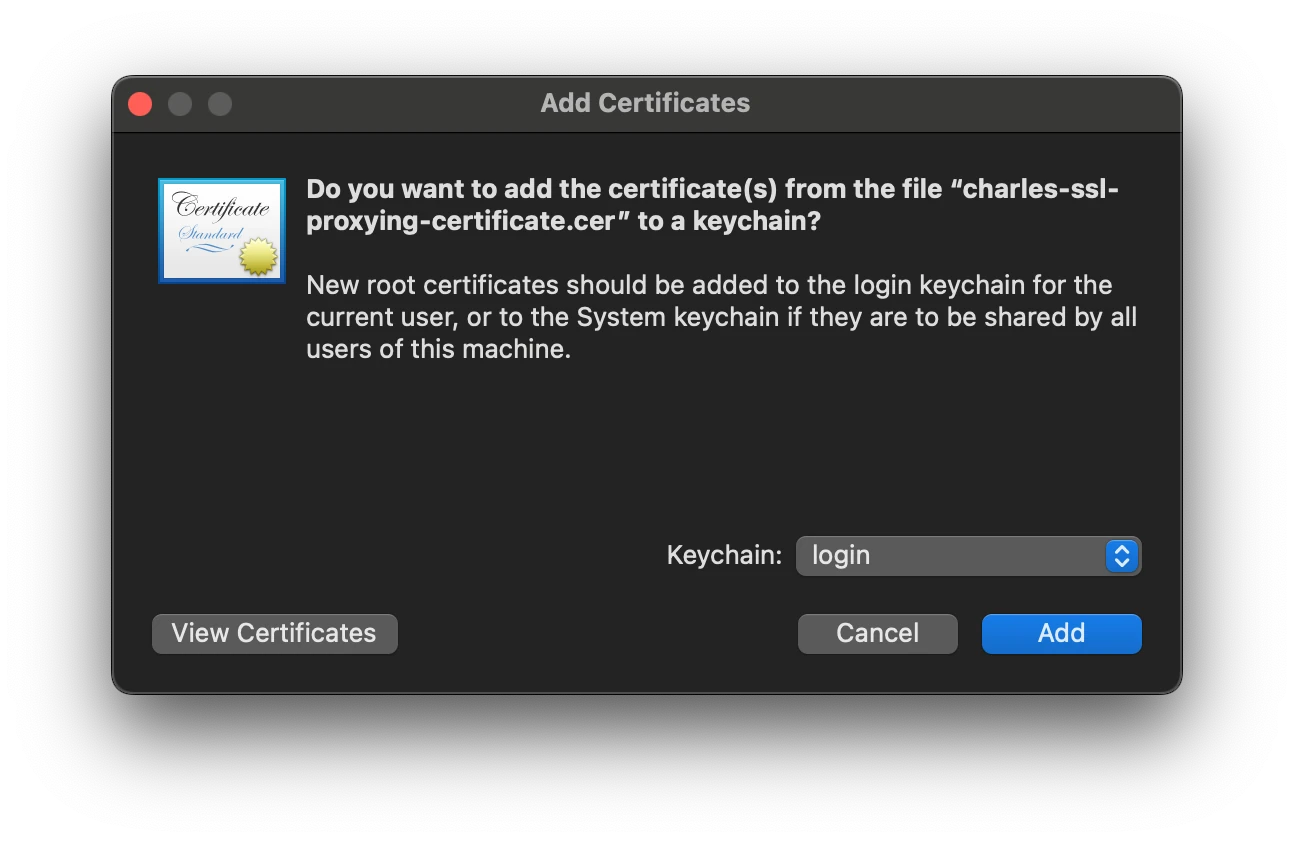
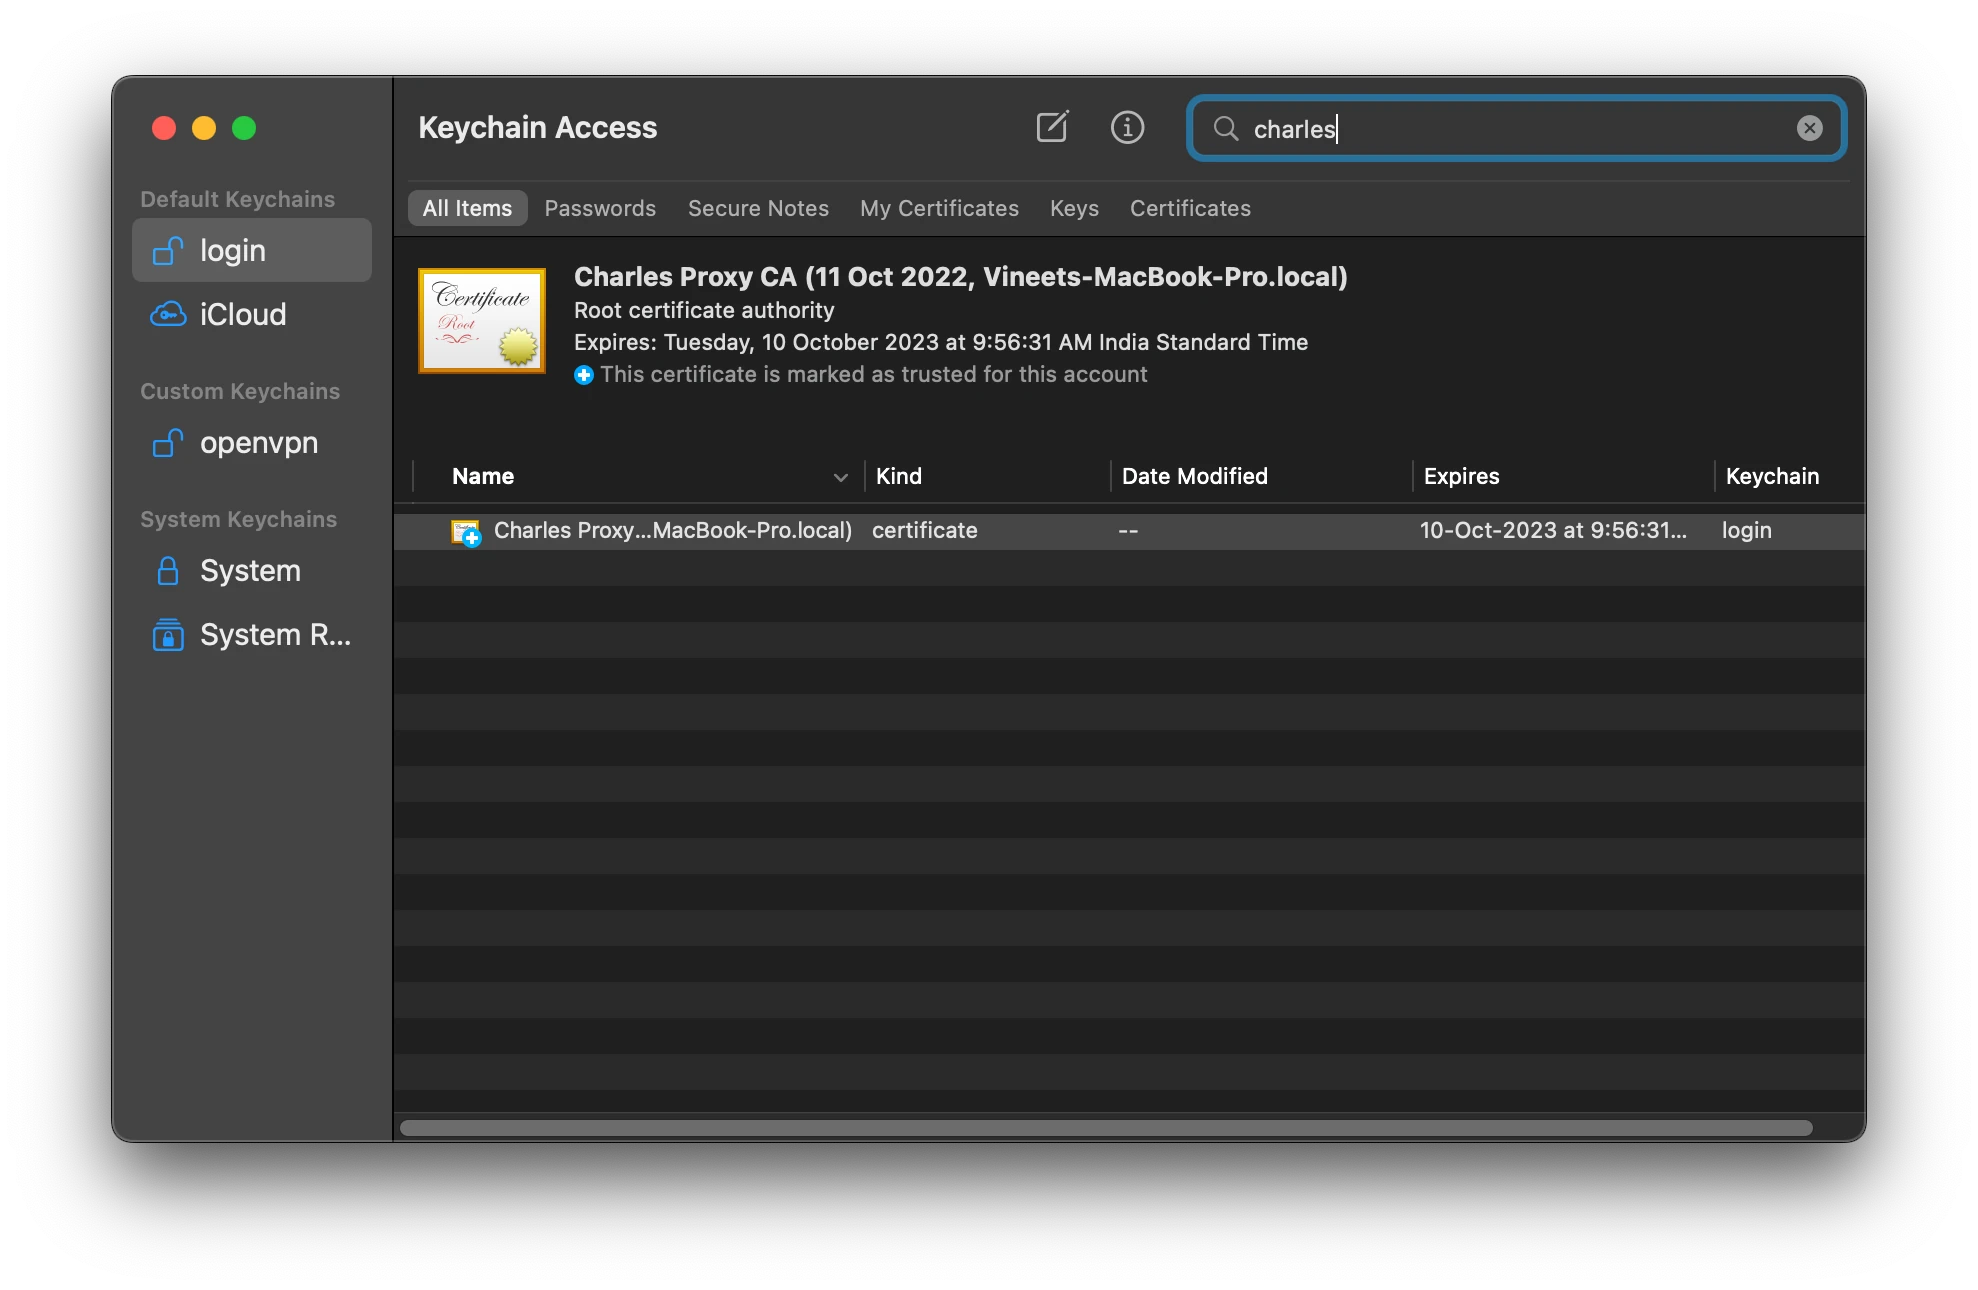
- Now double-click on the exported certificate to add it to your login Keychain.
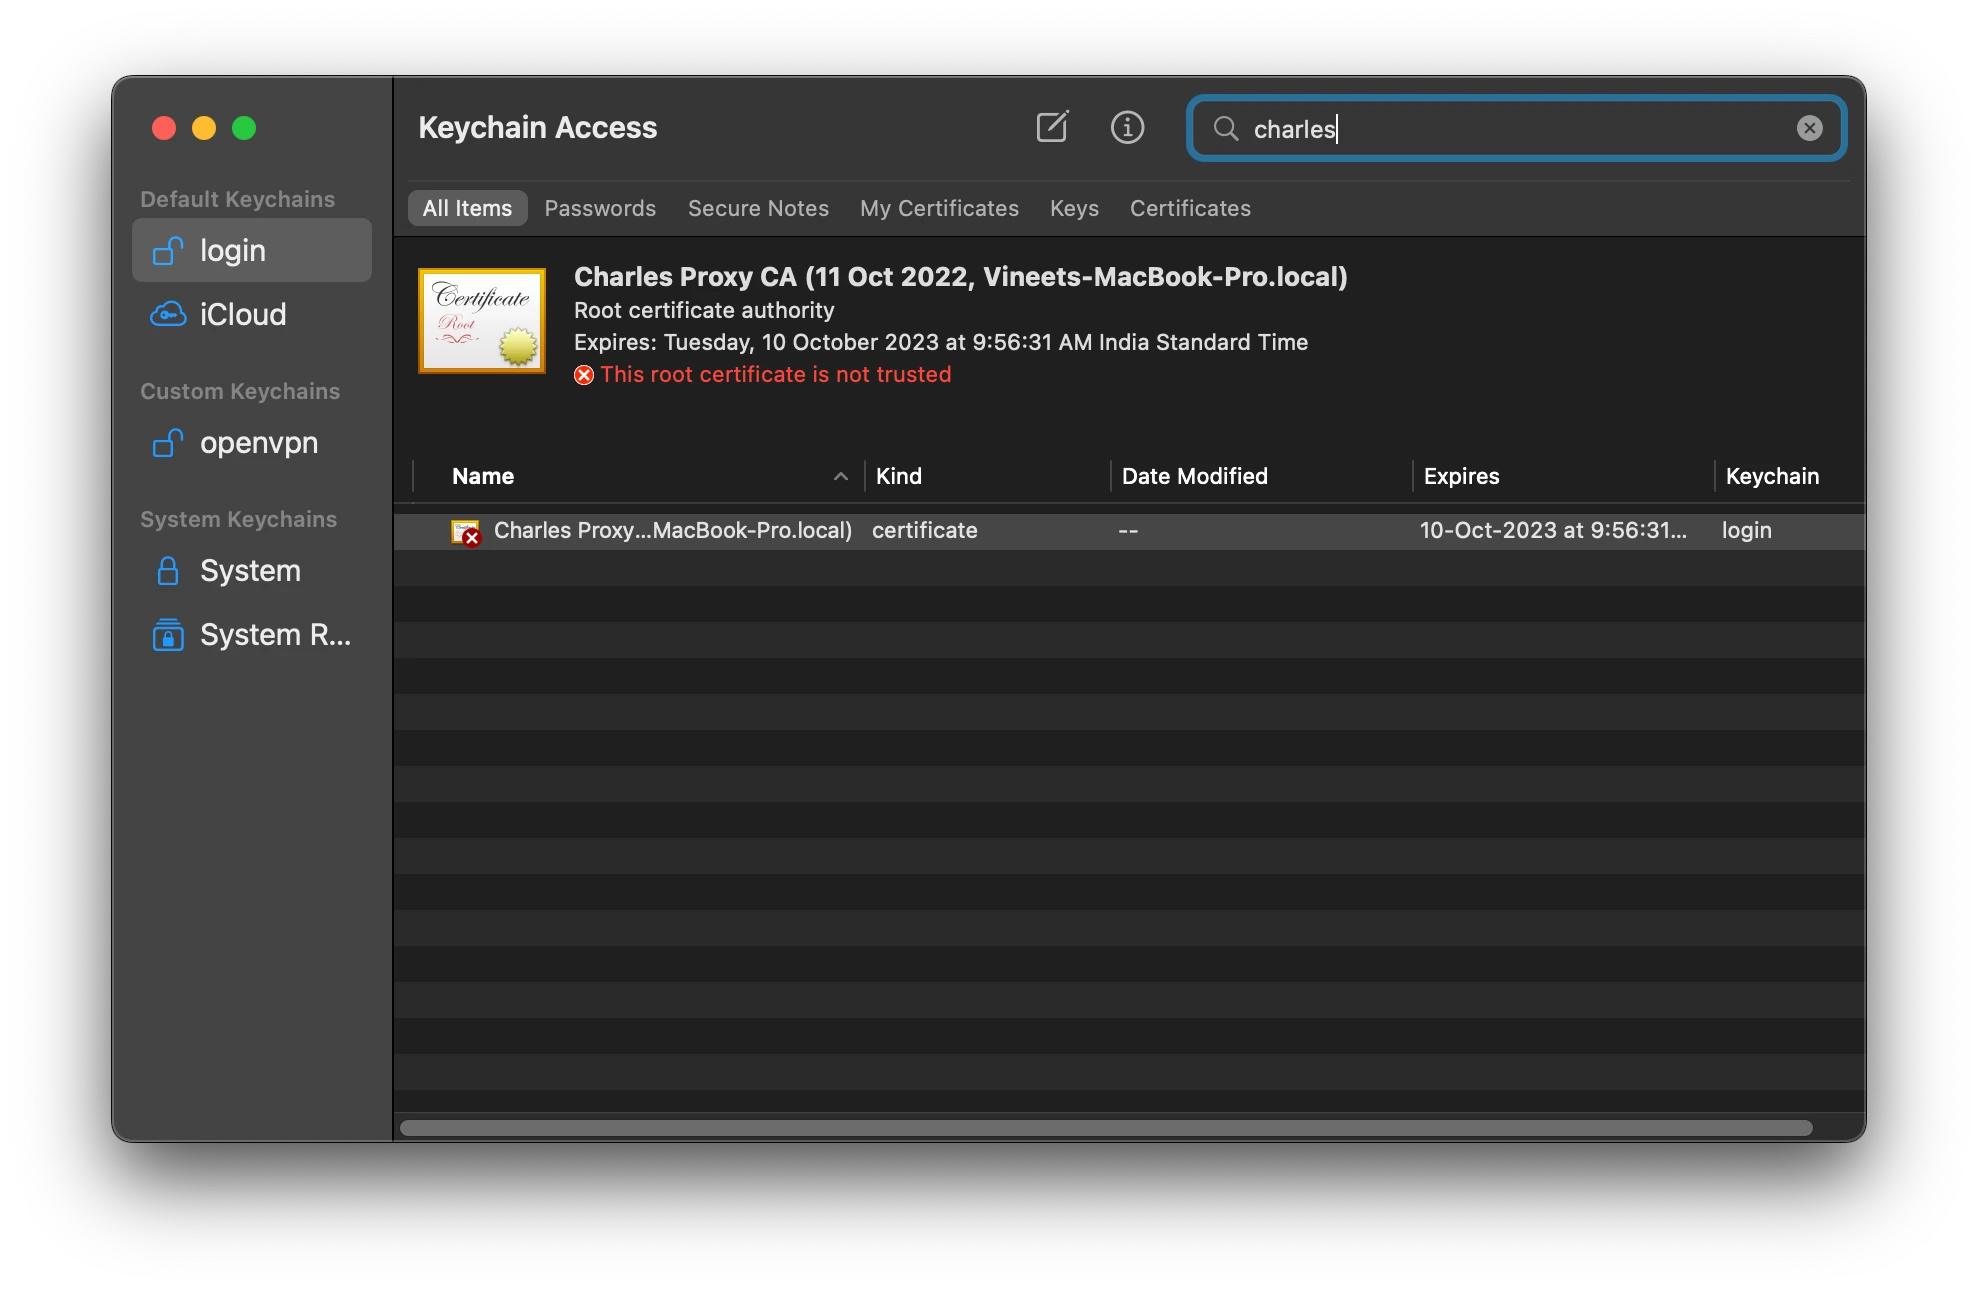
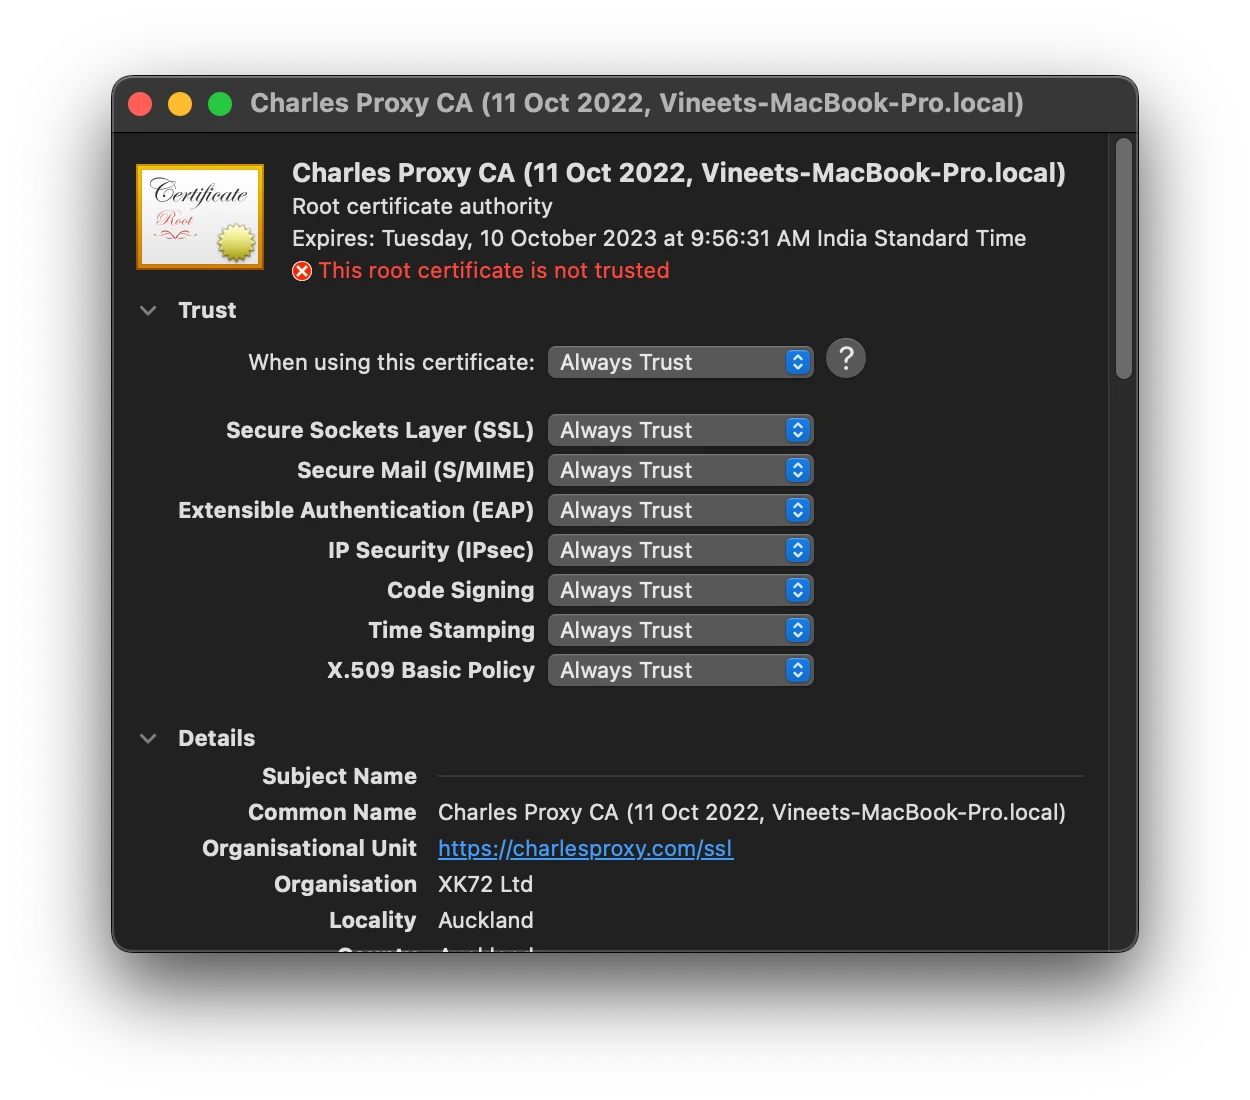
- You can see the keychain says that "This root certificate is not trusted"
- To make it a trusted certificate, right-click on the certificate and then select "Get information".
- In the "Trust" section > "When using this certificate", select "Always Trust".
- Now keychain will show this as a trusted certificate.
4. Create and Configure Profile
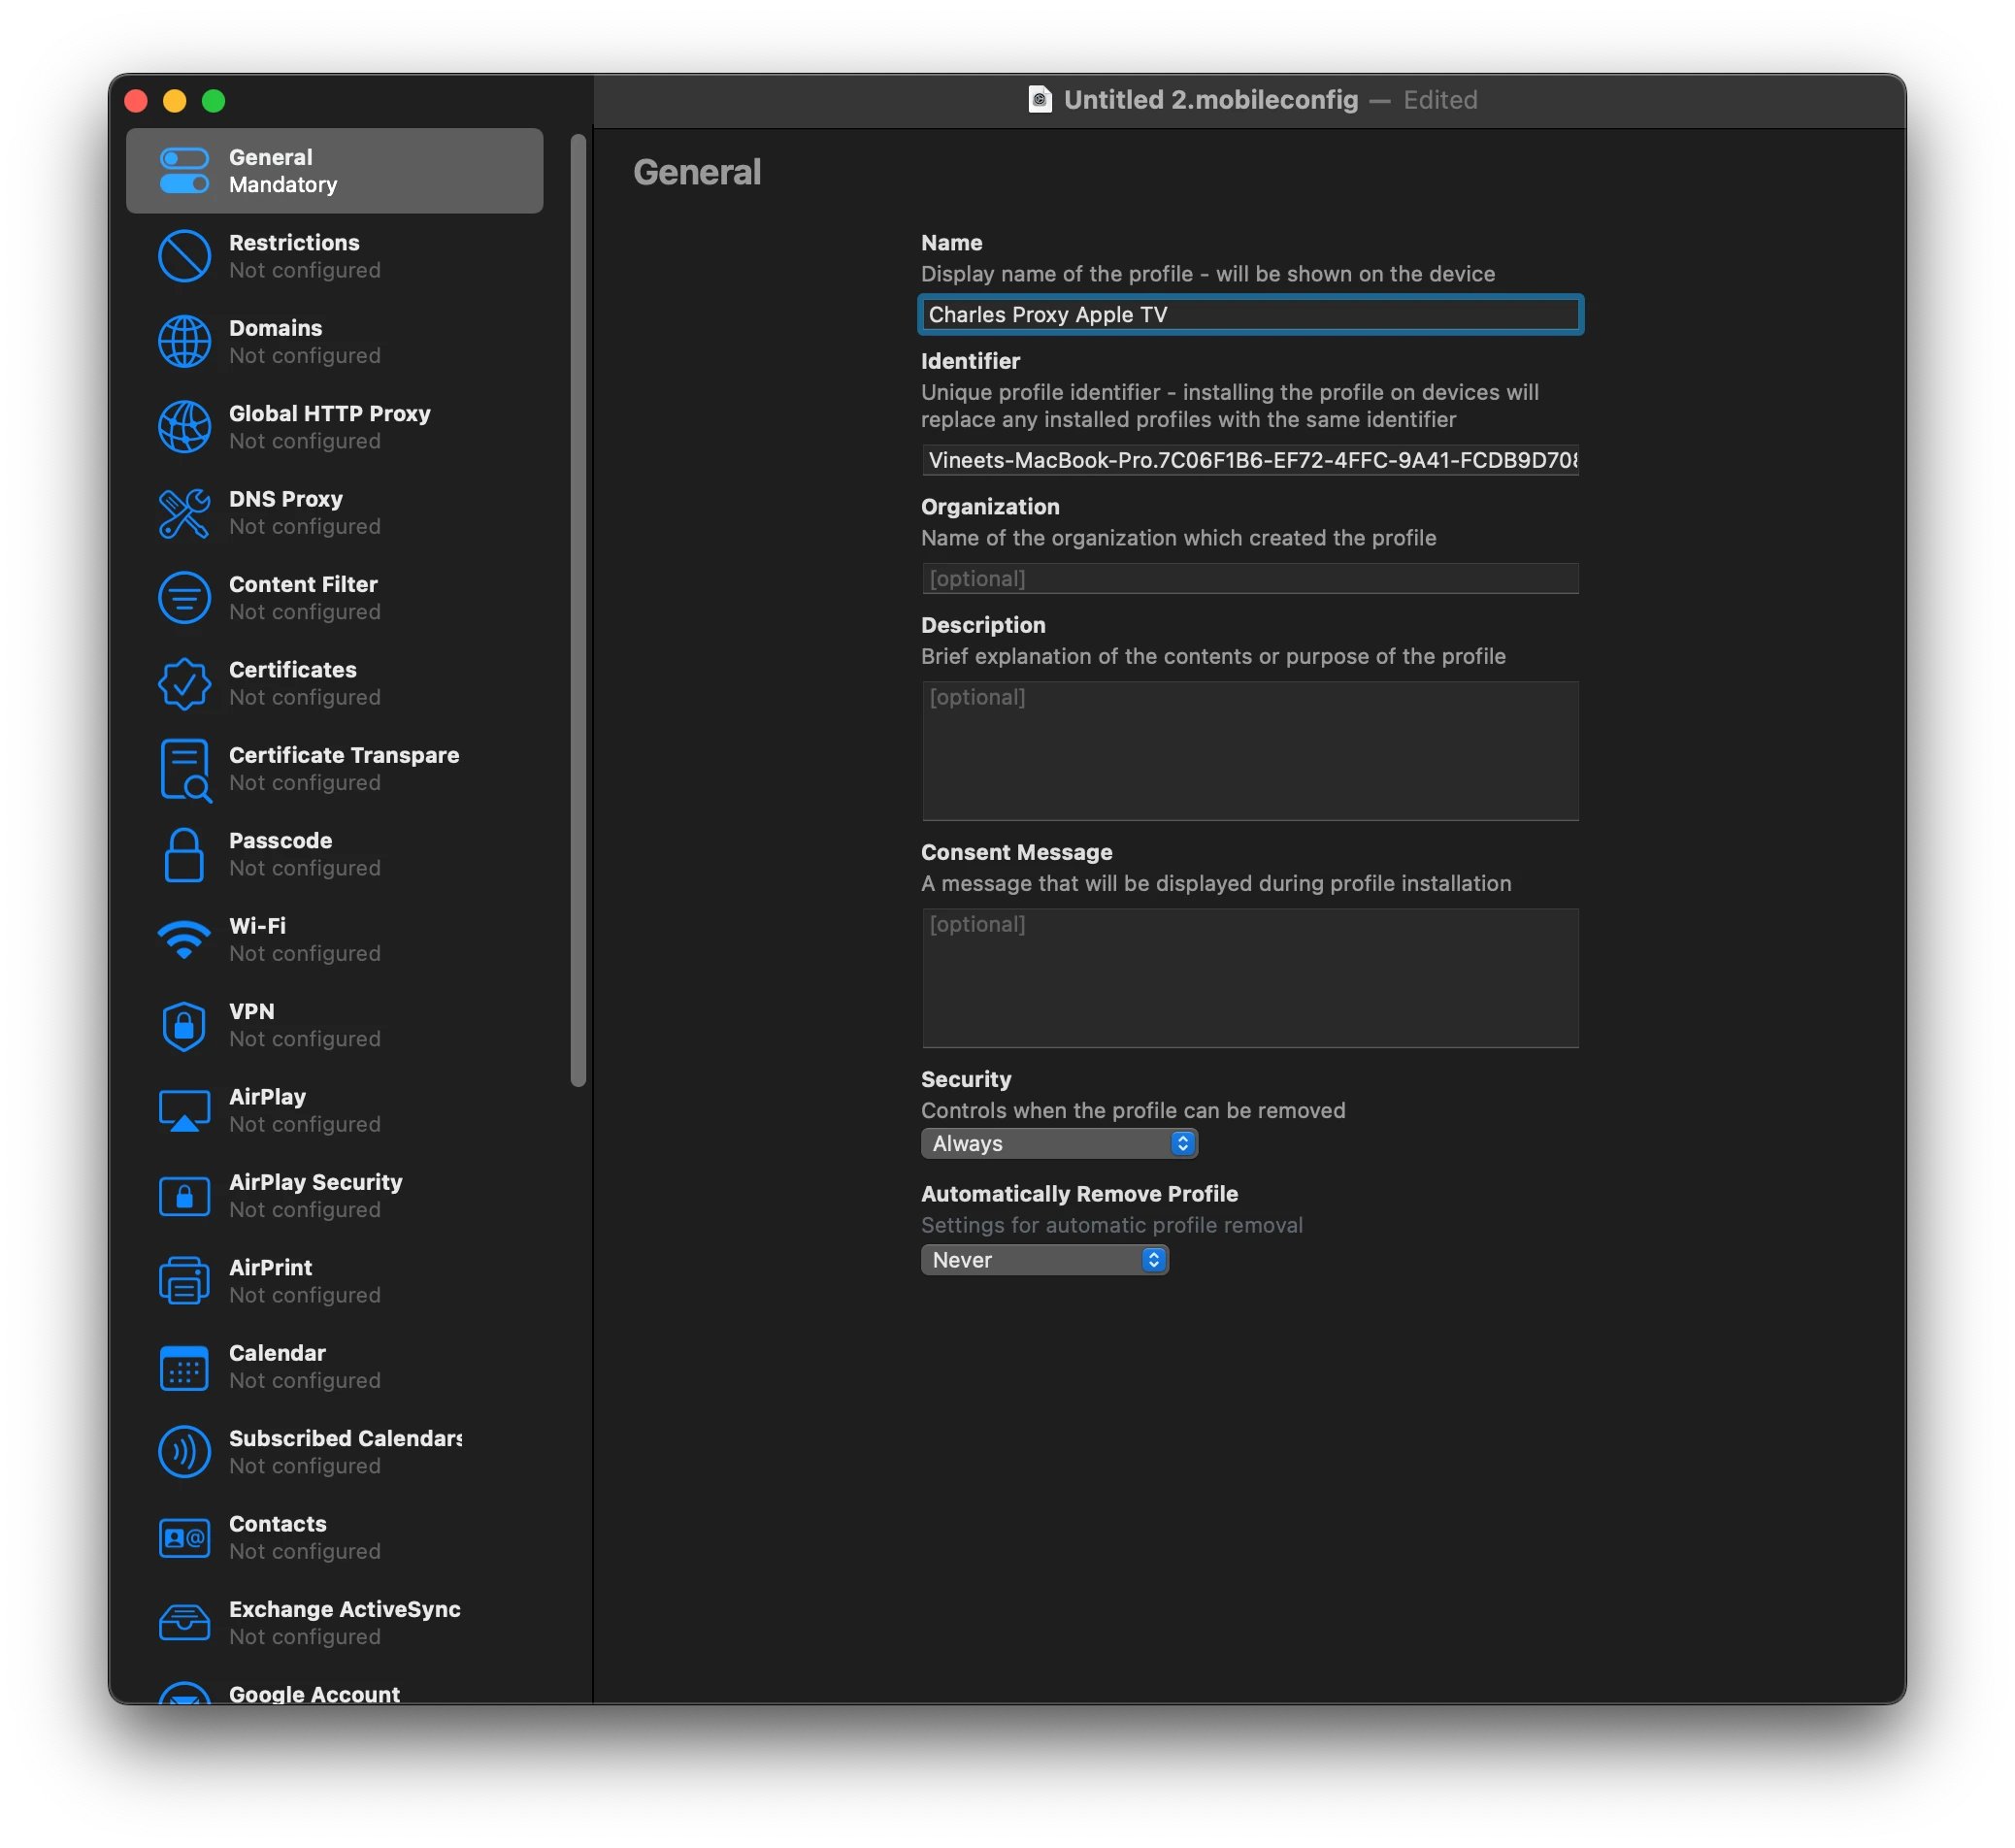
- In the Apple Configurator menu, select "File" > "New Profile"
- Give your profile a name and a unique identifier (if not pre-filled).
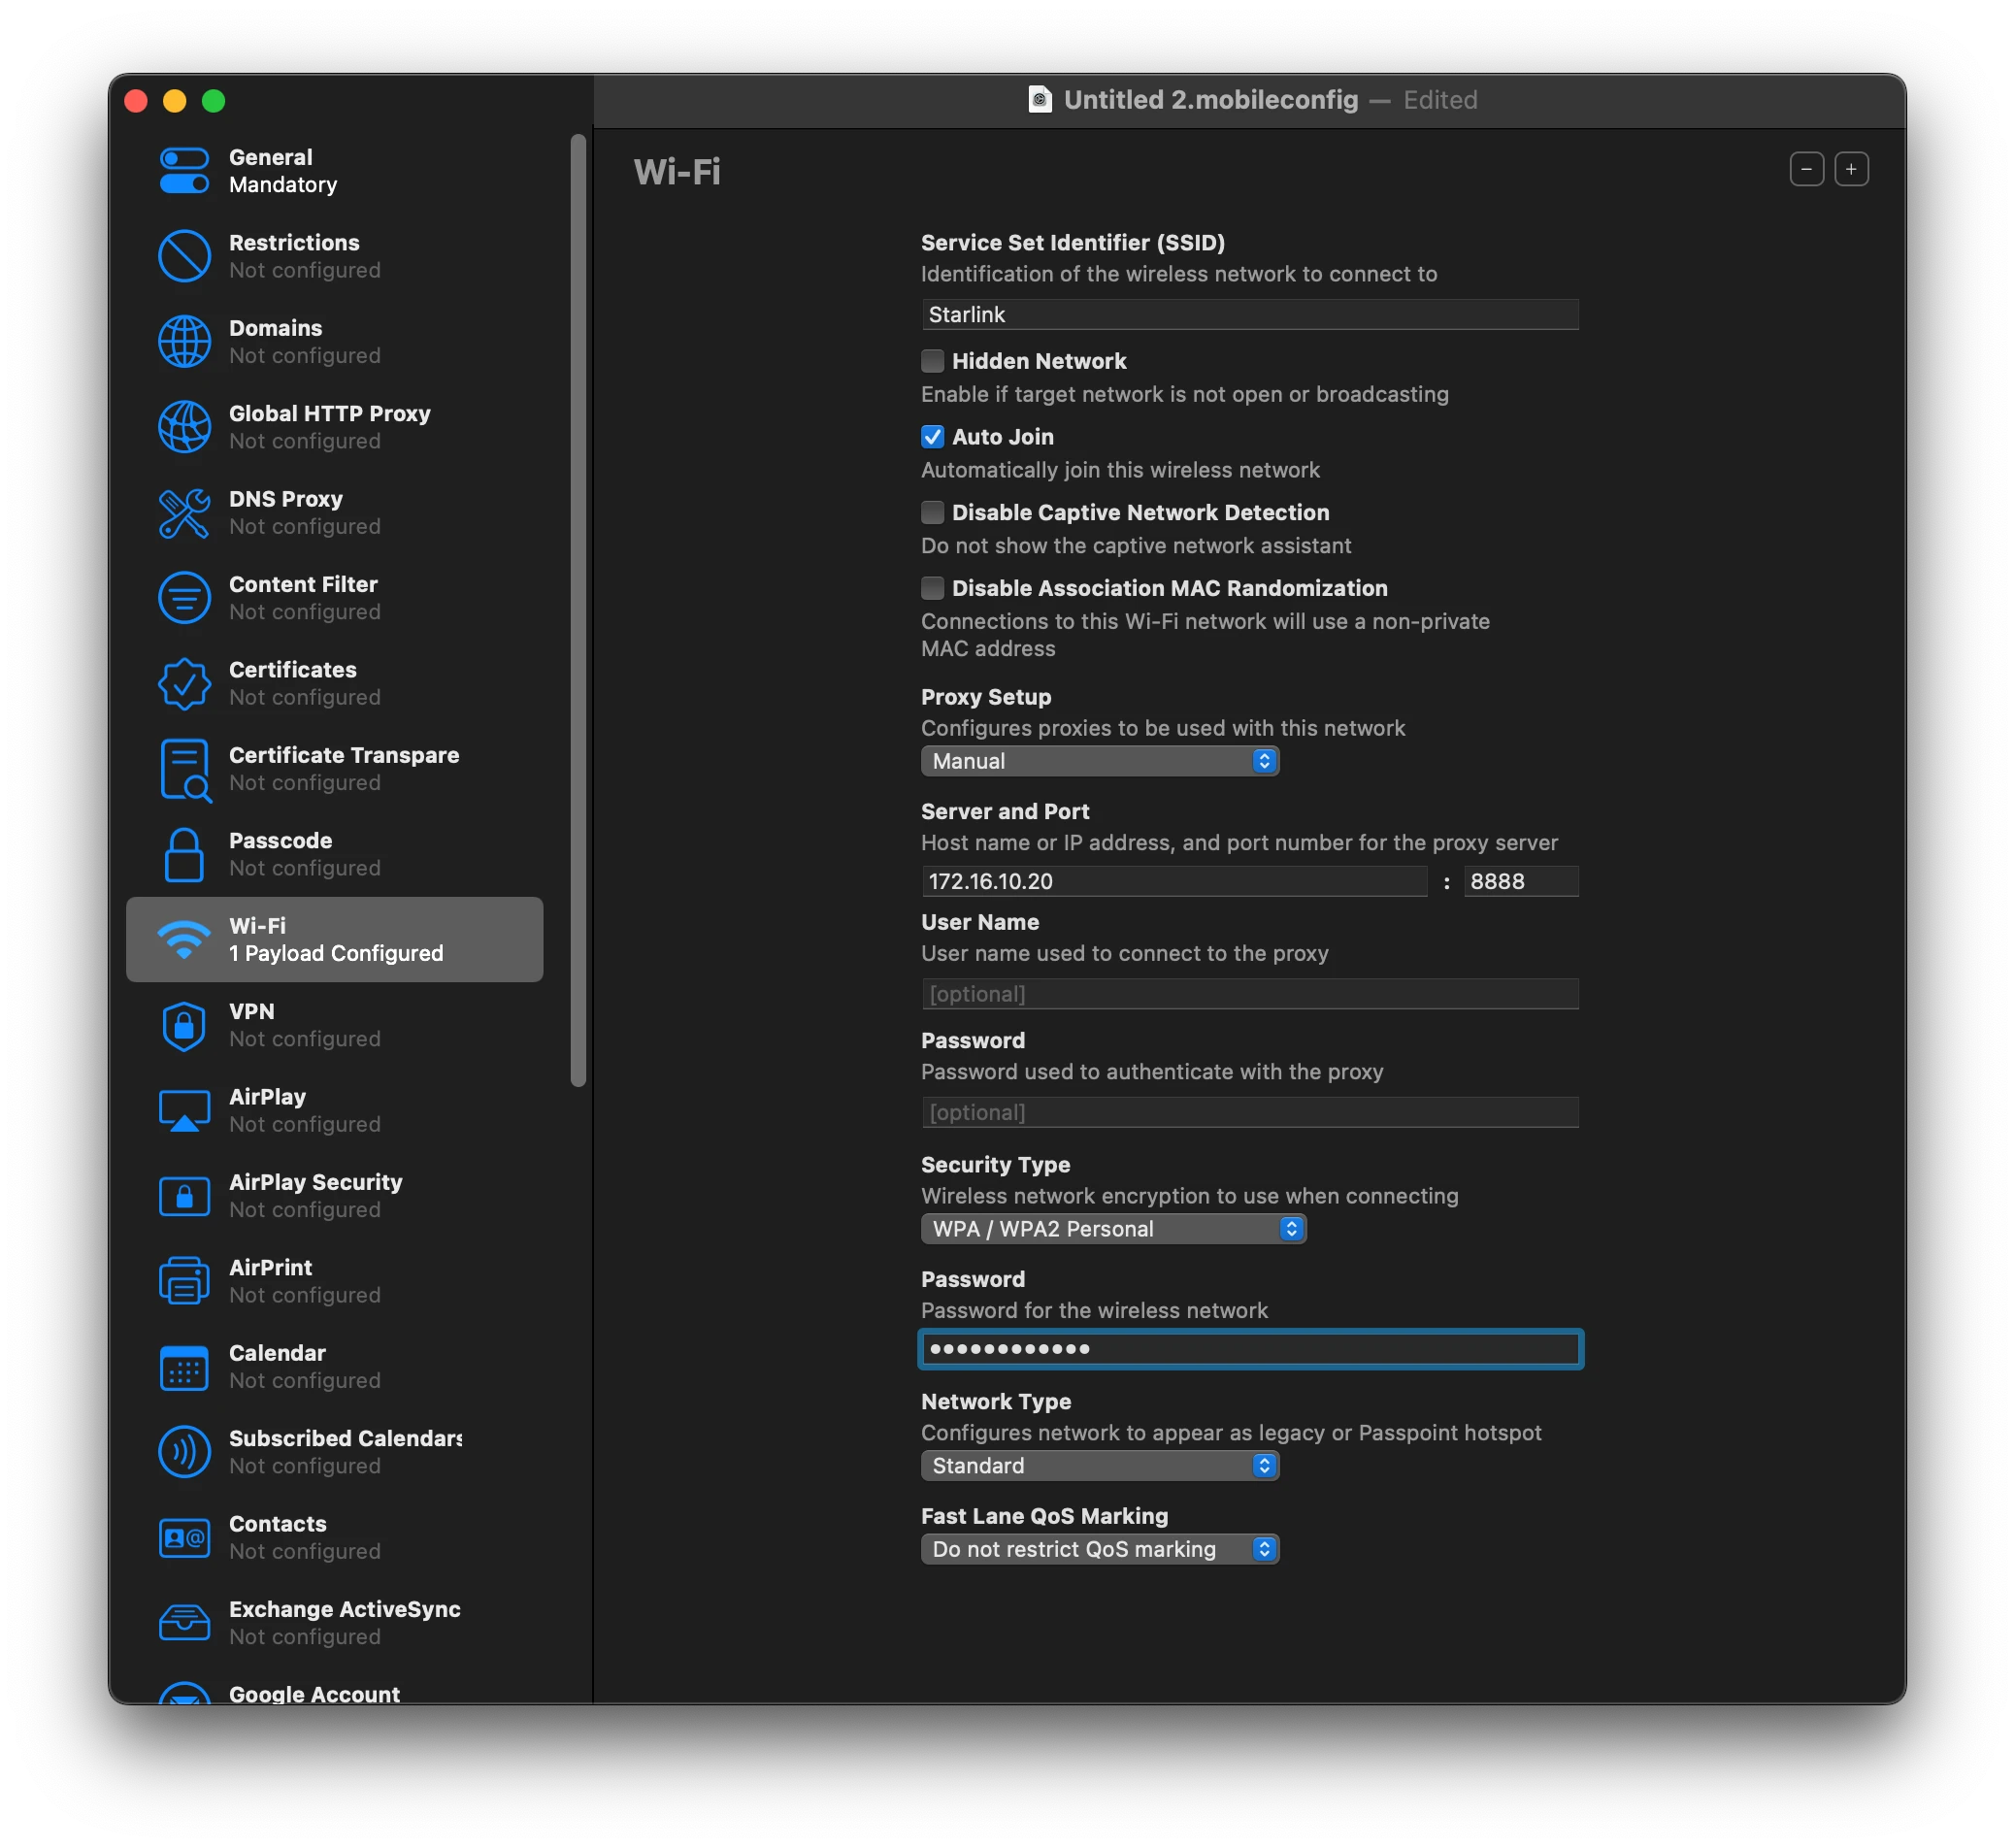
- Now, select Wi-Fi on the left and click Configure.
- Enter your Wi-Fi SSID
- In Proxy Setup, select Manual
- Enter the IP address of the machine running Charles Proxy and port 8888 (default port for Charles Proxy)
- Select Wi-Fi security type and enter the Wi-Fi password
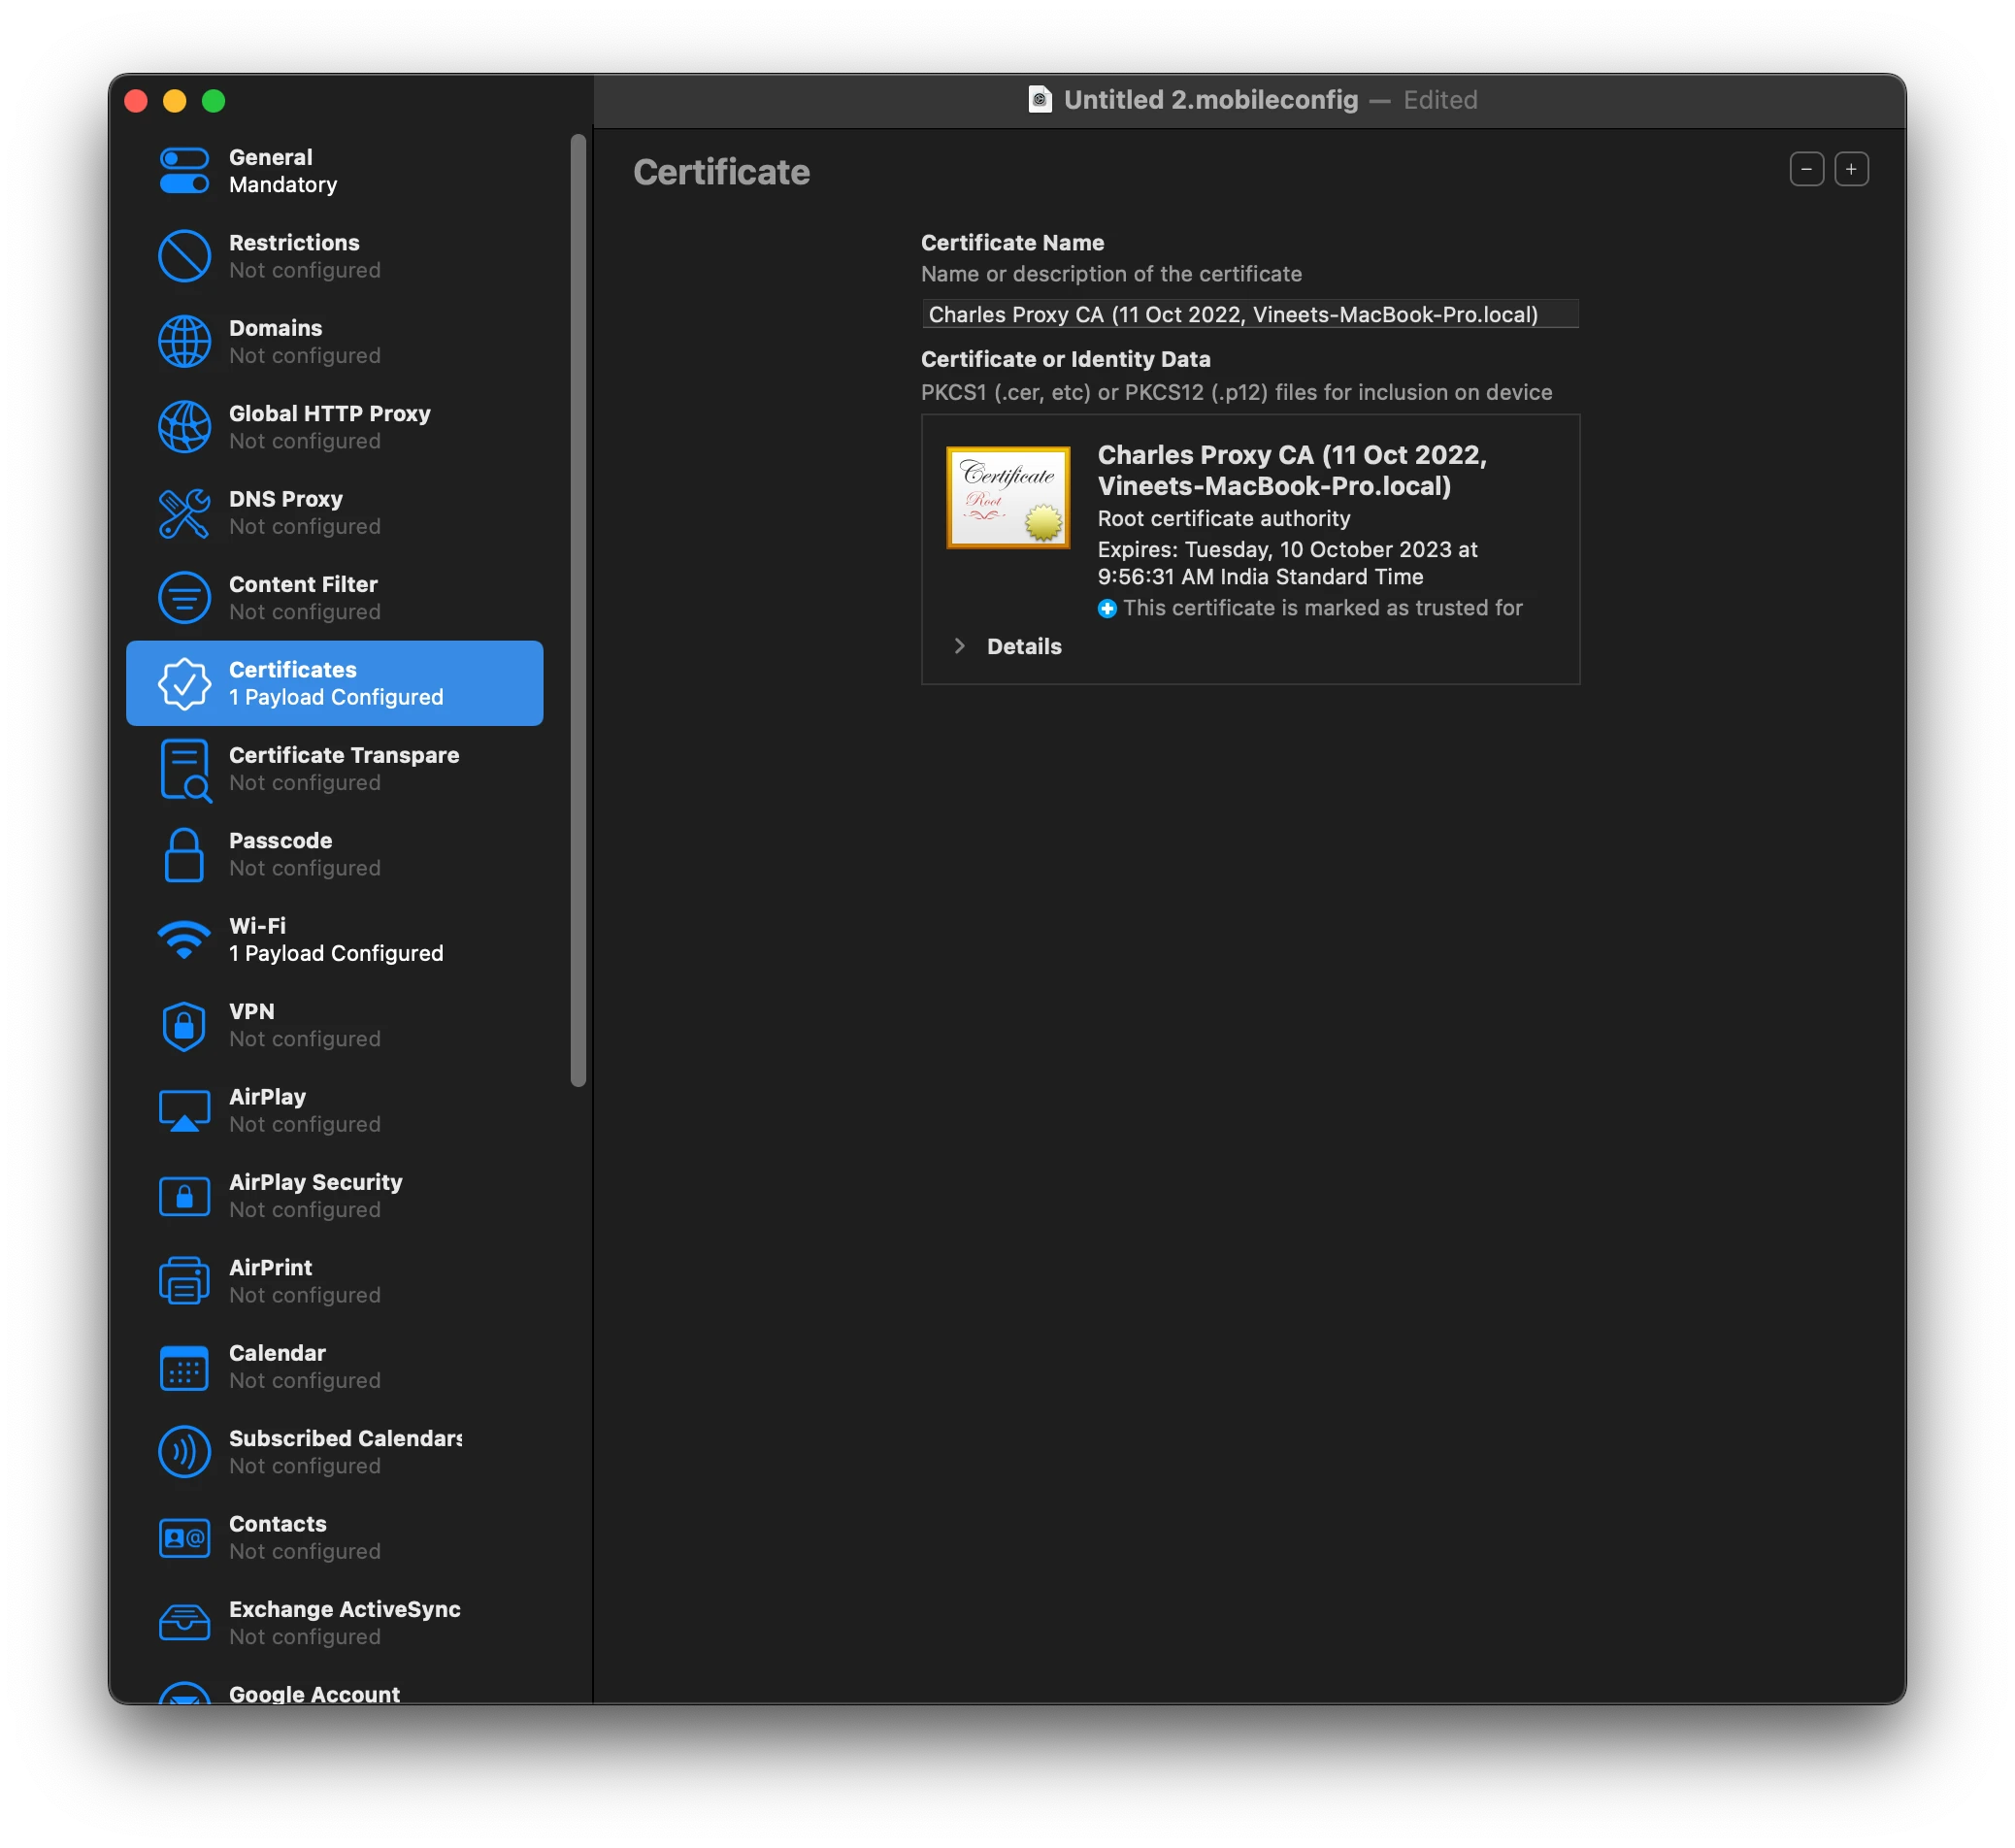
- Select the "Certificates" on the left and click Configure.
- This brings up a dialog to select the certificate. We need to select "Charles Root Certificate" which we have exported in Step 3.
- Save this profile. You can edit the profile in the future if you want to make any changes (like Wi-Fi Name, Password, Charles machine IP Address or Charles Root Certificates, etc.)
5. Install the Profile
- In Apple Configurator, select your Apple TV and Click on the "Add" button in the top bar
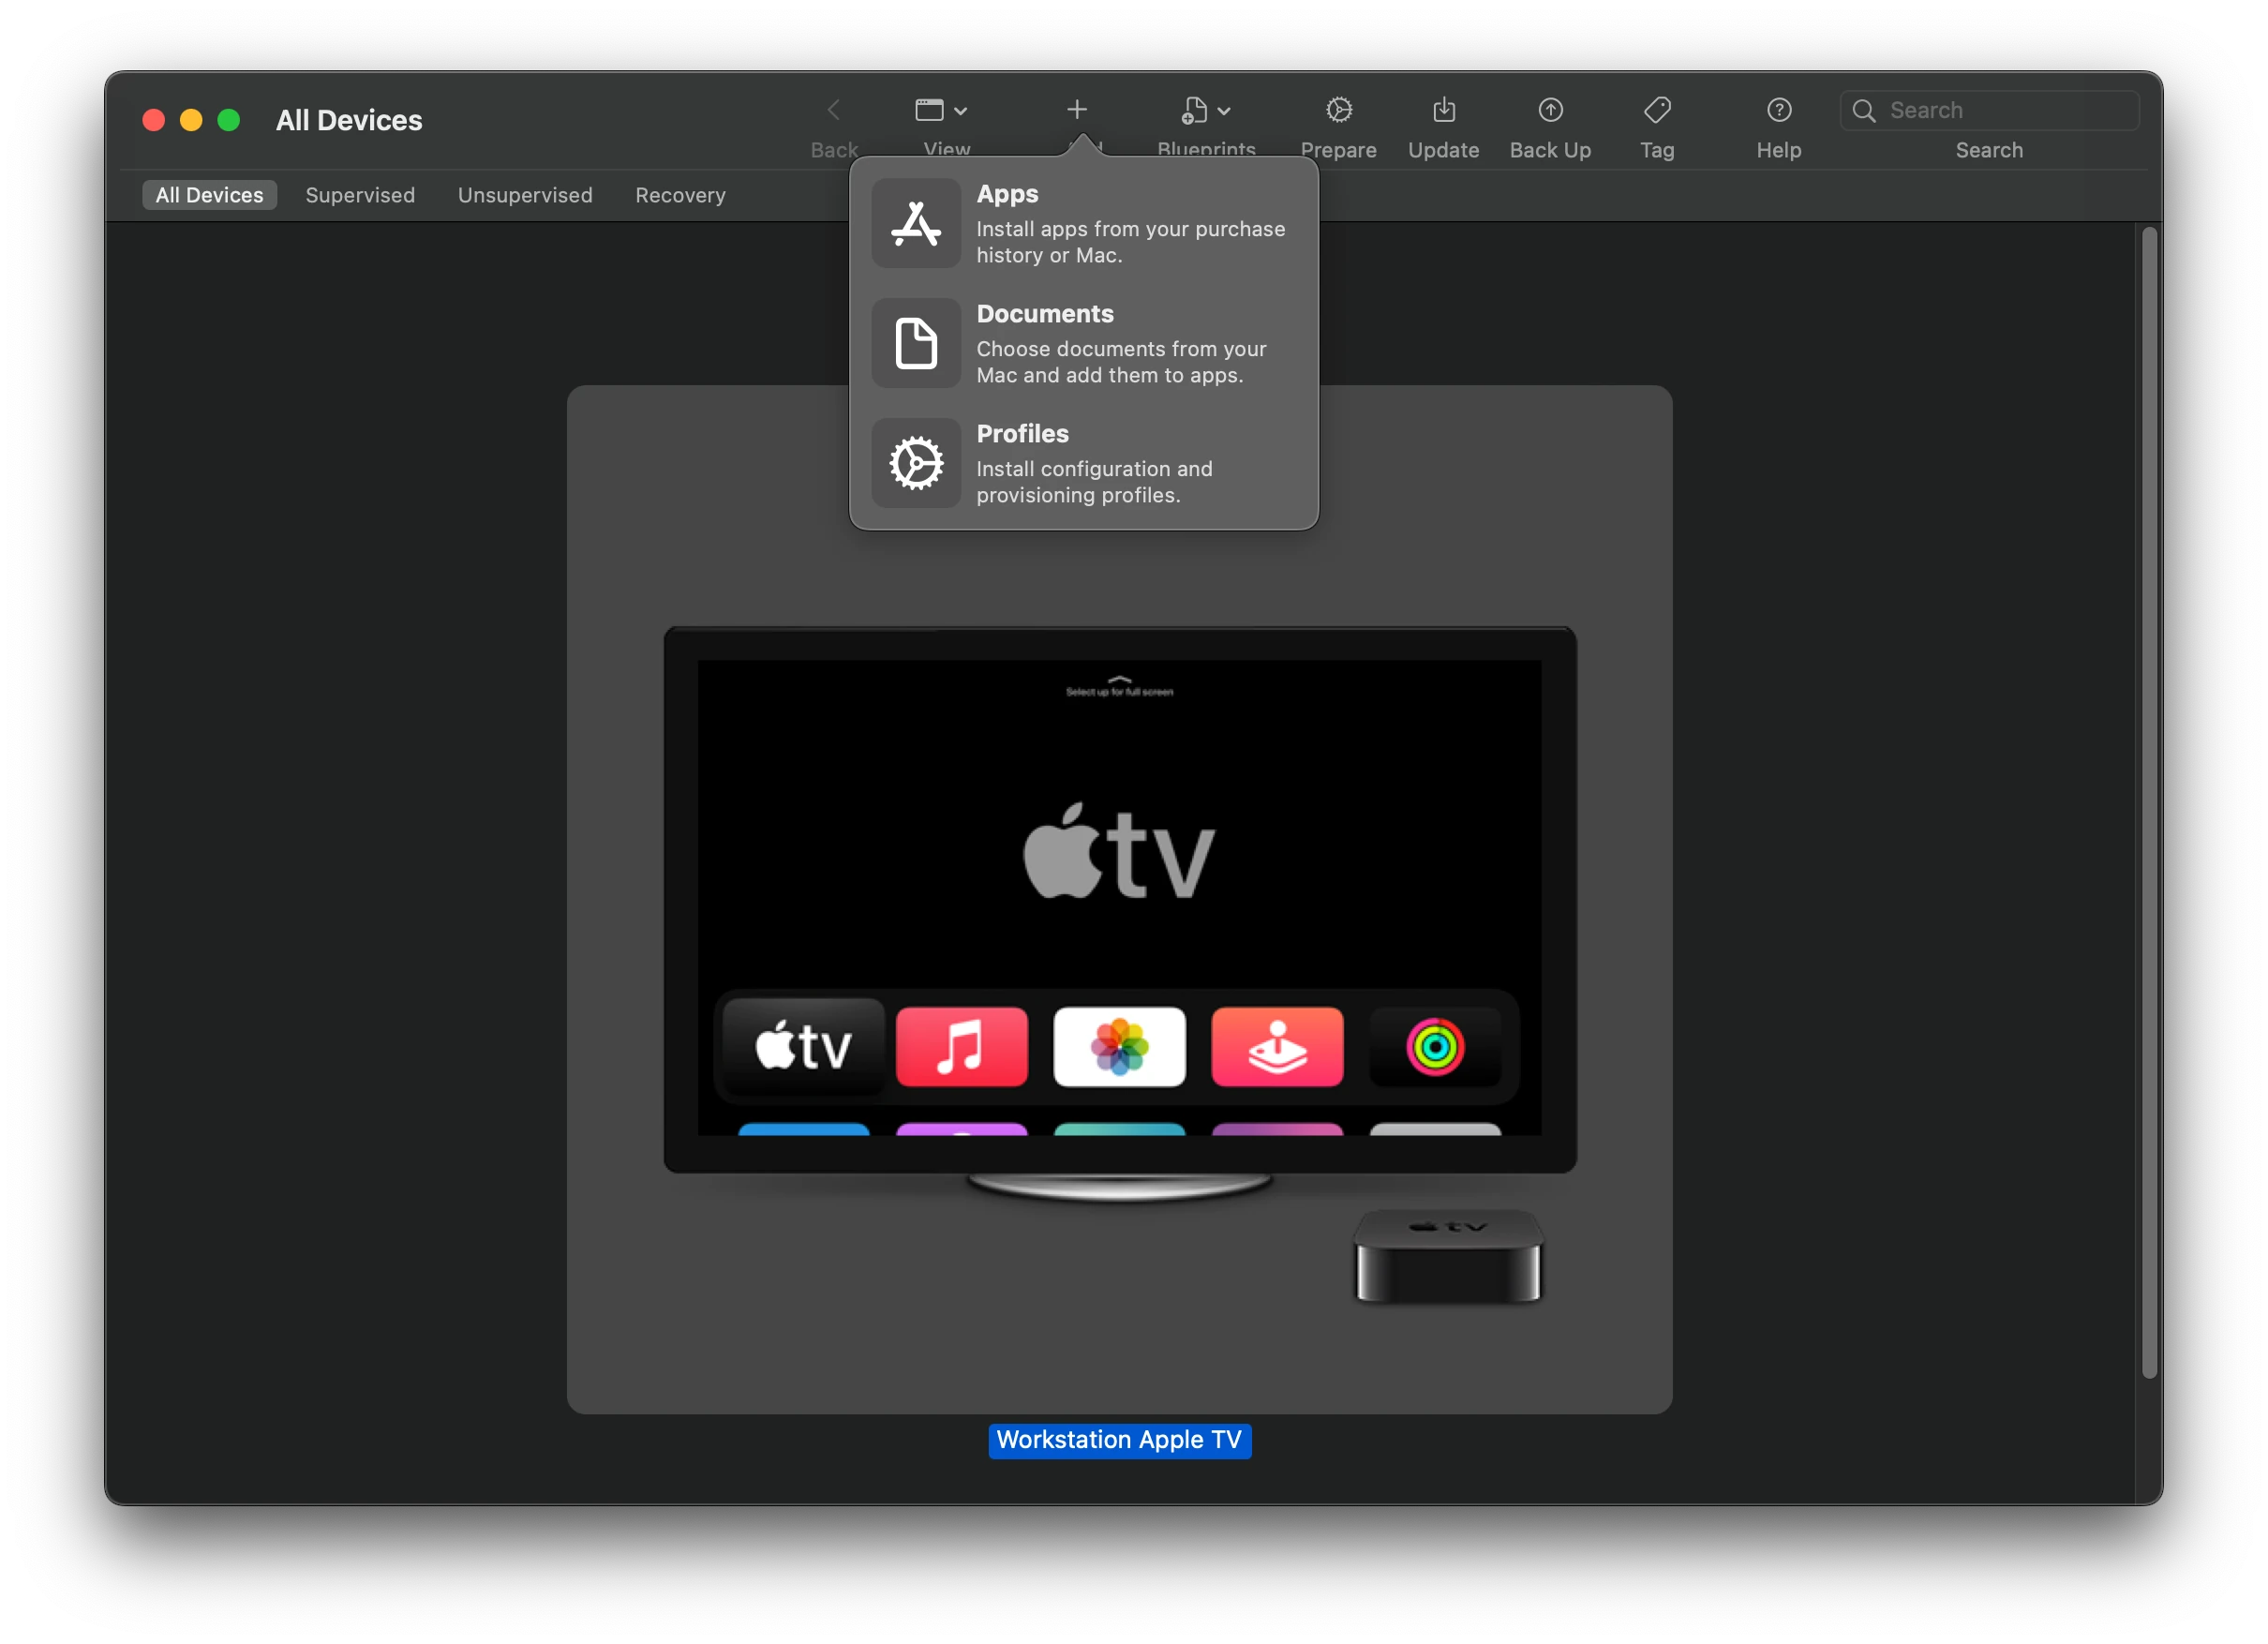
- Select the "Profiles" option
- Select the save profile from the last step
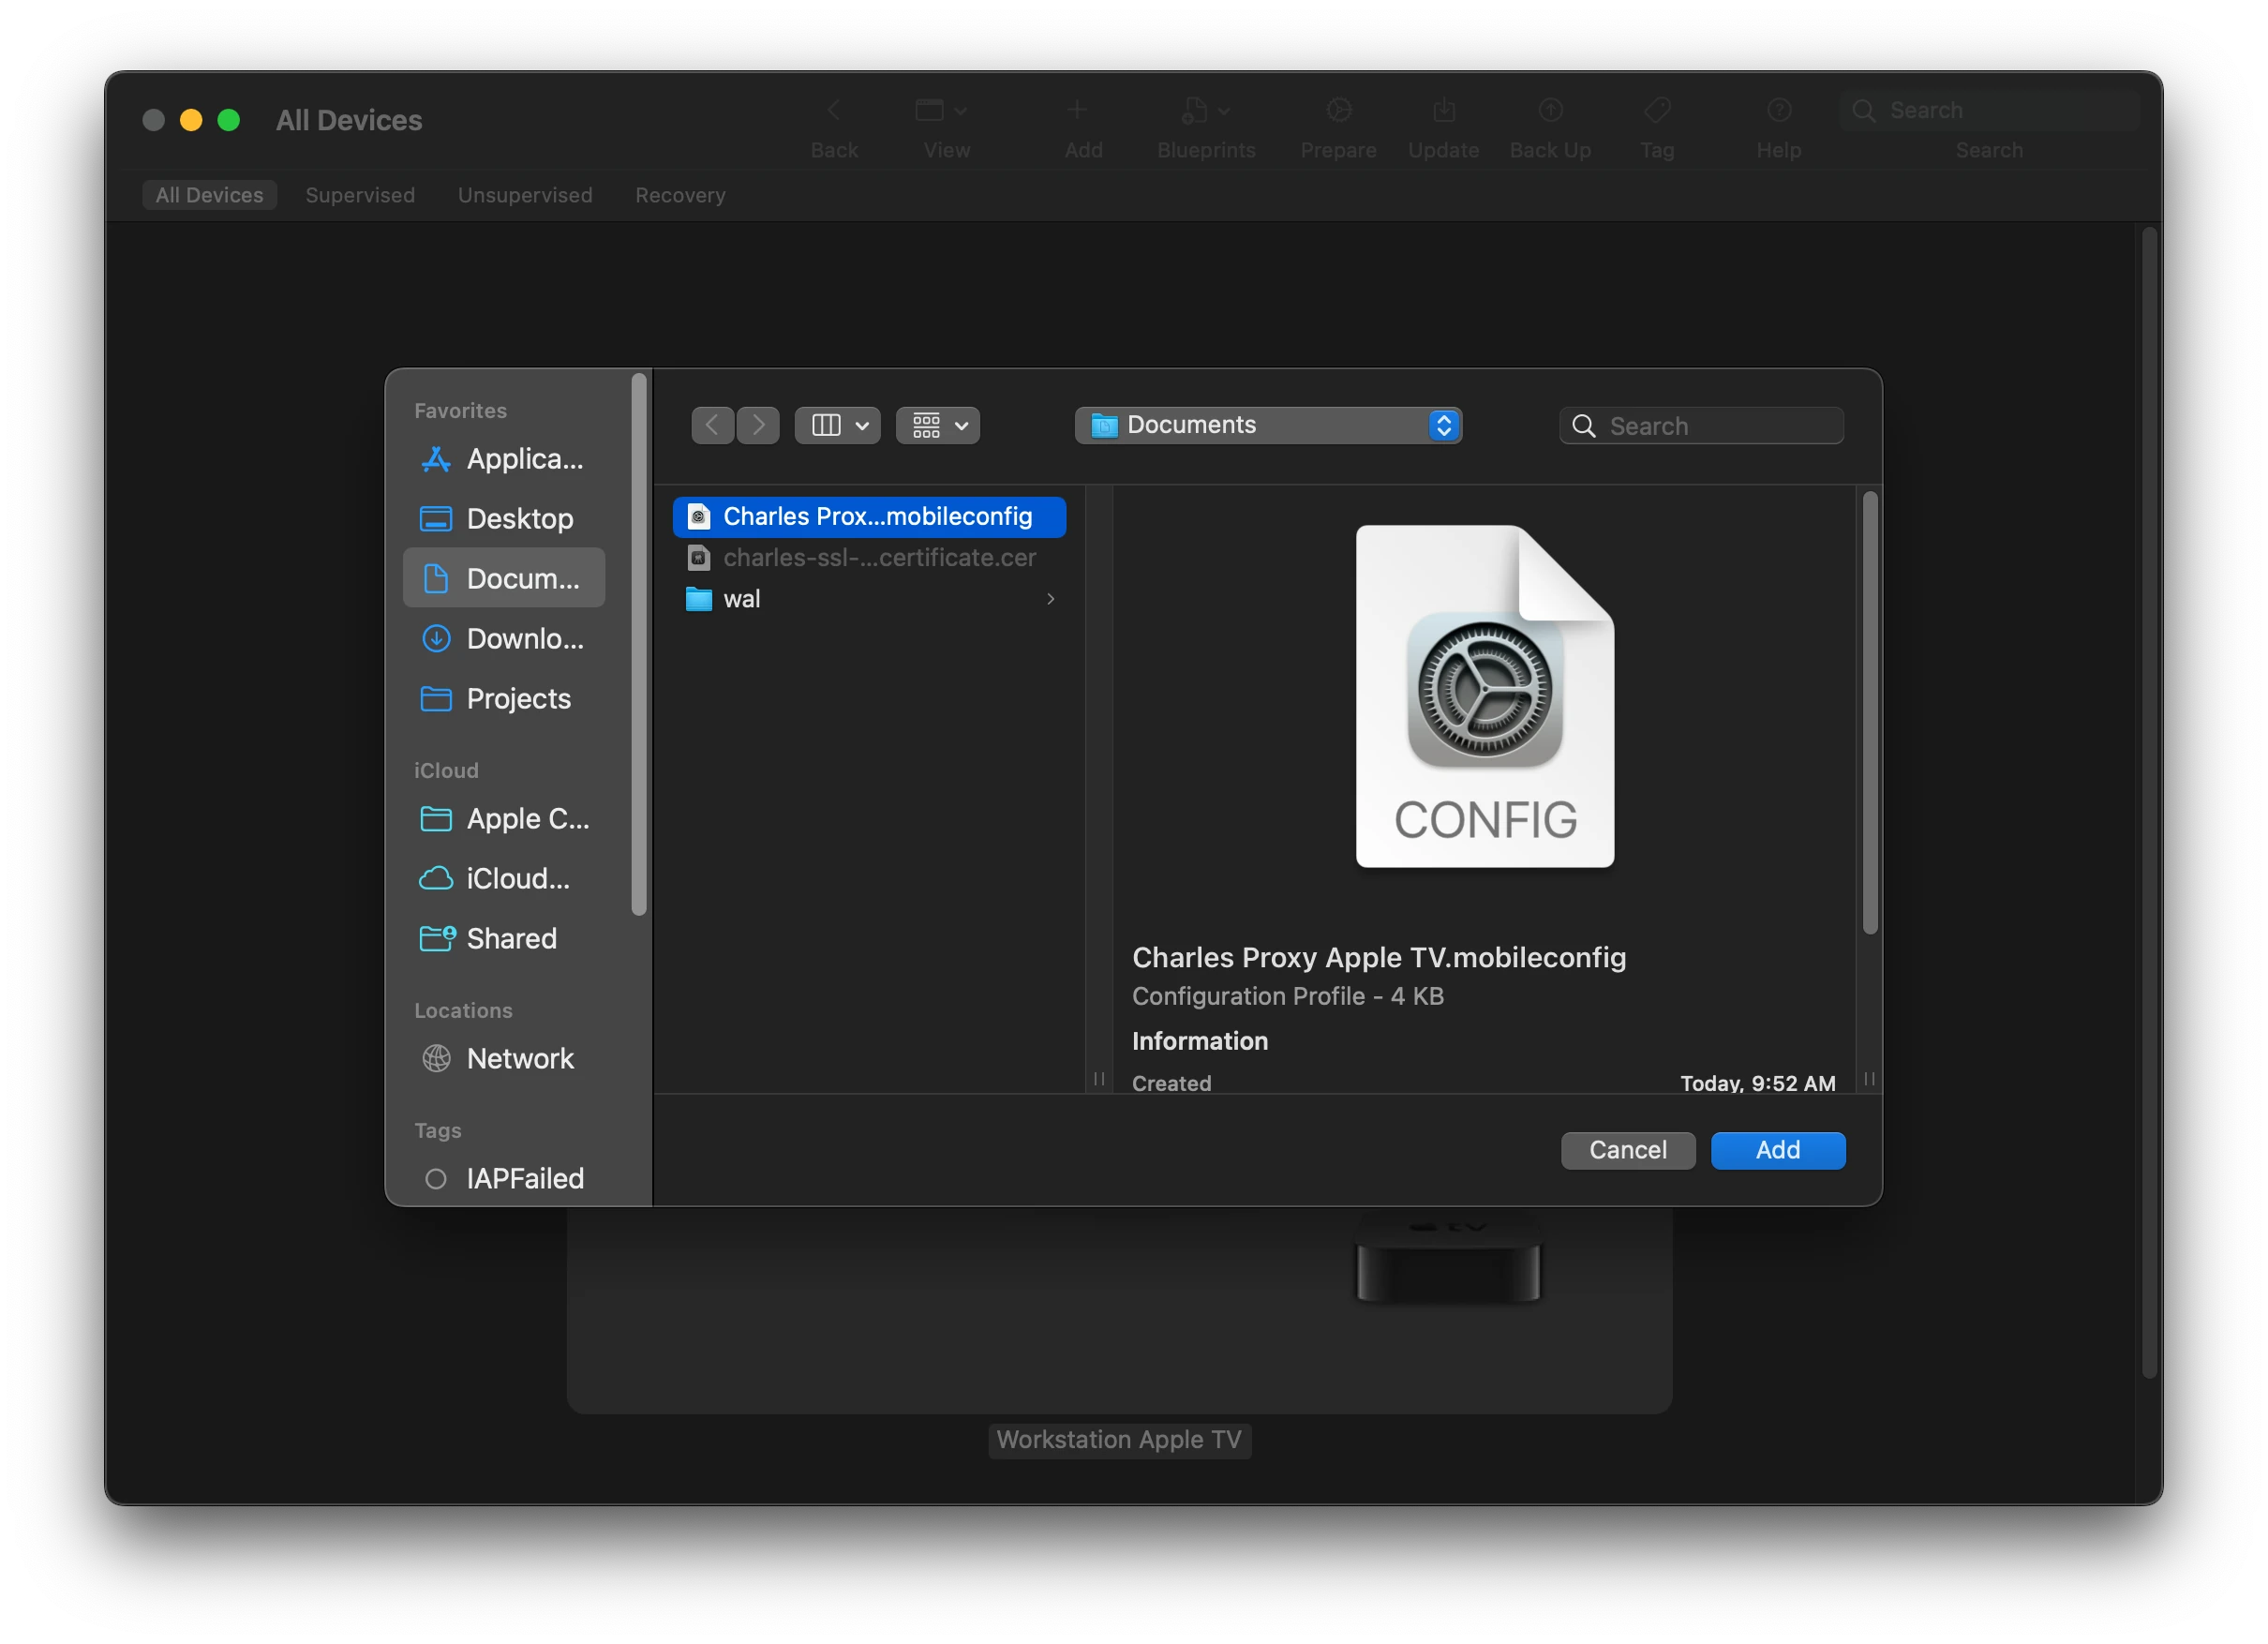
- This will install the profile on your Apple TV.
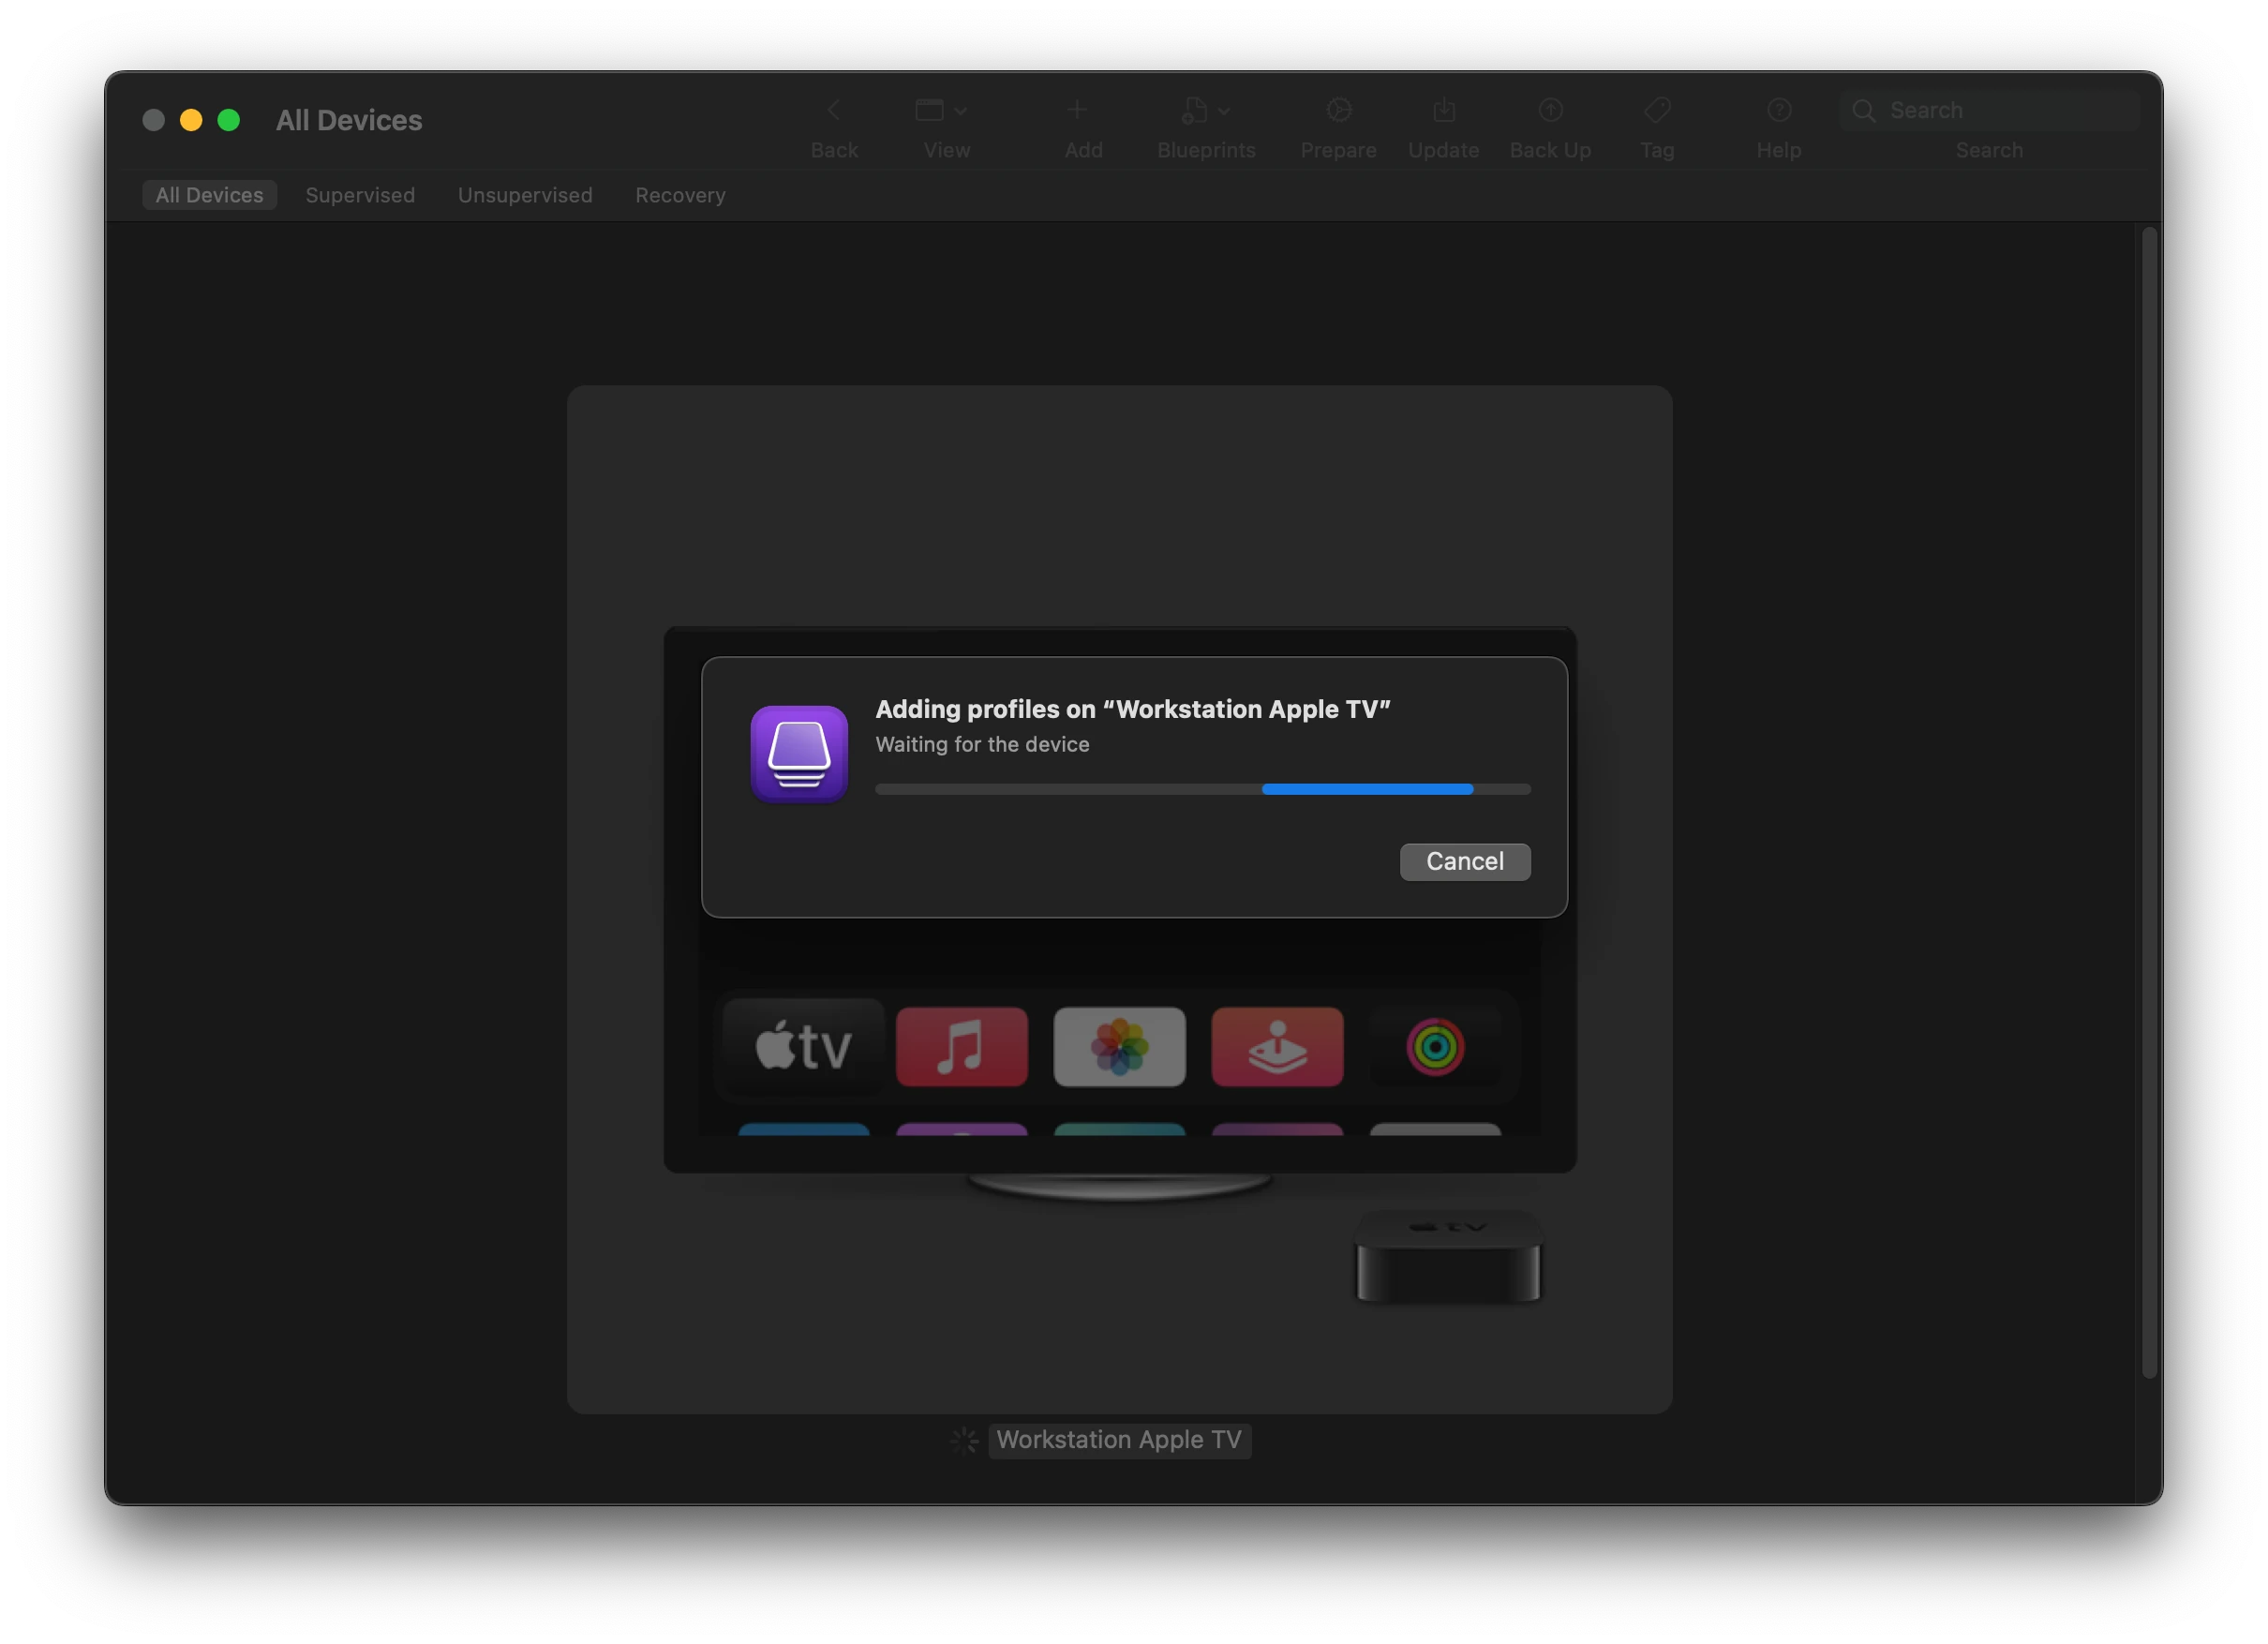
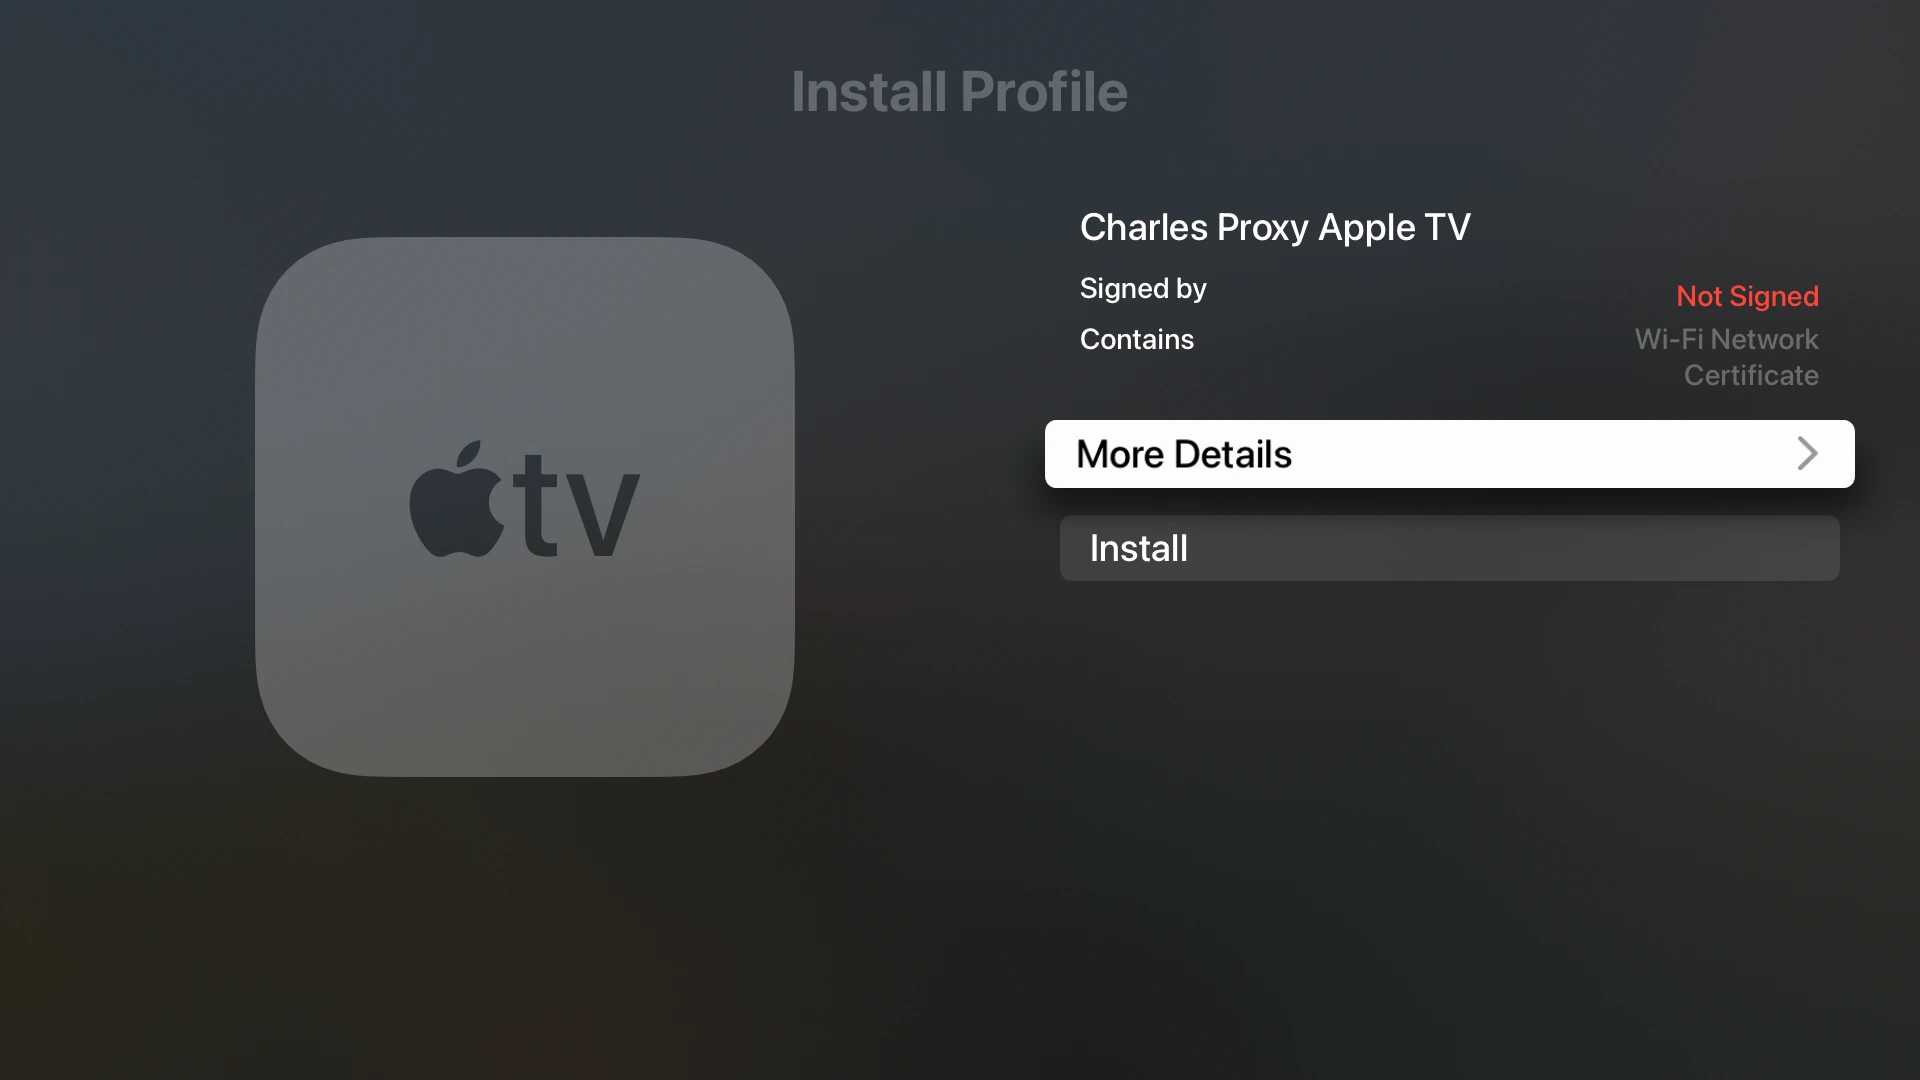
- Now, on your Apple TV, you will see a new screen prompting you to install a profile. Select "Install".
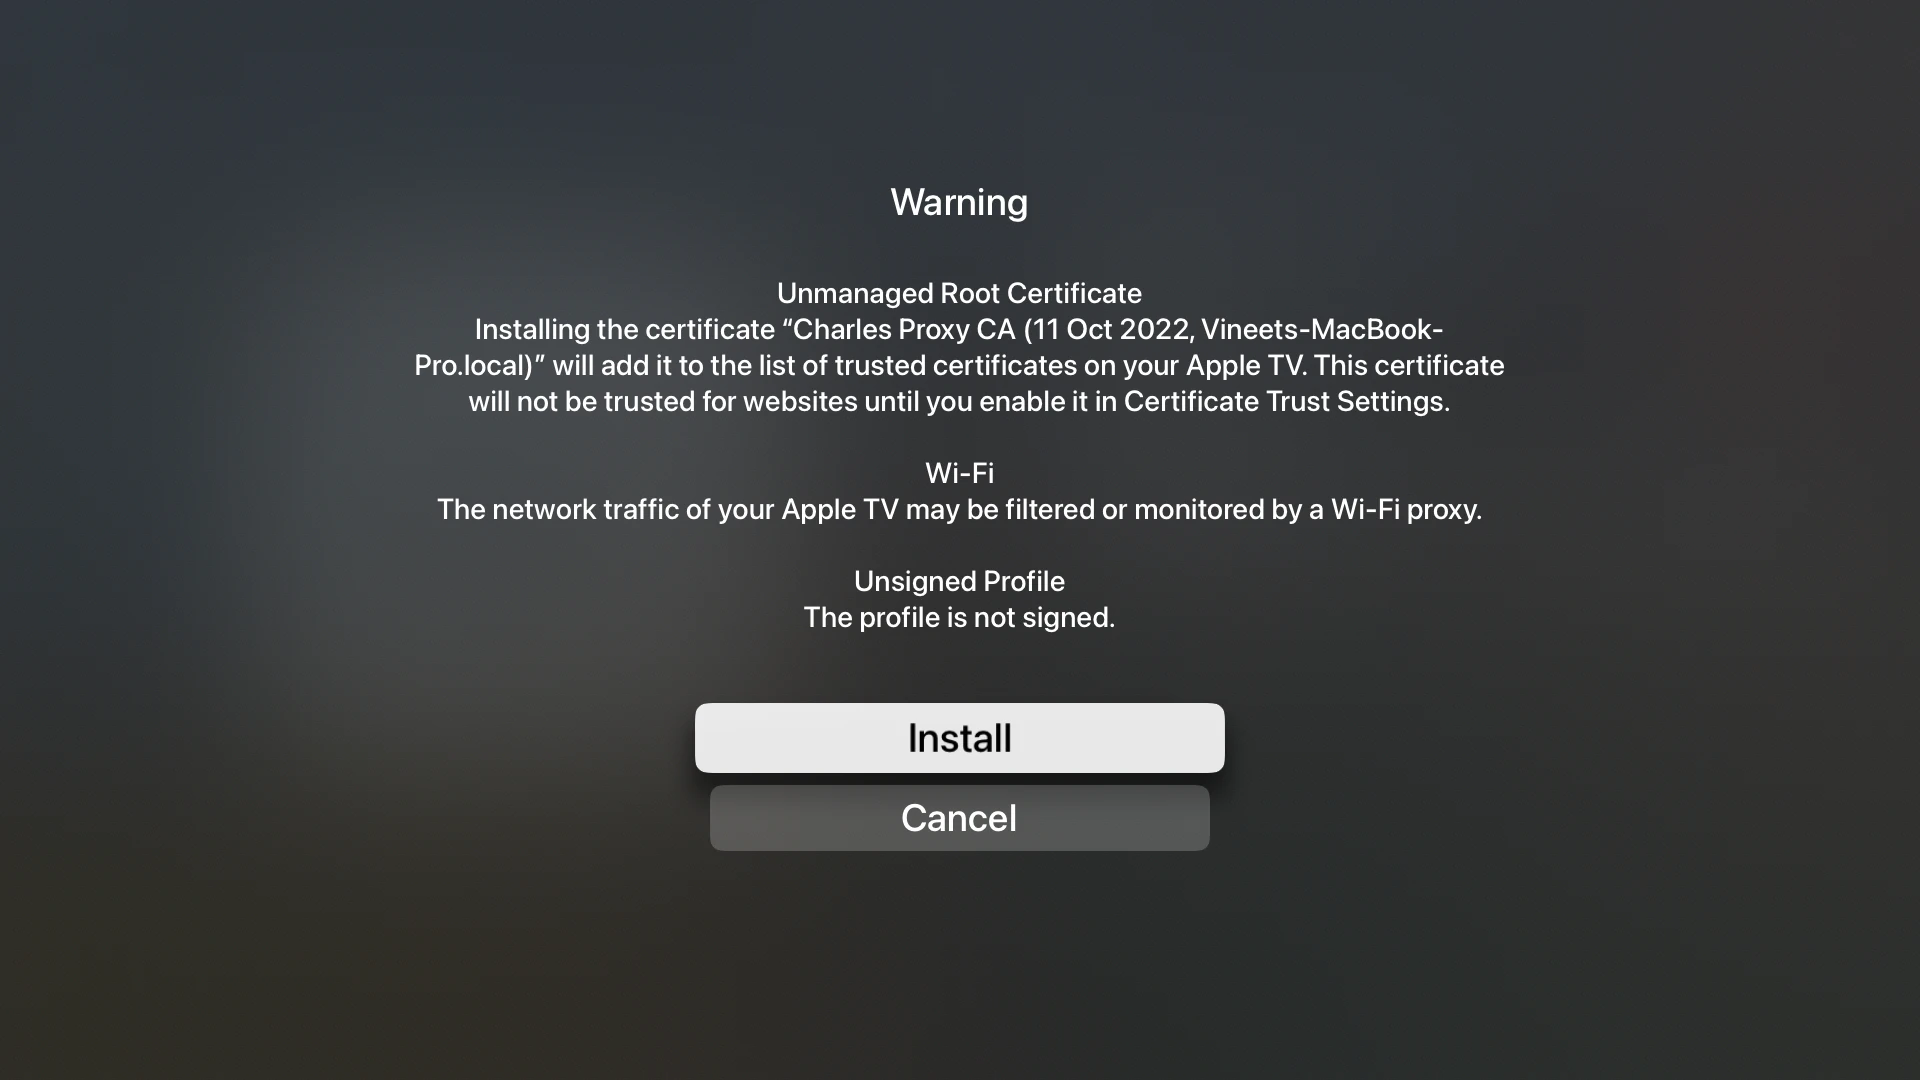
- It will present a warning about "Unmanaged Root Certificate", "Network Monitoring" and "Unsigned Profile". Select "Install".
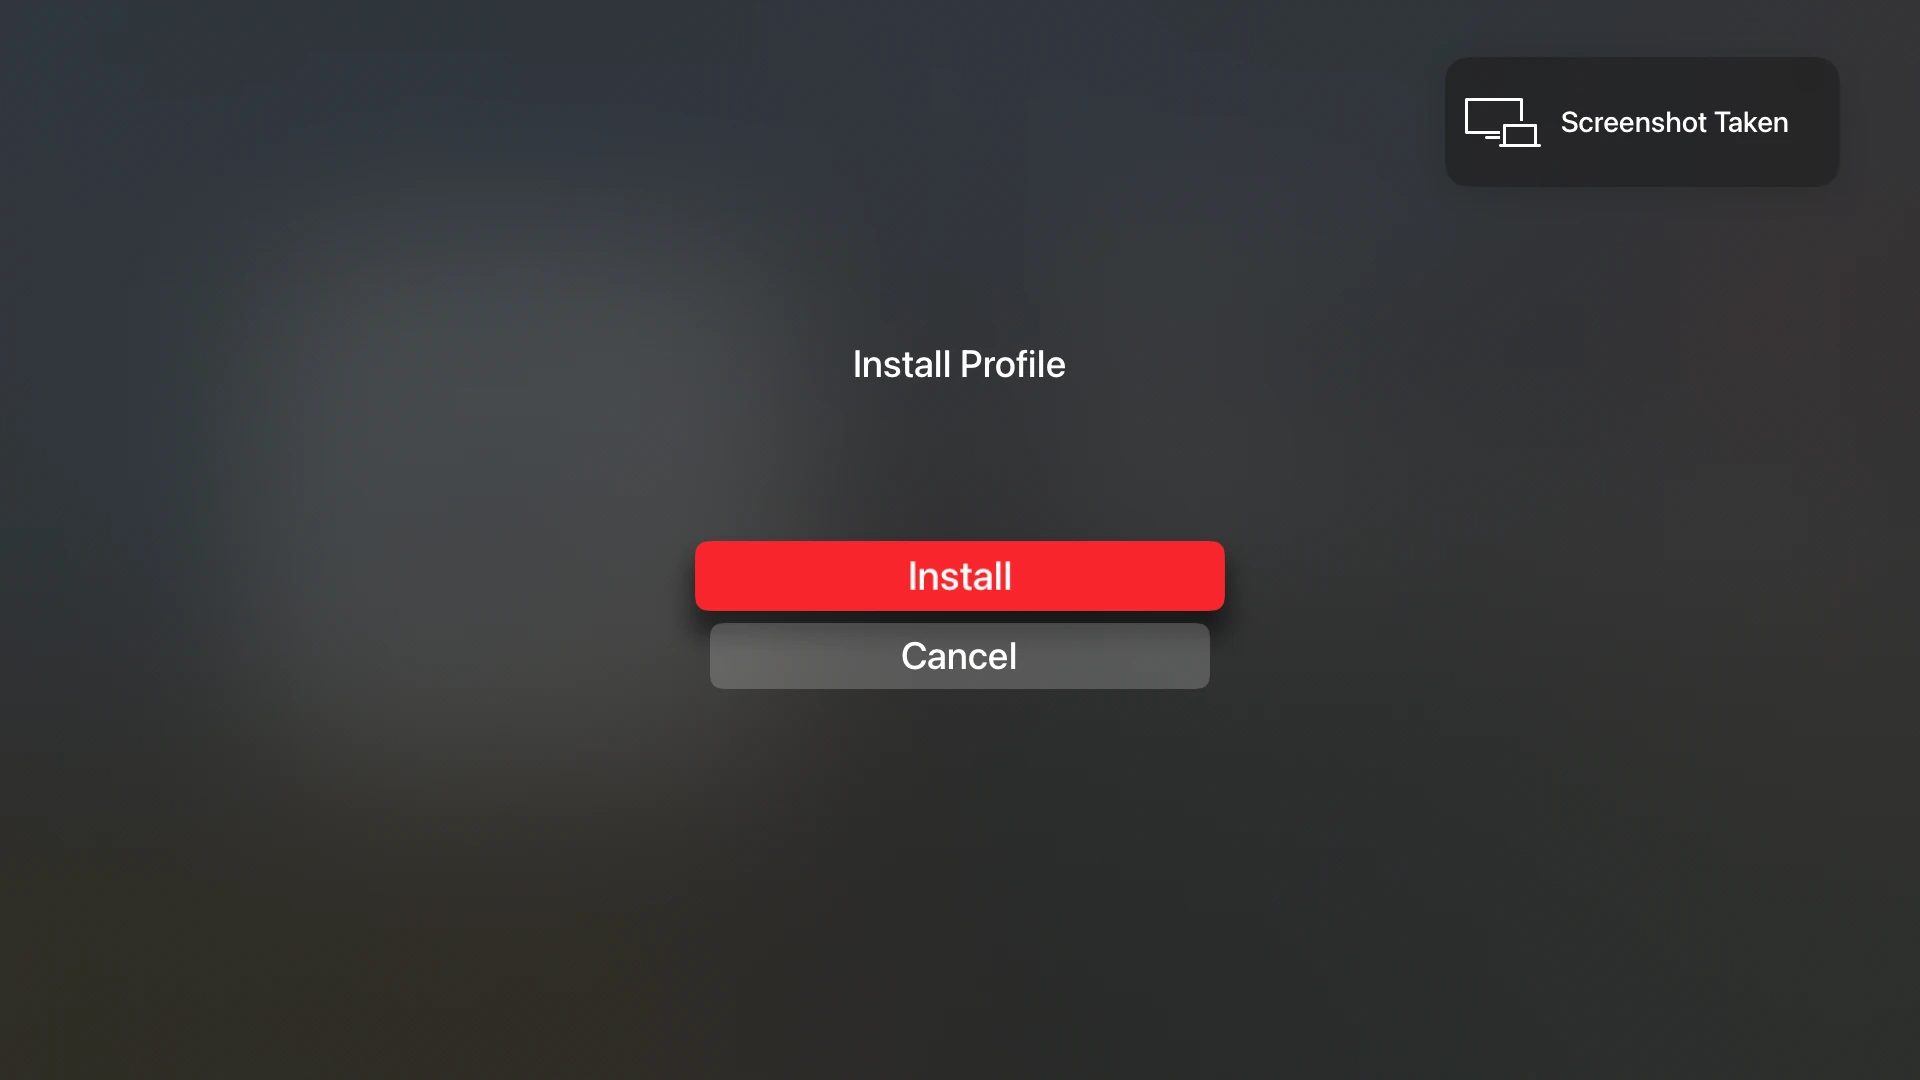
- Select "Install" again on the next screen.
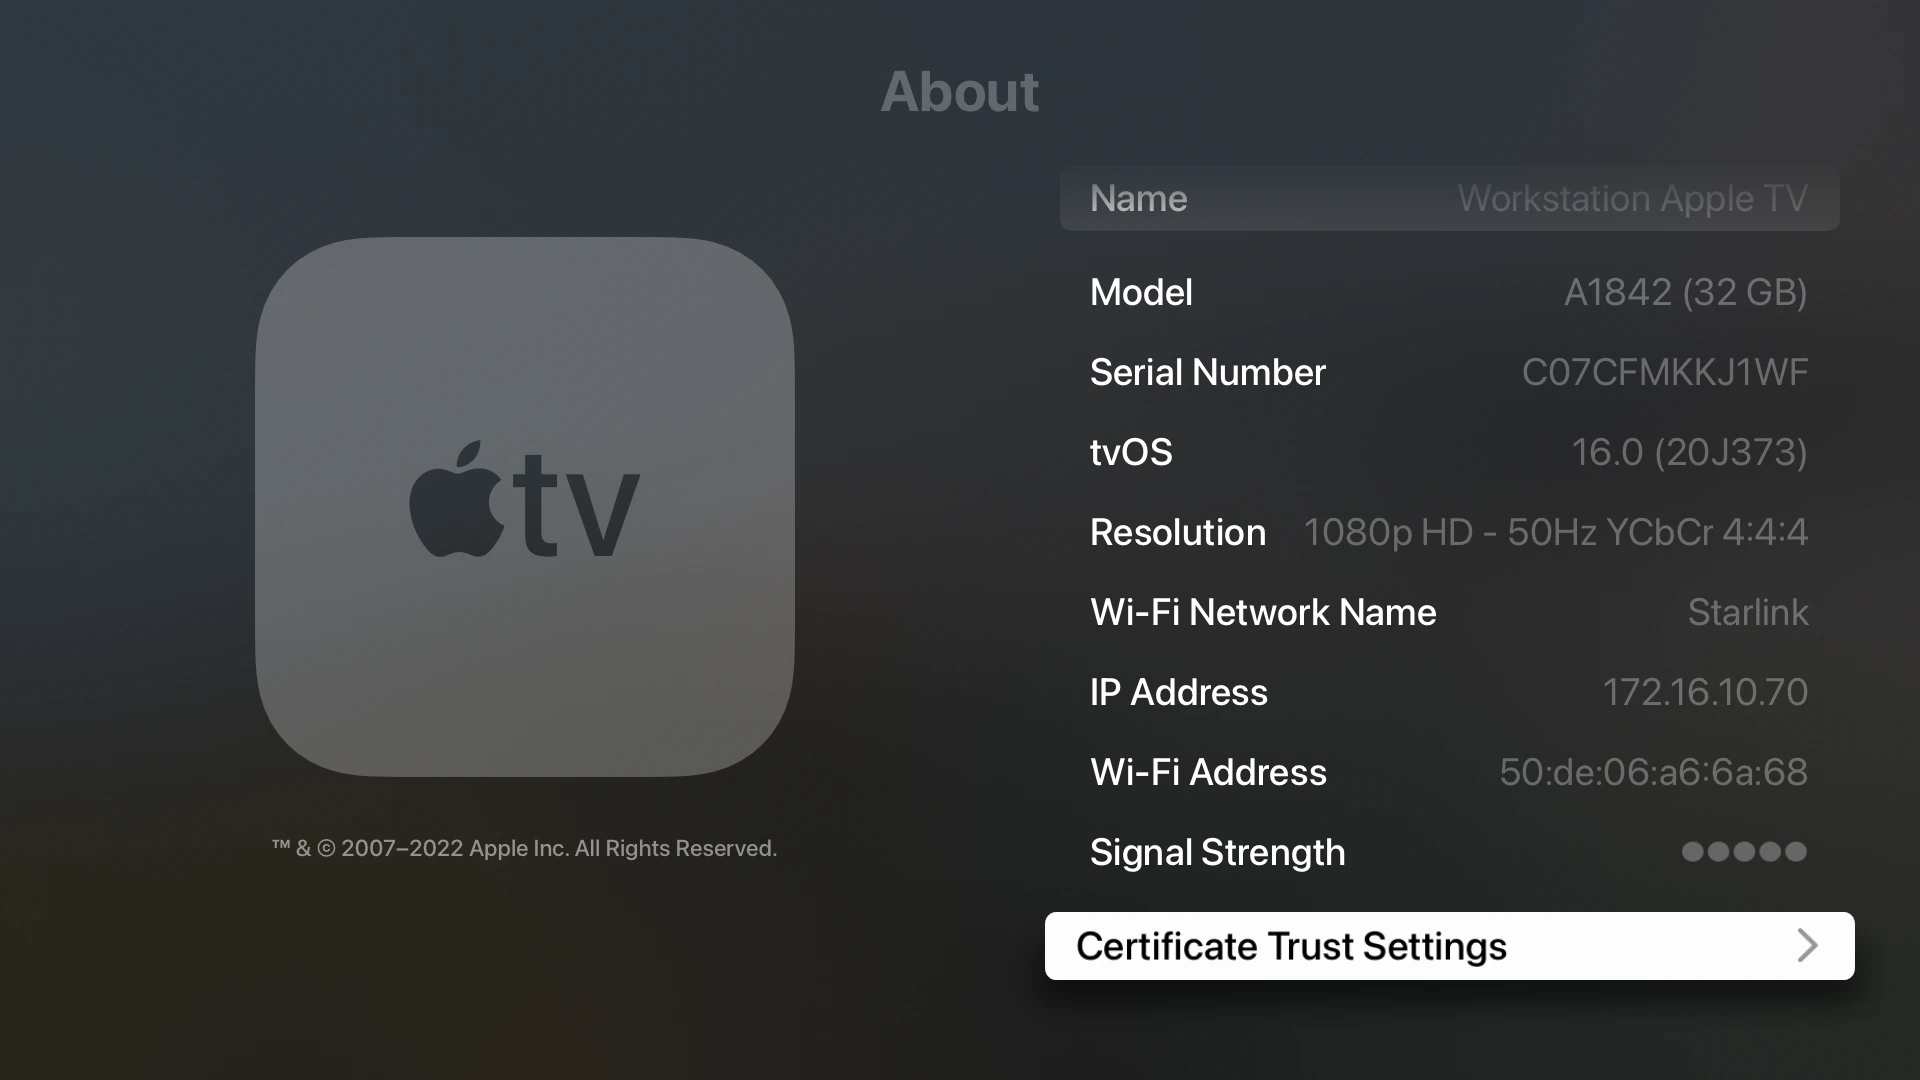
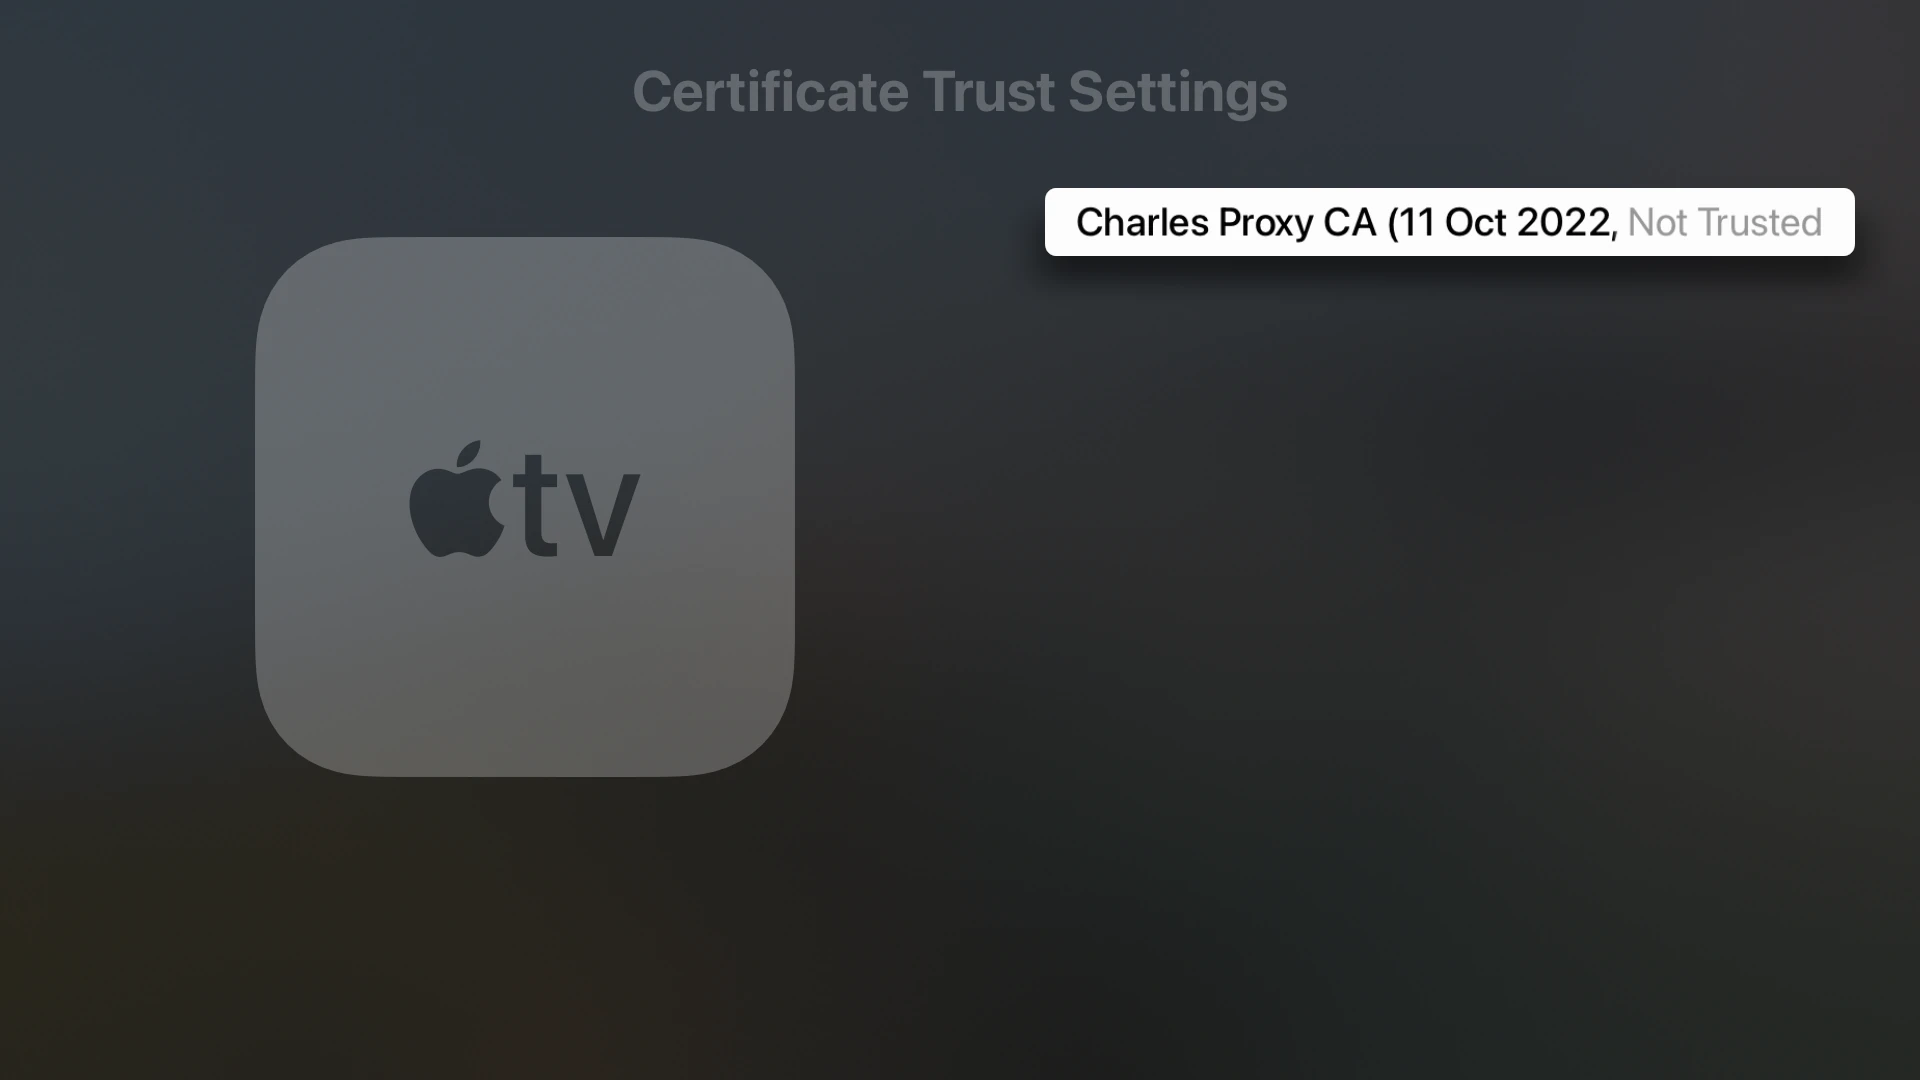
- Now, on your Apple TV, open the Settings app and navigate to "General" > "About" > "Certificate Trust Settings"
- You will see the "Charles Proxy CA" certificate here. Which is marked as "Not Trusted." Select this certificate.
- You will see a warning about "Root Certificate". Select "Continue".
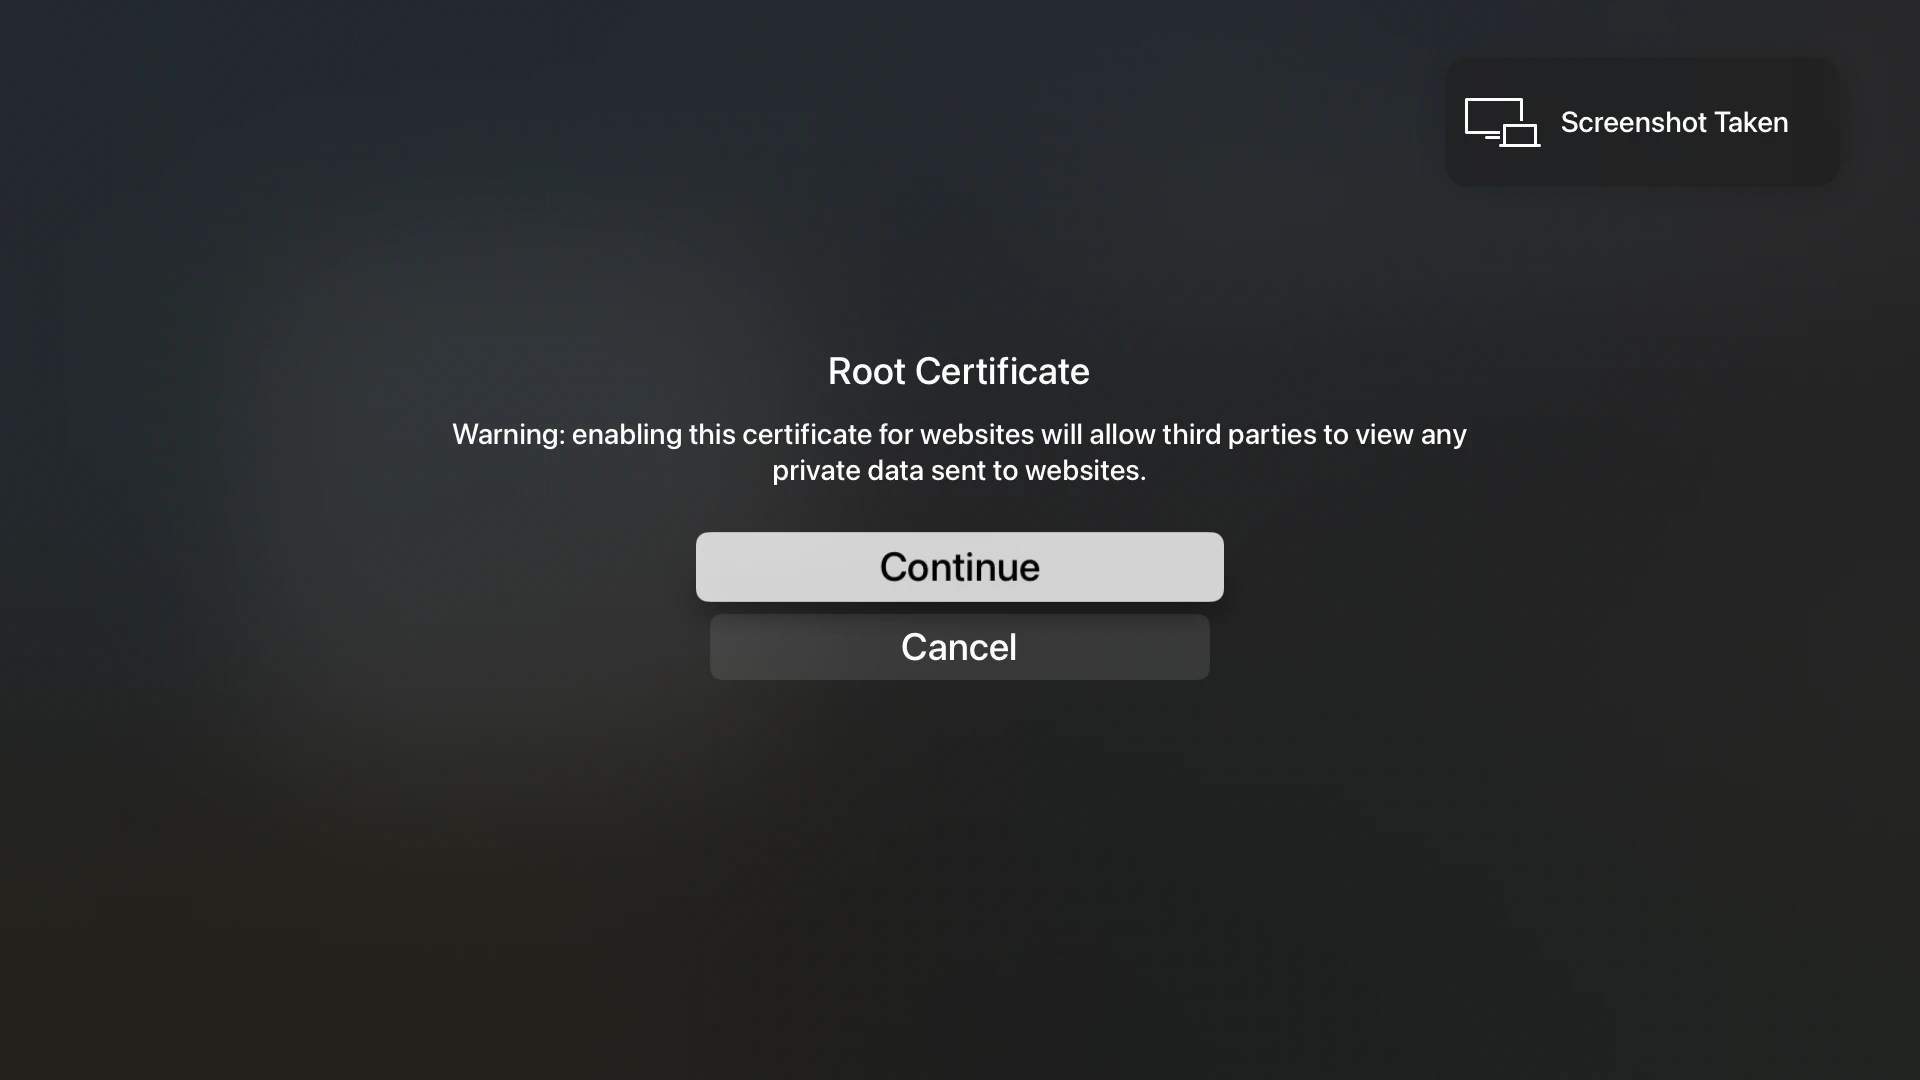
- Now, you can see the "Charles Proxy CA" certificate marked as "Trusted".

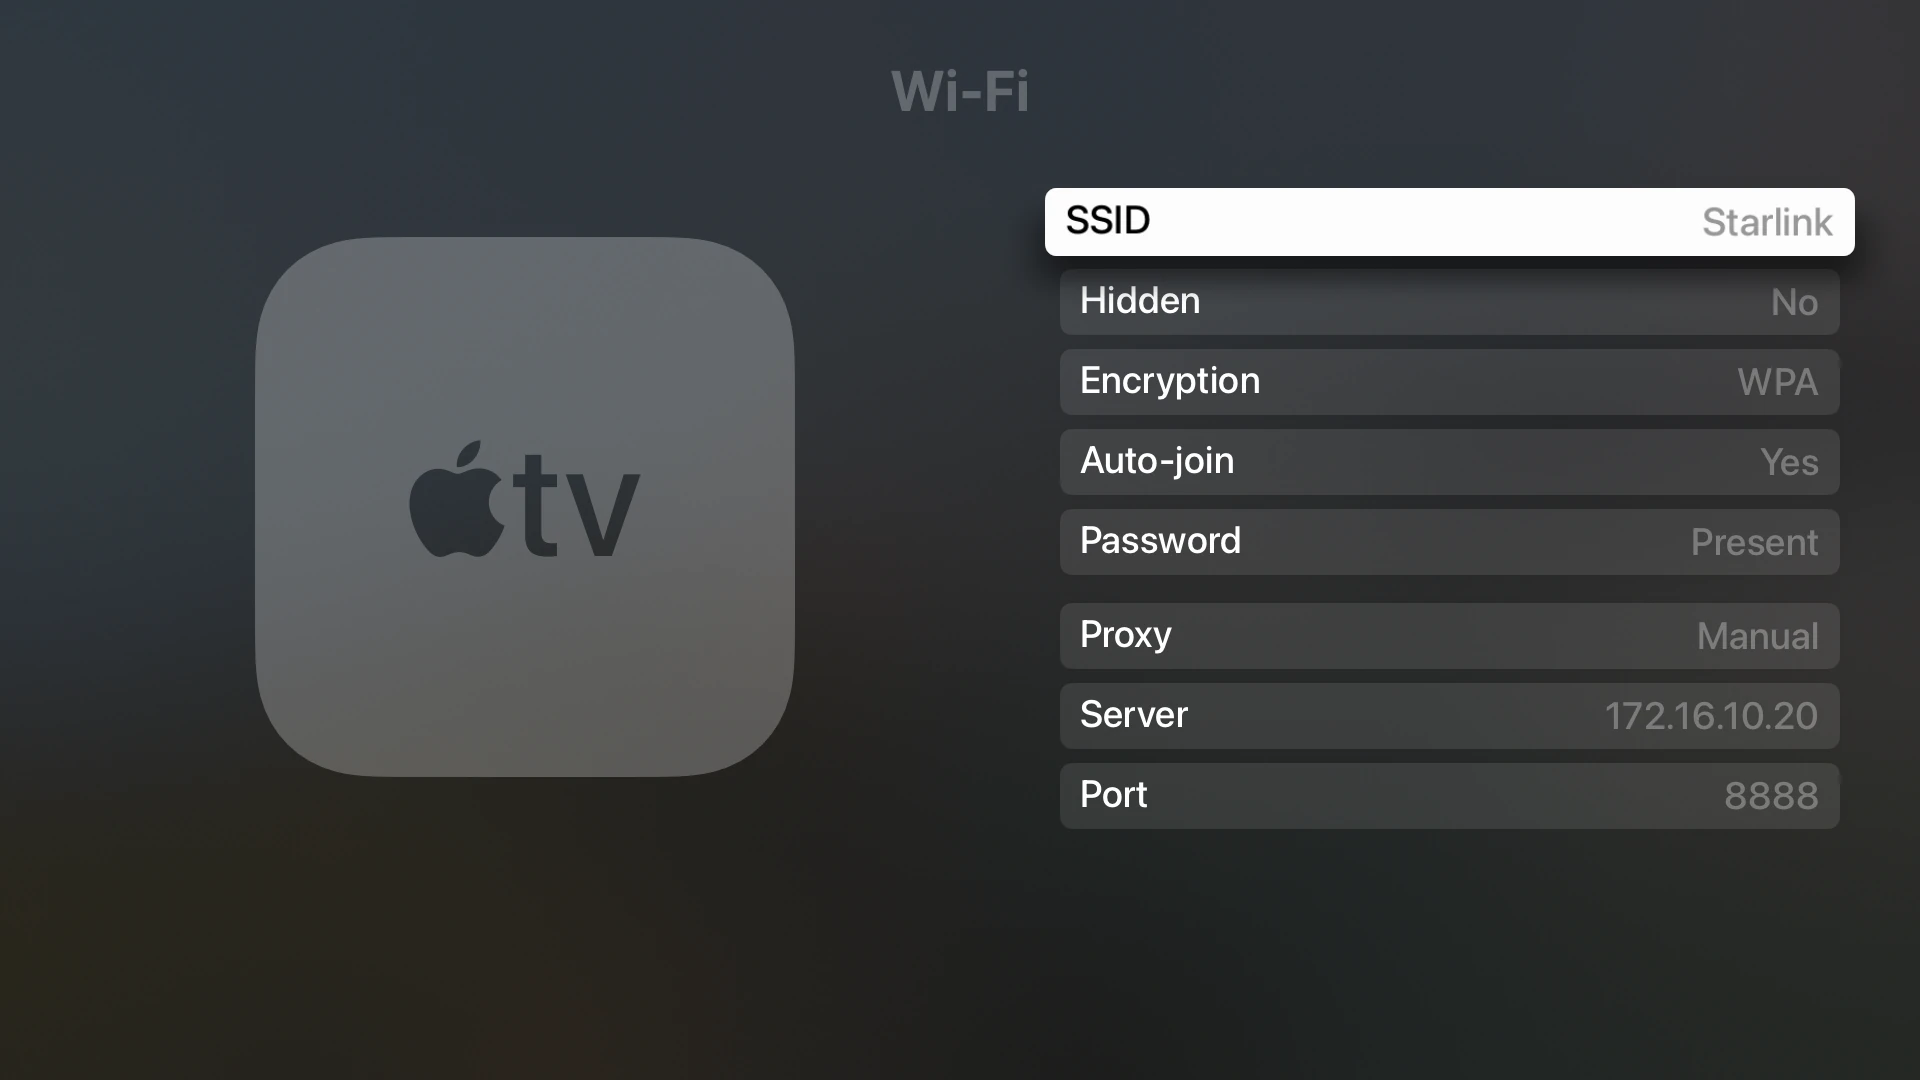
- Make sure your Apple TV is now connected to Wi-Fi and shows proxy details as well.
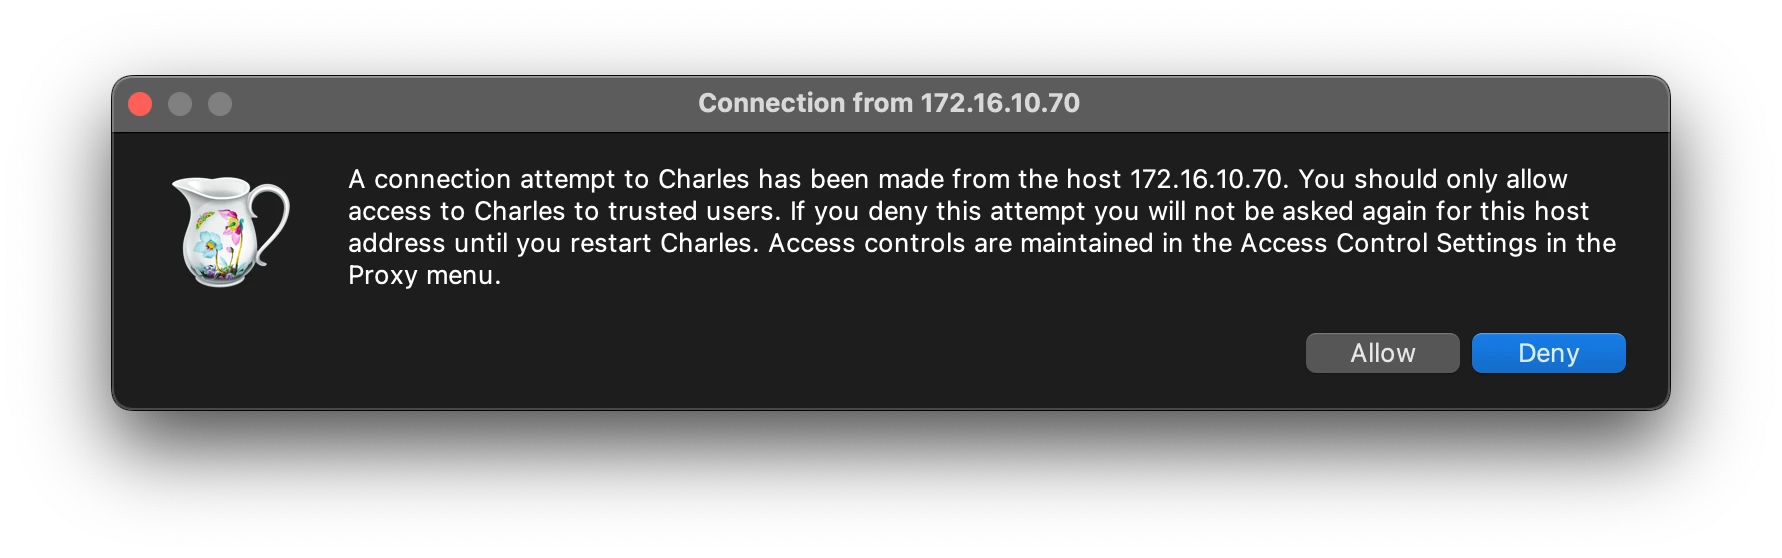
- In the Charles Proxy, the first time you will receive a popup for a connection request from your Apple TV. Allow the connection from your Apple TV. (If not restart your Apple TV and Charles Proxy)
- Now Charles Proxy will start showing all your network requests from Apple TV. You can utilize all Charles Proxy feature now.